Stubborn Mule Gap Pharmacy

ModelRailroadForums.com is a free Model Railroad Discussion Forum and photo gallery. We cover all scales and sizes of model railroads. Online since 2002, it's one of the oldest and largest model railroad forums on the web. Whether you're a master model railroader or just getting started, you'll find something of interest here.


PNKFLOYD

Mikey
Stubborn Mule Gap Pharmacy
I am making a small addition to the club's On30 timber layout. I have a narrow spot to put a building and decided a small town drug store will fit the location and 1930's period Here is the .plan i drew up.
1 plan.jpg

This building is a rough copy of a store I saw in the 1990's near Union Springs, Alabama. The dimensions are guesses as the building burned while my daughters were in college.

This is currently a work in progress. Hopefully, I will finish the building relatively soon.
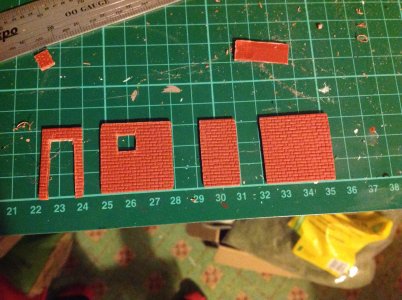
I cut the parts from styrene sheets for "O" scale siding, flooring and sheet metal roofing.

2 cut parts.jpg

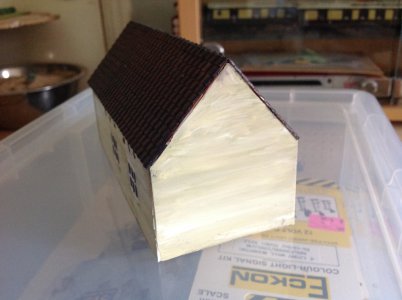
As you can see on the plan and the cut side walls, there is an odd roofline. The front half of the building has a little attic storage space while the back is sloped sharply.

I learned long ago to test fit all the parts together. No matter how hard I try, I seem to cut on the wrong side of at least one pencil line. I wound up about 1/64 inch off on a couple dimensions that had to be sanded down to fit. One of the hazards of hand crafted projects.
3 test fit.jpg


Sometimes, it is easier to paint a part before gluing it in place. The store front needs to have the door and windows installed before applying glue.
I decided to have some signs in the windows, trim around the door and a door knob added before installing the building front.
4 start assy.jpg
 
It takes a while for the glue and paint to dry....and for me to get things together to continue the project.
I wanted some hand-lettered signs in the store windows, so I found some tissue paper to draw space for the windows size.
I have enough long term memory to remember stores using butcher paper signs in their windows that would be changed at irregular times with new messages. These papers are being test fitted to determine how much to trim off. I still have to finish the door and trim before gluing the store front in place. Wonder how I learned that?


6 test fit.jpg

7 w signs.jpg

I was able to add window and door glass. The door and trim are glued in place. A computer generated store sign was printed and test fitted on the top portion of the front. Yes, I know the sign needs to be trimmed to size.
I don't always follow instructions. Wait a minute, there are not any instructions!
 
Nice project, from my own experience as you start it looks rough and ready but as the work continues you get the feel.
will you add plastic to the windows is the glazing in front or behind
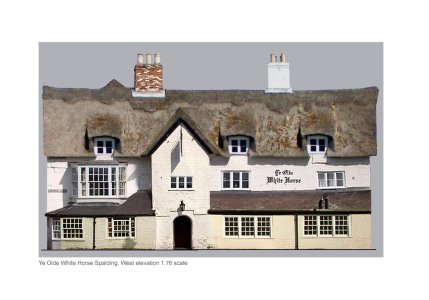
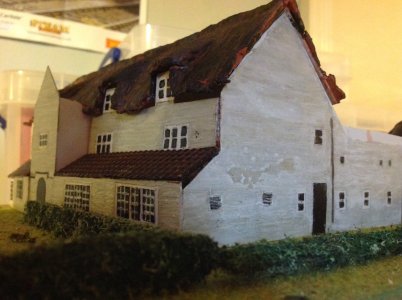
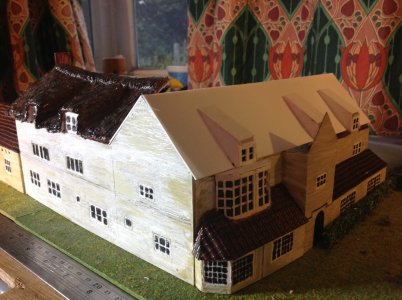
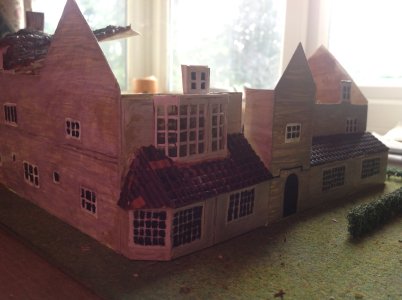
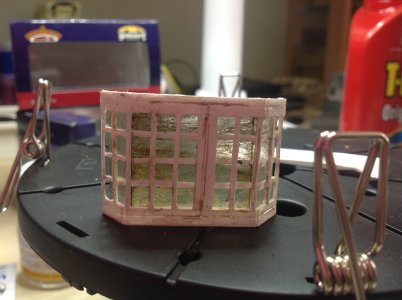
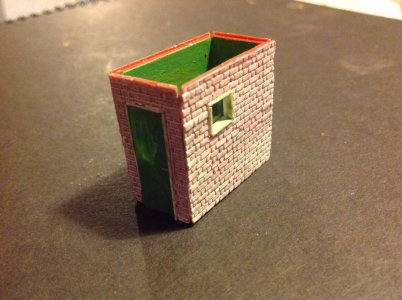
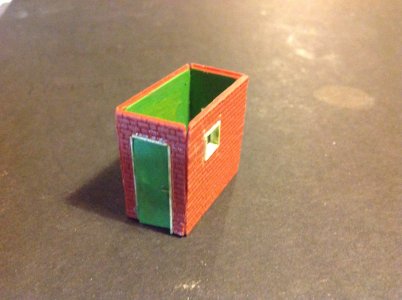
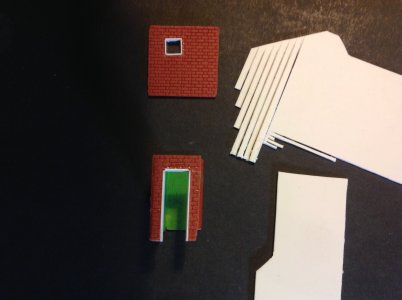
I have had similar projects a few thumbnails in case they are of interest
FYI a clay roof is really heavy and not. Advised

No laughing too loud at the painted on windows :p
 

Attachments

  • 1 to 76 front 200dpi 2203.jpeg
    1 to 76 front 200dpi 2203.jpeg
    438.9 KB · Views: 117
  • IMG_0266.jpeg
    IMG_0266.jpeg
    764.7 KB · Views: 114
  • IMG_0222.jpeg
    IMG_0222.jpeg
    792.5 KB · Views: 116
  • IMG_0189.jpeg
    IMG_0189.jpeg
    657.7 KB · Views: 156
  • IMG_0182.jpeg
    IMG_0182.jpeg
    623.3 KB · Views: 94
  • IMG_1695.jpeg
    IMG_1695.jpeg
    910.8 KB · Views: 126
  • IMG_1690.jpeg
    IMG_1690.jpeg
    890.2 KB · Views: 108
  • IMG_1688.jpeg
    IMG_1688.jpeg
    521.7 KB · Views: 110
  • IMG_8308.jpeg
    IMG_8308.jpeg
    703.3 KB · Views: 114
  • IMG_1685.jpeg
    IMG_1685.jpeg
    1.1 MB · Views: 108
Last edited:


Wow, looks like the next level of NWSL chopper/true sanders - there's always something new to put on my wish list :D
 
I have had similar projects a few thumbnails in case they are of interest
I don't think this pharmacy will win any beauty contests, but it should look better when finished. Your pictures are always appreciated as a learning opportunity.
TOMO- I have to agree with Vince, that sander looks like something I will have to investigate.
 
Last edited:
Got a little more done today.
I glued up the front of the building. The lower portion with door and windows has wide horizontal boards while the upper portion has vertical narrow boards. Yes, I only had one sheet of the wide board styrene. The odd shape of the building sides did not leave enough material for the entire front to be all wide boards.
8 frony assembled.jpg

I used computer generated signs for the main pharmacy sign and the two licensed pharmacist signs.
While researching info on 1930's pharmacies, I learned that anyone with a formula and a pot could call themselves a pharmacist. Syrups like Coca Cola and Dr Pepper contained ingredients like alcohol, heroin and codeine. Flavorings, sugar and coloring was used to cover the bitter taste of the medicine. People became addicted and repeat sales kept coming.
Trained and licensed pharmacists followed consumer protection practices until laws regulated what was put in "medicine." A licensed pharmacist is a small town was a selling point for local patrons.
9 computer signs.jpg


I am told that confession is good for the soul. So, I will confess that I did not measure the pharmacy sign when I made it and the plastic back is 6 scale inches to tall. This causes the porch roof to have a shallower incline than planned. I needed something to hold the porch roof in place while the glue dried. A small plastic cup let the roof dry with an angle.
10 porch roof.jpg
 
I don't think this pharmacy will win ant beauty contests, but it should look better when finished. Your pictures are always appreciated as a learning opportunity.
TOMO- I have to agree with Vince, that sander looks like something I will have to investigate.
I paid just over $110 + shipping before Covid for mine, new. That picture said it was selling for $239 now on Amazon. I’m not sure a flat file with a good handle wouldn’t be smarter now.


I did manage to rust up the metal roof pieces and glue them in place. And the porch roof is a little grungy, too. But it is starting to look like a building now. Here is the front view.
12 roof stain.jpg


And the rear view. Surprise! There is a back door and a stove pipe on the back side.
Now, if I decided to call this pharmacy complete, Jaz would be severely disappointed in me. So, there will be a least one more picture with additional details. Jaz may still be disappointed in my project, but not as severely.
14 roof back.jpg
 
I did manage to rust up the metal roof pieces and glue them in place. And the porch roof is a little grungy, too. But it is starting to look like a building now. Here is the front view.
View attachment 239112

And the rear view. Surprise! There is a back door and a stove pipe on the back side.
Now, if I decided to call this pharmacy complete, Jaz would be severely disappointed in me. So, there will be a least one more picture with additional details. Jaz may still be disappointed in my project, but not as severely.
View attachment 239113
WHAT! NO!
I saw the picture away from the thread and commented, COMPLIMENTED! I would happily add that on my layout. (look at the time line!)
My ownly comment was add a little thinned dirty brown black water to the porch roof.

Did you look at my photos….did you see the hand painted windows! Scratchbuilding is not about individual parts it is about the whole effect. I am SO about the effect that baby is going to look so good, the porch the posts the grimy boardwalk is 👌 cool.

FYI much of my work benefits from my photography and is best not examined too closely. I am good at getting the better details in focus and the not so good ones hazy so that people cannot nitpick my work, and getting a good distance away. I turn my models and figures around for best angles.

I can without hesitation say I would have that on my layout in a heartbeat.

You could add a little decoration, in front, but it is not a general store so much harder so no boxes or tools or barrels, so probably not appropriate, but that front will look spot on. When you put it on the layout gives us a picture or two, and I’ll discuss IF you need to photograph differently to better advantage….winks…..and runs………

My scratchbuild windows, and painted ones, they need photographing at some distance LMAO …as for the joins…sniggers
YOU matched your wood and Santafewillie rightly said the real thing often is not that neat :D
IMG_0187.jpeg

Plus almost all my buildings ARE BOUGHT ready to plonk, I give them a grunge update.
 
Last edited:
Jaz-
Thanks for taking the time to respond to my post. I really do value your opinions and the advise you give.
At this point, shown in the above pictures, I have just a basic building without any weathering or "grunge" or personalizing details.
Back in my early days, I would have put the building on the layout and called it done.
Exposure to members of my club and so many people on this forum, I have learned to do more. The techniques I see in the pictures you, Sante Fe Willie, Tom O and so many others share is inspiring to me to go beyond the basics when building something. Even if some scratch built things are a little crude appearing, I find many vintage items were hand built to be "good enough". I often use found materials, like pop cycle sticks or coffee stirrers, as building material. The stove pipe in the above picture was a coffee stirrer. I am too inpatient to wait on a trip to the hobby shop or mail order for trim pieces for a building.
Time to go check if the glue has dried on some of the additional details.
 
Last edited:
Nice work sir! I'm late with this comment but having been married to a pharmacist for over 53 years I have to question. In 1930, would a pharmacy been named "Pharmacy" or would it have been an "Apothecary" or maybe even "Druggist"?
 
The Gardener Timber and Tie Company operated in the 1935 era of the south Alabama town of Gardener. State legislation had only recently been passed that people compounding drug prescriptions be licensed. Some local drug stores were still operating by dispensing commercial drug compounds without licensed pharmacists. Stubborn Mule Gap Pharmacy had the only licensed pharmacist within 30 miles of the town.

That is my story and I am going to stick to it! lol.

BTW, congrats on the 53 years of marriage.
 
I am now waiting for the glue to dry on the last item I added, the back porch roof.
15 back side.jpg

On this side of the building, I added the back steps, roof, building pillars and signs on the side.
Sorry for the quality of the photo.
16 front side.jpg

On the front, I added wider steps and different signs on the side of the building.
I want to let the glued items dry completely before I start adding a couple other details and heavy weathering in some areas.
I will try to give you better pictures of the finished building.
 
Last edited:
r the glue to dry on the back porch.
I am now waiting for the glue to dry on the last item I added, the back porch roof.
View attachment 239837
On this side of the building, I added the back steps, roof, building pillars and signs on the side.
Sorry for the quality of the photo.
View attachment 239838
On the front, I added wider steps and different signs on the side of the building.
I want to let the glued items dry completely before I start adding a couple other details and heavy weathering in some areas.
I will try to give you better pictures of the finished building.
Ooo ooo circus due in town :)

Seriously though Iove the adverts billboards
I like the rain cover over the back door touches like that add more character
 
I am going to call this building complete.
I have added another coat of India ink and alcohol to tone down the shine of the building paint. I built a bench for the front porch as I think there is an O scale sitting figure I can liberate from the club supplies. Climbing vegetation on the walls reminds me of irregular building maintenance.
Yes, I did notice the leaning corner post in the above photo. A photo will let you see the errors that you have not noticed previously.

The front.
17 frony final.jpg

Both the steps and the bench have been weathered.

The back is relatively plain with only a small vine and weathering showing.
18 back final.jpg


The right side is almost too busy with with signs and vines.
19 right final.jpg


The left side is less busy with only one sign and one vine.
20 left final.jpg


I hope you have enjoyed my little project and maybe you found something you can use in your own modeling.


Affiliate Disclosure: We may receive a commision from some of the links and ads shown on this website (Learn More Here)

Back
Top