ModelRailroadForums.com is a free Model Railroad Discussion Forum and photo gallery. We cover all scales and sizes of model railroads. Online since 2002, it's one of the oldest and largest model railroad forums on the web. Whether you're a master model railroader or just getting started, you'll find something of interest here.
I feel I have been extremely lucky with all of my previous kits. I have never used primer, as simply washing the parts before painting had worked every time. Perhaps this kit being almost 50 years old is different than a kit that is only 1 or 2 years old off the shelf? Whatever the reason, the primer worked GREAT on this, and I am very appreciative of the tip! With the 1.5 days of false labor, I had plenty of time to work on this! The best part, she's okay with it!
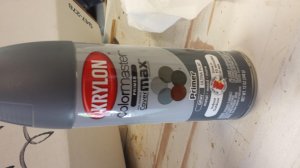
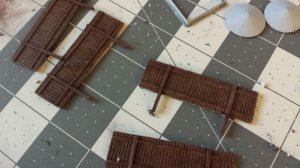
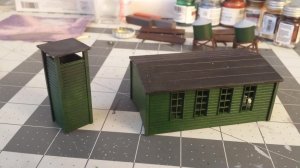
Anyway, I went to Michael's to get the primer. The "paint expert" there suggested using the spray can because the stuff in the painting isle was expensive. So I bought a can, pinned some parts to some scarp pink foam and sprayed away. The primer does eat away at the foam, so I may only get about 100 sprays out of it! After that dried (waited about 6 hours), the green paint is on and smooth!
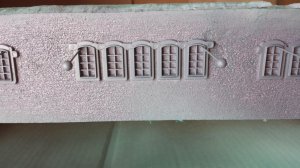
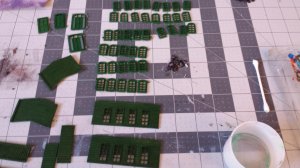
Hey guys! Short delay, but work is back into the daily routine. At the time of my previous post, the only thing I had done was primed and painted the windows. Basically, that was my test material, making sure the method would work. I have since primed the remaining parts of the model and assembled the windows to the walls. I've been busy yesterday and today painting the remaining pieces. Only a couple of hours a day to get the stuff done, so the process is slow but chugging along. I'll keep the updates going as I move along.
Glad you're painting has now progressed past the frustration stage.
I disagree with the sentiment that you have to build it: a gift is an unconditional transfer of ownership; you should not feel any obligation to build or display it. However, if the friend is worth keeping and doesn't acknowledge the "gift" is unconditional idea, then building and displaying it may be the only way to keep the friend.
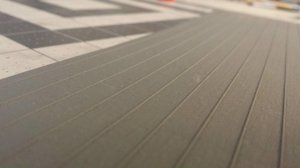
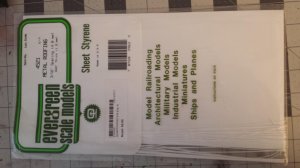
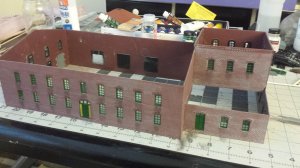
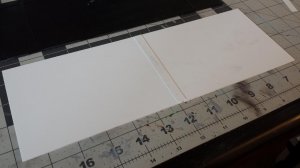
Okay, I haven't posted recently, but have been working slowly and surely. I get a couple of hours on the weekend mornings when the baby and wife are still sleeping. I seem to be the only one in the house that can function on under 10 hours a day! Anyway, I started to assemble everything. I have all of the walls together and had the roof on too. Took the roof off because it just didn't look right (unfortunately, I don't have a picture of the supplied roof assembled). I did a simple Google image search of 1900 era buildings and found that warehouses and factories had either slate or metal roofs. There are two different style roofs that came with the kit. The roof that came with the kit for the main building is supposed to be wood and I think it looks bad. I did take a picture of the texture to show what I mean (below). The roof that goes over the stacks is metal, and looks much better. So, I went out and purchased the Evergreen Metal Roof. Never used this stuff before, so if anyone has any suggestions, I'm all ears! The pictures I found have the ridges running down (so they don't hold water) which means I'll have to cut the piece into sections and assemble them side by side to form the roof. That will be this weekend's goal.
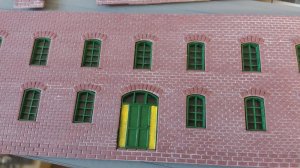
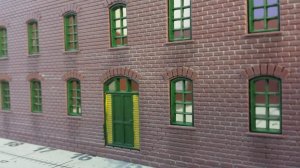
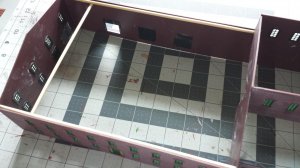
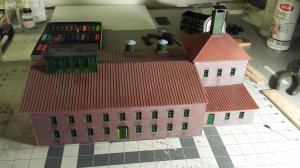
Oh, and some pictures of the assembled walls I took also....
I tried to do a little bit of weathering. Even put small amounts of rust color on the tops of the walls as to where the rust would run from the metal roof.
The walls look great and I look forward to seeing your build progress.
I think you have chosen the right thing to go ahead and build the kit. One thing to be aware of, though, is the scale of the kit. Old plastic kits are often underscale in order to fit to layouts of a generation ago.
Thus, the scale of this kit is most likely closer to 1:110 or even 1:120 than 1:87. The kit can still be used, but take special care of doors etc, which might need to enlarged if you want to have H0, 1:87 scale, figures and vehicles close.
I was working on the layout yesterday and realized i haven't updated this thread in quite some time. Sorry for the delay! Normally I post updates while at work, but we've actually been busy recently so no time to "dilly-dadle"!
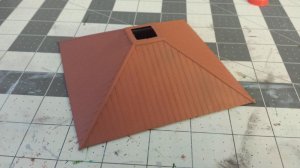
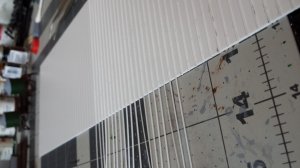
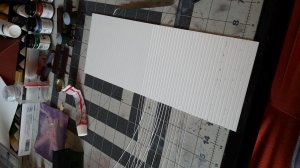
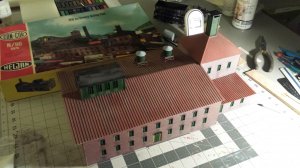
In my last post here, I showed the walls put together and talked about how the roof that came with the kit just wasn't putting the cream in my Twinkies. I had purchased a tin roof since some google image searches of buildings at the time showed either metal roof or slate. I'm not good enough for slate (at this point at least), so tin roof it is. There was a little more work to this than I imagined, but the time spent was worth it.
The sheets had grooves cut in so that the small pieces can be installed. The directions (and internet tutorials I found) said a small amount of glue in the groove and place the piece in there. So I did. I must have used a TON more glue than what they meant because when looking close enough, you can see the bubbly effect that excess glue leaves. I'm leaving it and calling it flaking metal where rusting has been happening for decades.
Sorry, I was stopped by a crying baby with my last post. Finally getting back to updating...
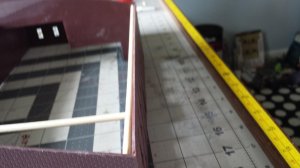
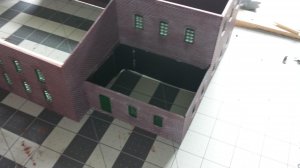
I thought I had pictures of painting and adding some chalks to the roof, but I can't find them now. Anyway, I did that and then glued the two sides of the roof together (also don't have a picture). When I went to assemble the roof, the dry fit proved the building to be out of square, despite my best efforts to hold the square when gluing the walls together. When I put the square on the corners, they looked great, but the roof didn't fit properly. After some careful thought, I realized that the model was so old, the walls were warped, not out of square. So, I ended up using some old cooking skewers to hold the walls in place.
The pictures only show two skewers in there, but I ended up using about 6 of them in the end. Probably could have gotten away with only using 4, but there are a lot of skewers in one package, so I'm not quite so worried about saving the resource.
I then decided to put a light in the office section. To keep the light from bleeding, I used black cardstock to build light blocking walls. Then installed one amber LED (fits the time period) in the area and ran the wire through the cardstock. This should keep the LED placed nicely.
Glad to see you got your paint problems sorted out.I have a suggestion for you spray paint wise.Krylon has a paint called Fusion.While it works on just about all materials it is specifically made for plastic comes in Gloss, Satin, or Flat.They do have a bunch of colours too.
catt, That is good information. I use the Krylon brand primer and matte clear coat, but haven't tried the colors. I have a few applications I can think of where spray paint would be much easier!
As the build progressed, I was only able to get 15 or 30 minutes in at a time. With the small work time, I felt that very little was getting done, and subsequently did not take any pictures. Now I know to take pictures regardless of how small the progress felt, because now I don't have pictures of quite a few things!
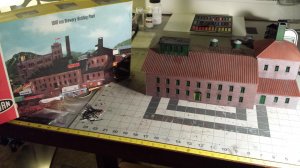
That being said, below are some shots of the finished building. I went to Michael's this past weekend to get the clear transfer paper so I can make my own decals for billboards, but they were out. Once I get my hands on some of that, I'll finish the signs and the building will be done.
That came out really nice. Remember a little often is a lot. If I gave you the kit, I would have expected you to build it. If you didn't I would think you didn't care for it.
beautiful job on that building bklyn. I cant wait to do some more buildings I will be ordering the New river coal mine soon and that looks like a good build.

 After that dried (waited about 6 hours), the green paint is on and smooth!