Running Bear's Coffee Shop LVIII

ModelRailroadForums.com is a free Model Railroad Discussion Forum and photo gallery. We cover all scales and sizes of model railroads. Online since 2002, it's one of the oldest and largest model railroad forums on the web. Whether you're a master model railroader or just getting started, you'll find something of interest here.


I am SO bleeping glad I'm DC with NO sound.. K I S S rules. I know CHET agrees.
NG- Sorry to read about your problems. Watched CURT go through all of his.

Louis- Did you get the "E" ?
Phil

I've have little problems going from DC to DCC - sound or no. Then again, I also knew to tread lightly while in unknown territory. Although I probably won't be falling back on DC anytime soon it wouldn't take me 10 minutes to have my layout running completely DC. Of course, I'd have to remember to pull all my engines off first.


I kind of wish we'd get some "proper" winter weather here. I just went to the groc. store and broke a serious sweat coming back. Doesn't seem right.
It's been something of a strange day including that weather stuff.
PT-17 Stearman flyover.
Cats have been gone all day - not like both of them to be gone so long.
Break a sweat in late Dec. coming back from the groc store.
Received yet another certification from Hillsdale College in mail.
Started a little fire-storm on my surveyor's forum about RRs and minimum radii and "certain" engines. Now it's turned into a discussion about super-elevations and NASCAR tracks. One feller is even pointing me to MR Mag article from 5 years.

Now as I'm typing, my old neighbor is heading over "see if you wanna get drunk".
That won't last long. I'm about ready for a nap anyhow.
E
 
Usually with a pneumatic hammer................:rolleyes:

Small tack hammer and maybe a pair of needle nosed pliers.
I didn't want to come off as looking too dumb for driving track nails. I am really concerned that I may move my track when I go to drive them in. So I am just curious as to how everyone else drives them in.

Sent from my XT1031 using Tapatalk
 
Here we go guys....how do y'all install track nails?

Sent from my XT1031 using Tapatalk

Going straight into plywood, I just pushed mine in with needle nose pliers far as I could then just folded them over.
Unlike Mr. Smarty-pants I left my pneumatic tools alone. ;)
But what would you expect from the land of Absurdistan.
E.
 
Chessie what size nail/spikes did you get?
I think I got the wrong stuff. I made do - because "by God, ain't nothing stopping me now". (and it didn't)
These are my nails. Not what I expected but it was all the LHS had that day 1 year ago today.
Here is a pic.
View attachment 54819
 
Good night everybody, have a great night!

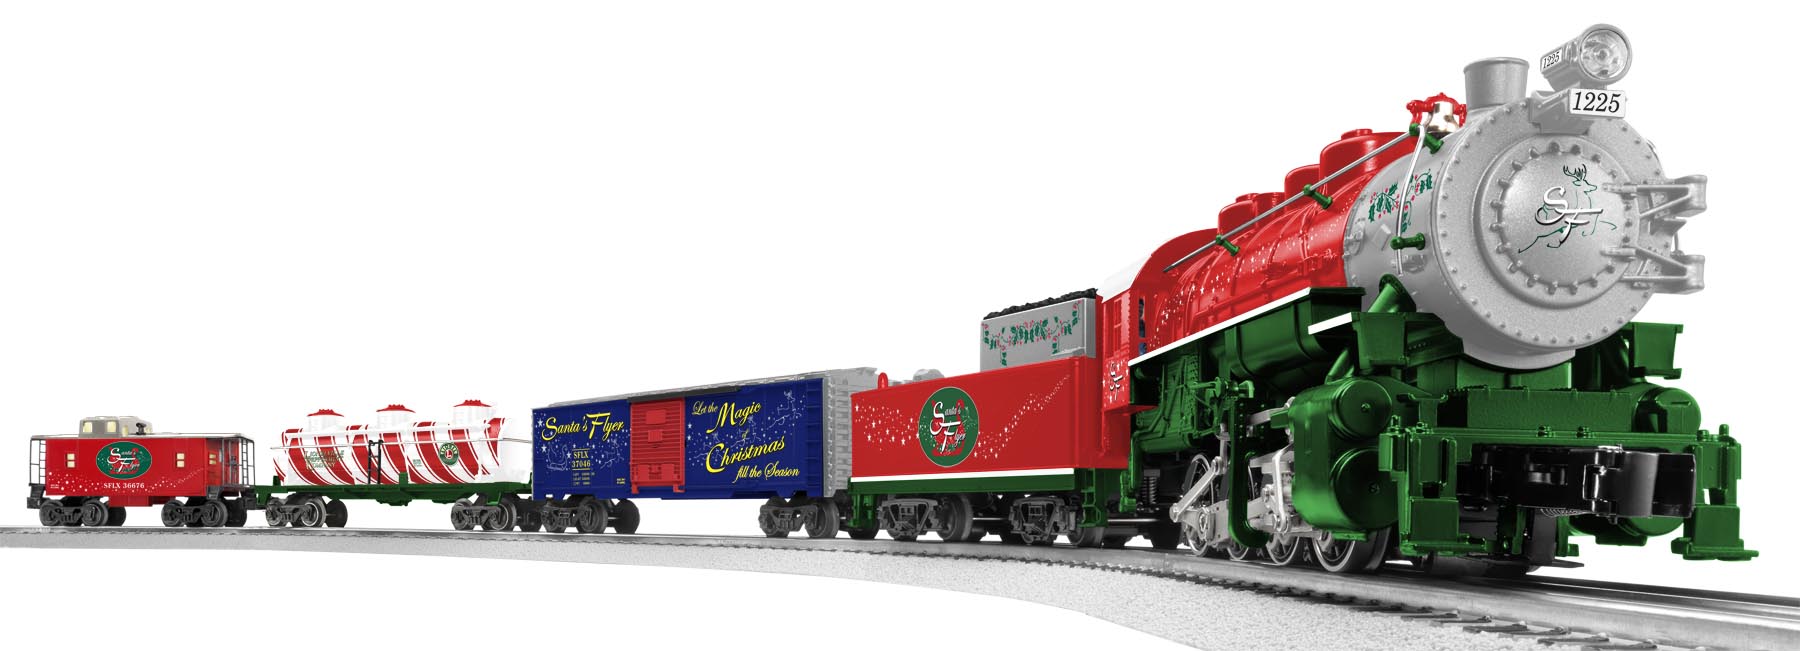
6-30164_santas-flyer-set.jpg
 
NFG, to remove the Shark shell, simply remove the front coupler, gently spread the shell on each side, just ahead and behind the fuel tank, and lift the shell off.
You will find the reset button on the decoder.
Curt, the shark decoders are Paragon 2.
 
Chessie what size nail/spikes did you get?
I think I got the wrong stuff. I made do - because "by God, ain't nothing stopping me now". (and it didn't)
These are my nails. Not what I expected but it was all the LHS had that day 1 year ago today.
Here is a pic.
View attachment 54819
I picked up I'm pretty sure model power nails. They are silver instead of black like the atlas nails but I got more for less with them. Honestly I tried driving one already and well....it bent before it even went half way in.

Sent from my XT1031 using Tapatalk


Back in the late 70's I used Atlas nails in plywood with varying degrees of success on my N scale layout. I used a tack hammer to drive them about half way, then finished with a nail set. If needed, I would use the nail set to bend the nail whatever direction was needed to keep my flex track lined up. All in all, a major headache to do. Track spikes will work a lot better if you are using Homasote as a base. Any reason to not use acrylic caulk to glue your track in place instead of nailing it?
 
Chessie- I used atlas nails. Sometimes the nails do bend because you tend to hit them at an angle. Double check the full range of the turnout before nailing it down. I have had to redo a bunch of them because after nailing down it would not do a complete throw.
 
Push them straight down with a pair of needle nose pliers that has well defined "teeth" in the jaws, vertically. That will reduce the possibility of sideways movement of the track, then drive in with a small nail punch of the recessed tip variety (flat tips will slide off and bend the nail). Only drive in far enough to secure the tie, don't hammer down too hard that you bend the tie down in the middle.
 
ERIC - Did you hear the news ? Almost 50 ? or more, propane tanks have been stolen and a number of Wal-Mart stores have had large numbers of cell phones bought. Gonna be whole lot of trouble soon. Every one be careful.
If it looks scary, call 911.
 
Chessie.... looking back a few pages, i see you are laying track directly on plywood... Tough stuff to drive those little nails through. In those circumstances (I have done that in some yard area), your best bet is to use a numbered drill just a tad smaller in diameter than the nail. Then hold the nail in place with a pair of needle nosed pliers and tap the nail down into the hole. Finish the job off using a nail set or punch and as was said above only tap the nail in flush with the top of the tie. If you go too far, remove the nail and drill another hole a couple ties away and start over. Those nails are meant to go into cork or homasote roadbed, not directly into plywood!

I no longer use track nails at all as I am hand laying all my track. Ties are held in place with a small amount of Pliobond and then the rails are put in place using a PC tie and soldered along with Pliobond on the top of the ties and then sealed in place with a hot soldering iron. Another way to put down commercial track is to not use nails at all but a thin layer of "Liquid Nails for projects". If done right the track can be removed and reused if you want.
 
Last edited by a moderator:
NFG, to remove the Shark shell, simply remove the front coupler, gently spread the shell on each side, just ahead and behind the fuel tank, and lift the shell off.
You will find the reset button on the decoder.
Curt, the shark decoders are Paragon 2.

Bless you, Sir! I don't want to break em till I BREAK em, if you know what I mean!

Dumping one on the floor I will take because that's going to be my fault for going too fast or doing bad track work, this factory stuff is balona-hooey! Cutting the 'chins' off a DD40 is one thing, going inside one of these things is quite another entirely. It's dang scary! I don't want to do any damage trying to fix something.

Ignorance is merely a lack of knowledge. STUPIDITY is an inability to understand information once it is presented to you.

I hope I'm in the first category! LOL!
 
I must say the nail idea is driving me nuts! I may have to ditch this idea....unless by some miracle I can come up with something else

Sent from my XT1031 using Tapatalk
 
For going straight into plywood, drilling the holes slightly undersized may be the best way. (another reason for cork roadbed or homabed)


Another gray day (Sunday) here again, had sun with clouds yesterday. Temps been up to 85F, but you wouldn't go thirsty, just squeeze some air between your hands'll produce a glass of water.


Affiliate Disclosure: We may receive a commision from some of the links and ads shown on this website (Learn More Here)

Back
Top