New Layout for LASM

ModelRailroadForums.com is a free Model Railroad Discussion Forum and photo gallery. We cover all scales and sizes of model railroads. Online since 2002, it's one of the oldest and largest model railroad forums on the web. Whether you're a master model railroader or just getting started, you'll find something of interest here.


THANKS for all the input, I missed the activity yesterday but also had the thinking hat on as to how to get some off layout track.


I would also consider the combination of using a hill and a highway overpass for hiding the train. More specifically, use a hill that has a highway (well actually a country road if needed) on it, which overpasses the curved tracks and hides the "entrance" behind the hill.
.

This is interesting, I was thinking about having a turnout in the upper right and pulling the backdrop in and running it behind the backdrop and coming back in on the left end of the small yard area left of the elevator and feed mill.

I can dream up a way to have the dirt road overpassing and putting in a grove of trees and running the track behind the backdrop there. I am leaning toward using a tree and field backdrop on the right part of the layout and sky on the left "industrial" end, with industrial structures printed in or place some of those background buildings along that wall

"agricultural" backdrop ideas:


With these I can use the dirt/gravel road in the foreground and also incorporate tree areas:
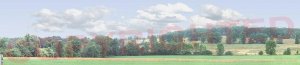
Farm backdrop.jpg

farm backdrop 2.jpg


With this one I will put the background buildings on:

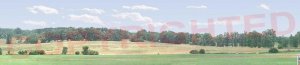
CS-SKL-122Clouds.jpg


Backdrops from Backdrop Warehouse.
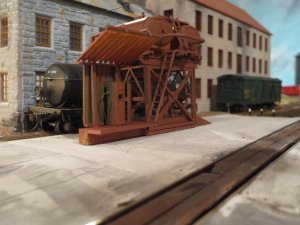
 
That sounds like a good option. I foud that it isn't too hard to blend in hardshell scenery into a printed backdrop. Don't see why it wouldn't work.
 
Here is a pic of some cool fuel tanks that I got for the ole layout. They came from Greece and it looks like it cost more for shipping, based on the number of stamps used on the package!!! They were purchased on ebay, cost 7.10 and was shipped free!

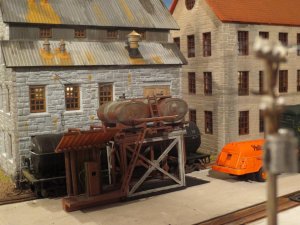
This only took a couple hours to put together, and when I get it fully detailed in place should be pretty cool:


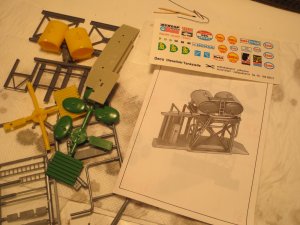
Here is what it looks like in the package, the directions were actually quite helpful! No words, only diagrams and numbers!

fuel tanks 002.jpg


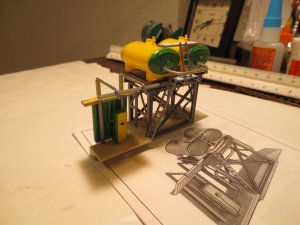
Went together easy with CA glue

fuel tanks 003.jpg


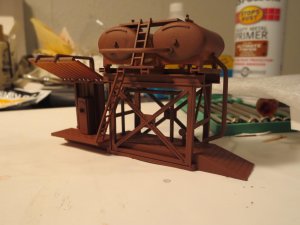
Put on a coat of primer with the rattle can:

fuel tanks 004.jpg

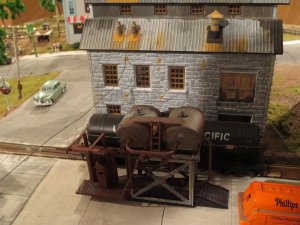
This is where it will probably go, will need to mess it up a bit around the tanks, barrels, pallets, etc.

fuel tanks 005.jpg


Thanks guys for the comments--I thought the gray primer looked pretty good but I added a little color to try to make it look like it was painted and the paint is flecking and peeling off some places, also some spilled diesel fuel on top,


O well here is my first trial at getting it a little dirty:


Fuel Tanks2 002.jpg


I noticed last night I used up all my barrels and pallets and will have to look for some and get them out there as well.


Fuel Tanks2 001.jpg
 
Thanks Tony--every time I work on some painting I wish I had an airbrush. It is not that we can't afford one, but I simply am having a hard time justifying another thing that is going to take up space in my train room! (other than tracks, that is)
 
David,

An air brush would make things easier and/or quicker but, to be honest, I don't see how one could or would improve what you already do.


Personally, although I have a line on a used, good quality airbrush from a buddy, your work inspires me to know that I don't necessarily need one! Nice going, David.
 
Looks dirty for sure, not bad. Have you any chalks on hand ? Chalks are a quick and easy way to weather it up .
 
I like what you've done David.
I was also debating on getting a compressor and an air brush, but with what you've achieved, I think I'll wait
Very nice job you've done
 
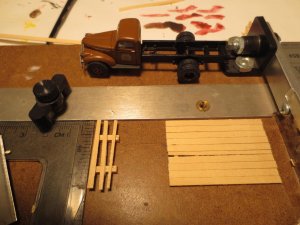
Pics of an easy project took one easy evening, new flat bed on my CMW truck:


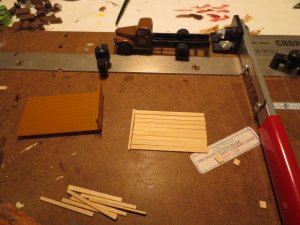
First I cut out all the pieces. I used the factory plastic one as something of a guide, although mine is a tad shorter and narrower:

Flat bed 018.jpg


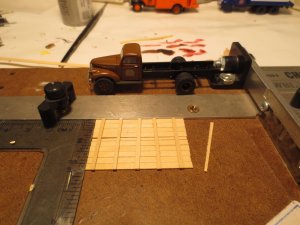
I put the square down and glued down the cross planks. I could have used 4 x 4's but these weren't going to show except the ends. A little trimming took place after the glue set up ( about 30 minutes)

Flat bed 019.jpg

I had a couple larger squares for the headache rack. The wet glue showing was easily soaked up by rubbing a toothpick over them immediately.

Flat bed 020.jpg


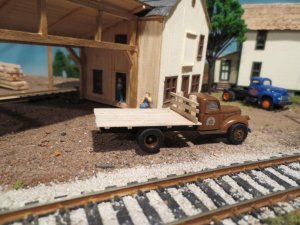
I brushed India ink and water mixture on to fade it down a little. I could go over it a bit more, it looks. The beams on the shed roof of the mill office were treated the same way and got a lot darker. Also had to trim the ends off the middle cross piece so the tires would turn more freely. Here it is at the lumber yard:

Flat bed 024.jpg


Pics of an easy project took one easy evening, new flat bed on my CMW truck:


First I cut out all the pieces. I used the factory plastic one as something of a guide, although mine is a tad shorter and narrower:

View attachment 53477


I put the square down and glued down the cross planks. I could have used 4 x 4's but these weren't going to show except the ends. A little trimming took place after the glue set up ( about 30 minutes)

View attachment 53478

I had a couple larger squares for the headache rack. The wet glue showing was easily soaked up by rubbing a toothpick over them immediately.

View attachment 53479


I brushed India ink and water mixture on to fade it down a little. I could go over it a bit more, it looks. The beams on the shed roof of the mill office were treated the same way and got a lot darker. Also had to trim the ends off the middle cross piece so the tires would turn more freely. Here it is at the lumber yard:

View attachment 53480

EXCELLENT! I helped a guy put the wood to a truck like that back in the 70's! It had a wood back like that but was all rotted out and we replaced it, well, I carried boards and HE built it!

Have not thought of it in years THANKS!


Affiliate Disclosure: We may receive a commision from some of the links and ads shown on this website (Learn More Here)

Back
Top