
You are using an out of date browser. It may not display this or other websites correctly.
You should upgrade or use an alternative browser.
You should upgrade or use an alternative browser.
New Layout for LASM
- Thread starter logandsawman
- Start date
ModelRailroadForums.com is a free Model Railroad Discussion Forum and photo gallery. We cover all scales and sizes of model railroads. Online since 2002, it's one of the oldest and largest model railroad forums on the web. Whether you're a master model railroader or just getting started, you'll find something of interest here.


Affiliate Disclosure: We may receive a commision from some of the links and ads shown on this website (Learn More Here)

logandsawman
Northern Pacific history enthusiast
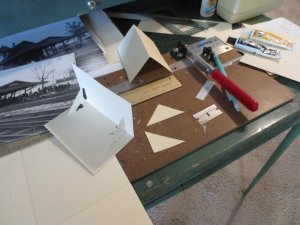
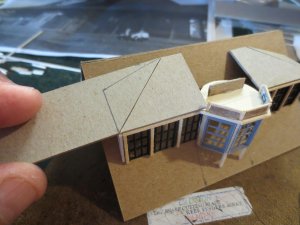
Well I am getting to the roof line, had to try a few different pitch's to get what looks right, for the main part of the depot it looks like 12/12. This came by trial and error, then putting together a couple and finding the right thing:
Here are a few of the trial subjects along with a mock up of the main roof with the 12/12. First I used a triangle of cardboard glued on then added the JB weld so I could handle everything without it falling apart on me.
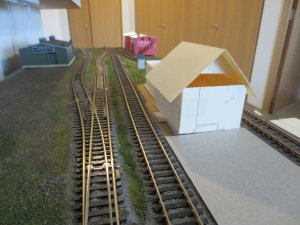
Here is a view of how it looked on the "station". I already shrunk the width of the station down by 2' from my original calculation, from the previous post:
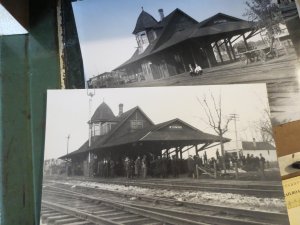
Here are the pics I am trying to copy for the roof, the 1915 and post 1920 views:
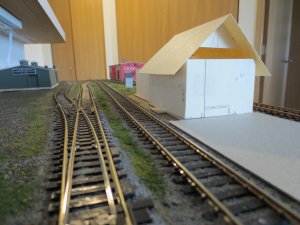
Here I am trying to get the camera in the right position to approximate the photo
Here are a few of the trial subjects along with a mock up of the main roof with the 12/12. First I used a triangle of cardboard glued on then added the JB weld so I could handle everything without it falling apart on me.
Here is a view of how it looked on the "station". I already shrunk the width of the station down by 2' from my original calculation, from the previous post:
Here are the pics I am trying to copy for the roof, the 1915 and post 1920 views:
Here I am trying to get the camera in the right position to approximate the photo
logandsawman
Northern Pacific history enthusiast
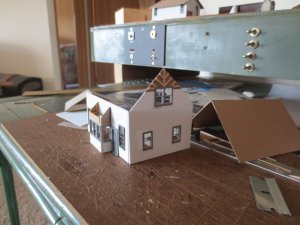
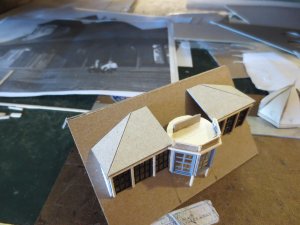
Have a couple pics of the nearly completed mock up, next step is to make the real thing, will begin checking my window and door assortment and begin cutting the windows and walls.
I am using styrene for all the walls and reinforced cardboard for the roof areas. Not sure of a material for the roof covering, pretty hard to tell from the old photo.
Here the mocked up porch is shown. The posts are just to hold it up, will try to space them like the photo
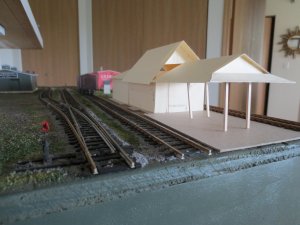
I have the other details figured out here, when I get to the final build this will be the time consuming area
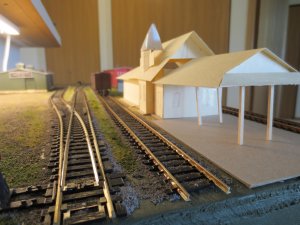
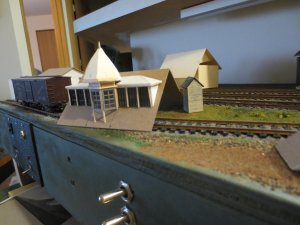
I ran the train to make sure everything cleared, I had to take a little more off the roof lines to get things to fit
I am using styrene for all the walls and reinforced cardboard for the roof areas. Not sure of a material for the roof covering, pretty hard to tell from the old photo.
Here the mocked up porch is shown. The posts are just to hold it up, will try to space them like the photo
I have the other details figured out here, when I get to the final build this will be the time consuming area
I ran the train to make sure everything cleared, I had to take a little more off the roof lines to get things to fit
logandsawman
Northern Pacific history enthusiast
Thanks, Chet--Here are a couple pics of getting going on carving out the windows and doors. It is funny how this styrene can sometimes be difficult to get a perfect cut.
Luckily with the doors and windows from Tichy you get a little grace,
In this shot, here is my template with the dimensions, the cut pieces of styrene, and the part of the building that I am working on. This is a more recent photo of the 1890 depot.
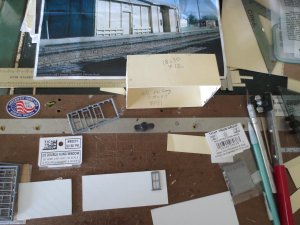
Here I am making my lines and cuts from the back. I always write "up" on the back of my styrene projects as the siding has an up and a down due to the board overlap.
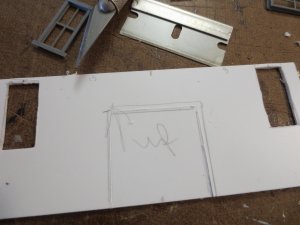
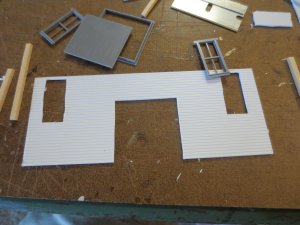
Here I have all the holes cut out and am checking the spacing. The uprights are scale 8 x 8's, I think I will be going with 4 x 4's instead.
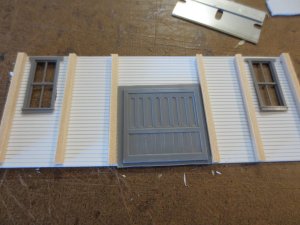
This just shows the openings, even with brand new blades I am unable to get perfectly straight cuts.
Luckily with the doors and windows from Tichy you get a little grace,
In this shot, here is my template with the dimensions, the cut pieces of styrene, and the part of the building that I am working on. This is a more recent photo of the 1890 depot.
Here I am making my lines and cuts from the back. I always write "up" on the back of my styrene projects as the siding has an up and a down due to the board overlap.
Here I have all the holes cut out and am checking the spacing. The uprights are scale 8 x 8's, I think I will be going with 4 x 4's instead.
This just shows the openings, even with brand new blades I am unable to get perfectly straight cuts.
logandsawman
Northern Pacific history enthusiast
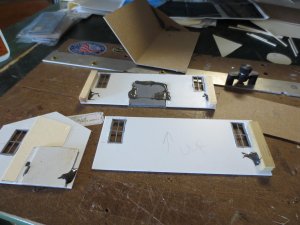
Well I made some more progress, some pics of the roof for the baggage part of the depot, ready to add the supports and paint it:
Here the roof section is laid out on the reinforced cardboard:
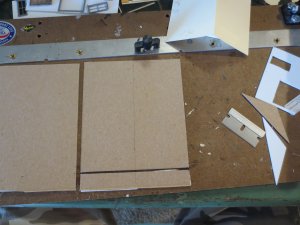
Here the pieces are cut out and the gable glued on, this end is towards the rest of the depot so won't be showing. I run a knife along the centerline so it will bend in a straight line:
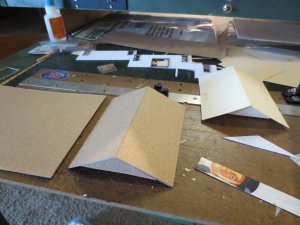
I reinforced a bunch of the stuff from the inside, using the JB weld epoxy:
The basic structure of the baggage room is put together, still will be adding roof supports, wall details, and paint.
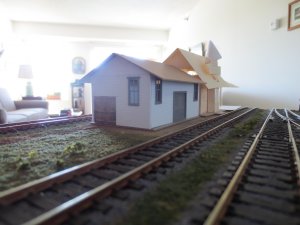
The windows seem really high, but you will note on the prototype they are up nearly along the roof line. Must have been primarily to add light, as this structure was originally build in 1890.
You have to go back to post 887 to get this view. The depot looks different here than the 1917 pictures simply because they removed the roof, however the main part of the structure remains the same.
Here the roof section is laid out on the reinforced cardboard:
Here the pieces are cut out and the gable glued on, this end is towards the rest of the depot so won't be showing. I run a knife along the centerline so it will bend in a straight line:
I reinforced a bunch of the stuff from the inside, using the JB weld epoxy:
The basic structure of the baggage room is put together, still will be adding roof supports, wall details, and paint.
The windows seem really high, but you will note on the prototype they are up nearly along the roof line. Must have been primarily to add light, as this structure was originally build in 1890.
You have to go back to post 887 to get this view. The depot looks different here than the 1917 pictures simply because they removed the roof, however the main part of the structure remains the same.
Last edited by a moderator:
logandsawman
Northern Pacific history enthusiast
Thanks, Chet-- I got around to working on cutting out the parts and installing the windows and doors in the main part of the depot, also found this old photo showing the "back" (east) side of the depot, shows a dormer over there which I was unaware of. The passenger car is sitting on the spur to Taylors Falls:
This is the photo of the east part of the depot, showing a dormer which does not show up in my other photos. Based on the auto late 30's?
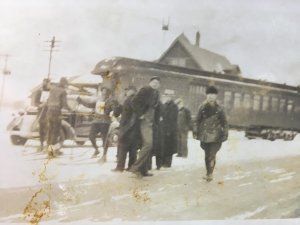
I just realized it looks like some of the people are wearing cross country skiis and looks like a race?!
*****************************
Here are the four sides for the main part of the depot, showing how the ticket area should be laid out:
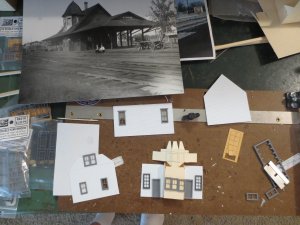
Here I have half of the work done on the ticket "booth".
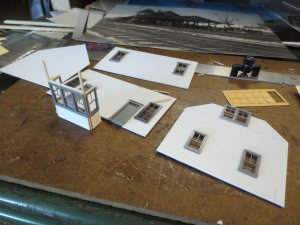
Next I will be making the roof and working on the fancy detail.
This is the photo of the east part of the depot, showing a dormer which does not show up in my other photos. Based on the auto late 30's?
I just realized it looks like some of the people are wearing cross country skiis and looks like a race?!
*****************************
Here are the four sides for the main part of the depot, showing how the ticket area should be laid out:
Here I have half of the work done on the ticket "booth".
Next I will be making the roof and working on the fancy detail.
steveparkinson
Member
Hi David, I had a lot of catching up to do in your thread. Amazing work, I love those scratchbuilt buildings. Excellent work, keep it up.
Sent from my iPhone using Tapatalk
Sent from my iPhone using Tapatalk
logandsawman
Northern Pacific history enthusiast
Hi, Steve, thanks for checking it out. Currently scratch building a scene from an old photo which will be incorporated into my new layout!
logandsawman
Northern Pacific history enthusiast
Here are a few pics of the next steps in the depot construction;
Here the roof is completed for the main depot, reinforced cardboard is used:
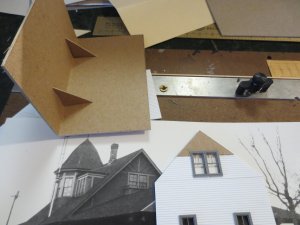
This is the porch that extends out south of the main part of the depot, I used the template to draw it out on the reinforced cardboard in one piece:
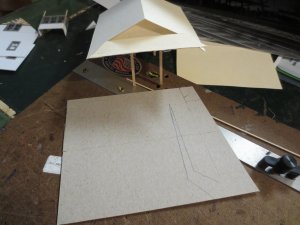
Here it is cut out and the angles are glued in, the front of the porch will also be attached:
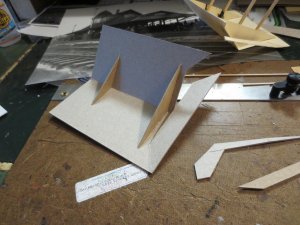
Here two pieces of the depot are ready for painting, the porch roof is in the background and the depot roof is on the right.
Next I will be working on the roof details, also getting a coat of paint on everything in preparation for windows. The entire building will have to get a coat of paint before the windows go in, and the assembly cannot be finalized until I am sure the windows will stay in place.
Not quite sure what color the depot was back in 1920, anyone have a suggestion?
Here the roof is completed for the main depot, reinforced cardboard is used:
This is the porch that extends out south of the main part of the depot, I used the template to draw it out on the reinforced cardboard in one piece:
Here it is cut out and the angles are glued in, the front of the porch will also be attached:
Here two pieces of the depot are ready for painting, the porch roof is in the background and the depot roof is on the right.
Next I will be working on the roof details, also getting a coat of paint on everything in preparation for windows. The entire building will have to get a coat of paint before the windows go in, and the assembly cannot be finalized until I am sure the windows will stay in place.
Not quite sure what color the depot was back in 1920, anyone have a suggestion?
logandsawman
Northern Pacific history enthusiast
Well, I dug into the Depot turret and have some pics of the progress, it started out an unknown element but is coming together,
First, I had to figure out the approximate diameter, cut it out of a piece of lightweight cardboard,and get the windows to match. I drew the locations on the cardboard and checked to see if things were going to line up, then glued things together:
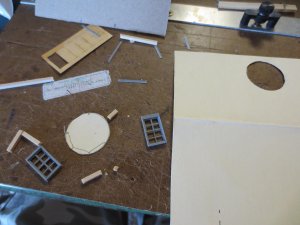
I glued a piece of scale 4 x 4 to the top of each and attached them to the cardboard, as well as some between the windows:
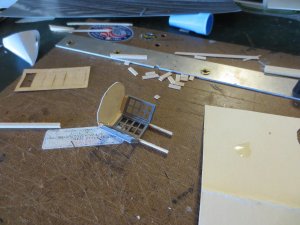
It looks like I skipped a couple steps with the photograph but used the same scale 4 x 4 to attach the other windows together and get the assembly roughed in
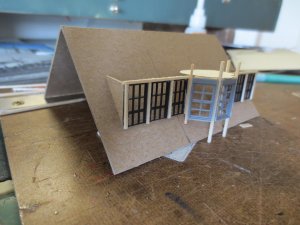
I am going to have to paint this part before I add the glass, and that before it gets glued to the roof.
First, I had to figure out the approximate diameter, cut it out of a piece of lightweight cardboard,and get the windows to match. I drew the locations on the cardboard and checked to see if things were going to line up, then glued things together:
I glued a piece of scale 4 x 4 to the top of each and attached them to the cardboard, as well as some between the windows:
It looks like I skipped a couple steps with the photograph but used the same scale 4 x 4 to attach the other windows together and get the assembly roughed in
I am going to have to paint this part before I add the glass, and that before it gets glued to the roof.
logandsawman
Northern Pacific history enthusiast
Hi Yannis, thanks for viewing! Today I will be putting the "roof" on the turret. I think I spend twice as much time thinking about how I will be doing this than the actual doing.
logandsawman
Northern Pacific history enthusiast
Some pics of the construction of the turret for the Wyoming, MN Depot. This is a second attempt, since the first one yesterday morning did not hold together well and I realized I needed a more solid base to keep the dimensions together:
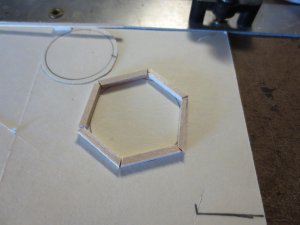
First, I had to draw out the base and glue on scale 4 x 4 lumber to have something to attach the sheathing to:
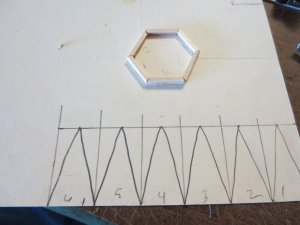
Here, I drew out the sections free hand to get a little sweep in them, as the structure was not angular in the slope of the roofs:
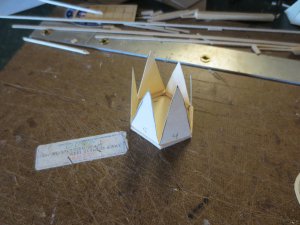
I used CA glue to attach the sheathing to the base pieces:
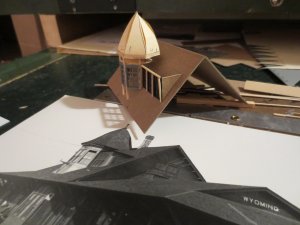
Lastly, I added some glue to get the final "rough" appearance. The assembly is not attached, the shingles will be applied first. Not sure if there will be some more steps to get this ready for the shingles,
This is the hard part, I think, of the whole thing.
First, I had to draw out the base and glue on scale 4 x 4 lumber to have something to attach the sheathing to:
Here, I drew out the sections free hand to get a little sweep in them, as the structure was not angular in the slope of the roofs:
I used CA glue to attach the sheathing to the base pieces:
Lastly, I added some glue to get the final "rough" appearance. The assembly is not attached, the shingles will be applied first. Not sure if there will be some more steps to get this ready for the shingles,
This is the hard part, I think, of the whole thing.
logandsawman
Northern Pacific history enthusiast
I have been putting things together and found I had to add a post into the center of the turret and came up with a way better result, also pics of the roof section assembly adjacent to the turret:
I am creating the roof sections adjacent to the turret (currently not in place):
I have both sides cut and shaped. Score the angle point with a sharp blade, bend slightly, do not cut through
I closed the gap with another piece, attached with a couple wood strips
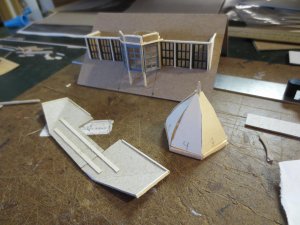
I set things together, nothing glued on yet. I have to paint, add glass and add a background behind the windows before final glue
I am creating the roof sections adjacent to the turret (currently not in place):
I have both sides cut and shaped. Score the angle point with a sharp blade, bend slightly, do not cut through
I closed the gap with another piece, attached with a couple wood strips
I set things together, nothing glued on yet. I have to paint, add glass and add a background behind the windows before final glue
logandsawman
Northern Pacific history enthusiast
Here I am getting going on the baggage section of the depot, had set this aside to work on the turret and now am back on it:
Here it is just the windows, getting the uprights and trim pieces ready. The cardboard separated a little, I see; the trim piece (scale 2 x 6) will cover this up. I did not have the glue spread adequately when I put this together.
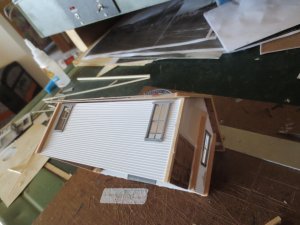
Here I have this side ready to paint. The windows always seem high, however on the original depot this is how they were placed. This was built in 1890, and natural light was very important. I am going to guess the high position deterred robbery, also maybe smashing stuff into the glass.
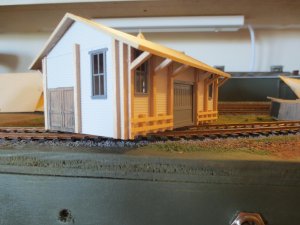
Lastly, a look from the end. A "Wyoming" sign will go here when it is painted. In the background you can see some of the other components I am working on:
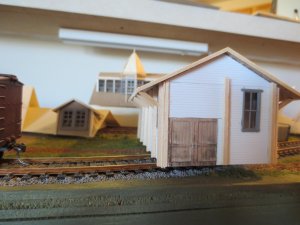
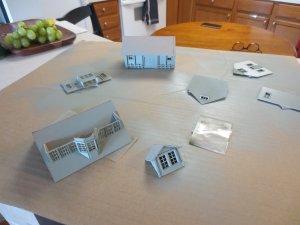
ONE of the biggest issues I grapple with is putting the glass into the windows and getting the spray paint on, also the sequence of assembly to accomplish this.
Here it is just the windows, getting the uprights and trim pieces ready. The cardboard separated a little, I see; the trim piece (scale 2 x 6) will cover this up. I did not have the glue spread adequately when I put this together.
Here I have this side ready to paint. The windows always seem high, however on the original depot this is how they were placed. This was built in 1890, and natural light was very important. I am going to guess the high position deterred robbery, also maybe smashing stuff into the glass.
Lastly, a look from the end. A "Wyoming" sign will go here when it is painted. In the background you can see some of the other components I am working on:
ONE of the biggest issues I grapple with is putting the glass into the windows and getting the spray paint on, also the sequence of assembly to accomplish this.
logandsawman
Northern Pacific history enthusiast
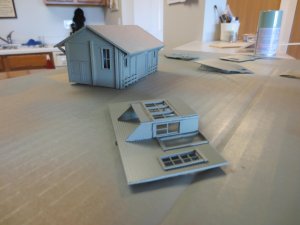
Decided to get a coat of paint on, really makes it! We are having low humidity and wind, and went outside to do this
After seeing how nice the paint looks, I am a little reluctant to paint any or how much of the trim
After seeing how nice the paint looks, I am a little reluctant to paint any or how much of the trim
logandsawman
Northern Pacific history enthusiast
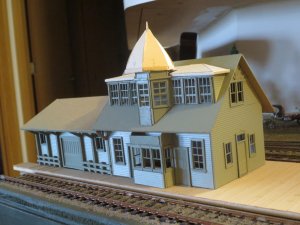
Posting pics of glueing the main part of the depot together, also seeing how two sections line up, preparing to paint trim and get the glazing set:
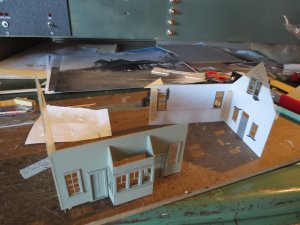
I glue these little blocks of wood at the corners to hold things together
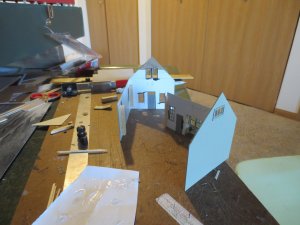
Here is the back side, not nearly as much detail as the front; will be staining the platform yet, also may be adding a canopy over the end (I noticed in the older photo there was one, something I previously did not notice)
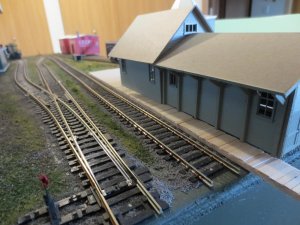
Here the front of the depot is coming together; will be filling in the space above the ticket area, also painting trim wherever appropriate, adding detail to corners.
There is also the porch roof over this end which is in progress
I glue these little blocks of wood at the corners to hold things together
Here is the back side, not nearly as much detail as the front; will be staining the platform yet, also may be adding a canopy over the end (I noticed in the older photo there was one, something I previously did not notice)
Here the front of the depot is coming together; will be filling in the space above the ticket area, also painting trim wherever appropriate, adding detail to corners.
There is also the porch roof over this end which is in progress
Affiliate Disclosure: We may receive a commision from some of the links and ads shown on this website (Learn More Here)