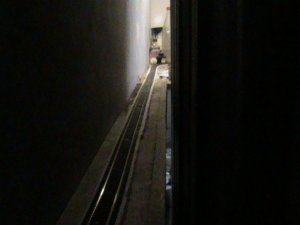
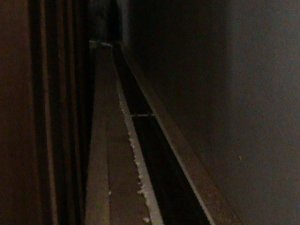
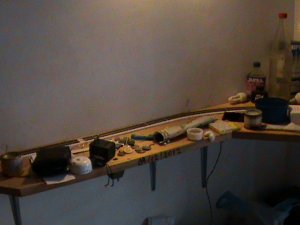
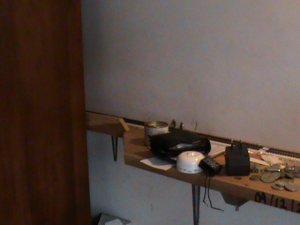
My simple bare-bones around the room shelf layout

ModelRailroadForums.com is a free Model Railroad Discussion Forum and photo gallery. We cover all scales and sizes of model railroads. Online since 2002, it's one of the oldest and largest model railroad forums on the web. Whether you're a master model railroader or just getting started, you'll find something of interest here.


Hello People,


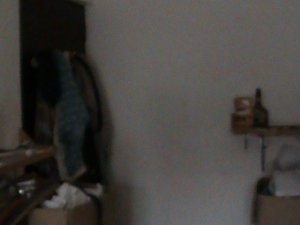
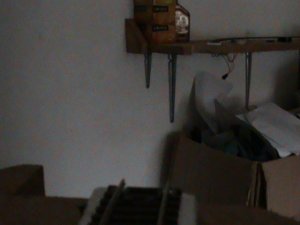
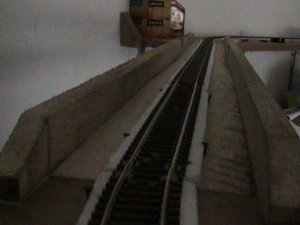
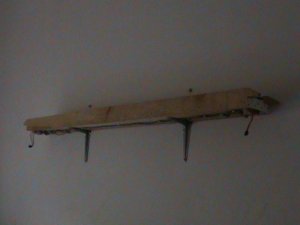
I managed to get some grainy pictures (couldn't get a descent camera) of my 'bare-bone' layout.

Please excuse the mess :rolleyes:.

It is nothing at all compared to the layouts I see in this site and others, but I thought I'll share some pictures with you good people.

Some details:

. Shelf, consist of 3 1/2" to 9 1/2" wide 1" thick planks mounted on top of metal L brackets.

. There is also a removable bridge section which is 45" in length.

. It is standard DC.

. HO scale, code 83 NS track, Atlas sectional and Peco flex track.

. Track road-bed is 1/4" white Styrofoam.

. No scenery, but I run Norfolk Southern local trains on the layout (I do however, want to add light signals in the future).

. More track is to be installed.

. Train, at 20 scale mph, takes around 1 1/2 mins to go around the room.

1.JPG1B.JPG2.JPG

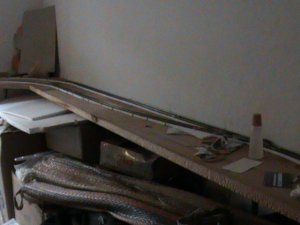
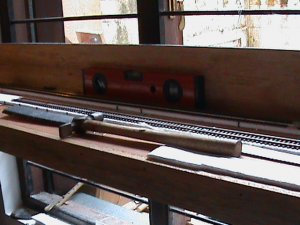
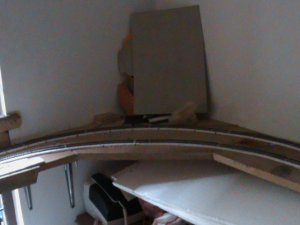
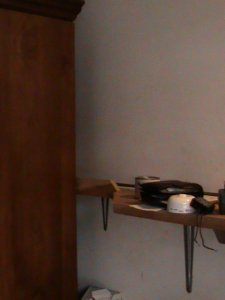
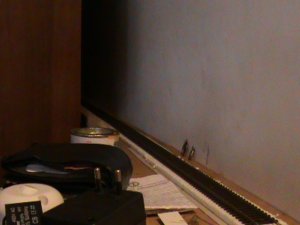
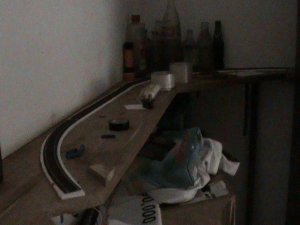
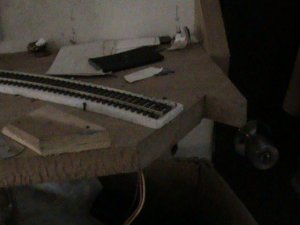
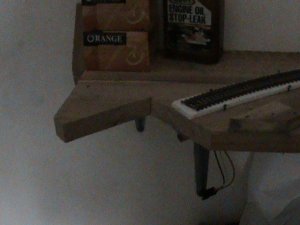
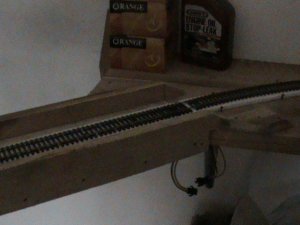
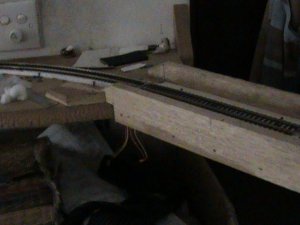
1st picture, the North shelf, track on the left is a siding which continues to West shelf, #4 LH switch will be replaced soon or later with a #6. 2nd picture same as previous, different angle. 3rd picture, West shelf, siding will end here. However, there will be a spur from the siding, which will continue to the South shelf.

Constructive criticism and advice is welcomed:).

More in next post.


DE
 
More pictures:
6.JPG4B.JPG3.JPG3B.JPG


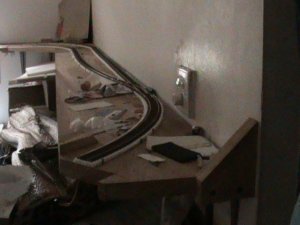
1st picture, where North and West shelf meet. BTW minimum radius on the layout is 24".

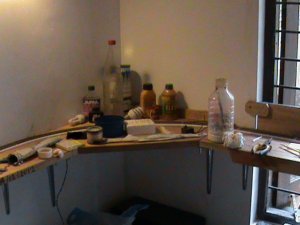
2nd picture, where West and South shelf meet, as mentioned in my previous post, the spur which comes from the siding, will continue inside the track seen.

3rd picture, probably my favorite part of the layout, this is a part of the South shelf which narrows down to 4" as it has to run behind a wardrobe. I like it because the train disappears for around 10 seconds, gives the impression it is a large layout. This shot is looking West from East shelf.

4th picture, same, but now looking East


More pictures to come.
 
More pictures:4.JPG8.JPG8B.JPG8C.JPG

1st picture: South shelf section I plan to end the previously mentioned spur.

2nd picture: Point at which South shelf narrows down to 4" to go behind wardrobe.

3rd picture: Same shot at different angle.

4th picture: Same shot at different angle.


More to come!


I will be putting up more pictures up tomorrow or day after.

So keep looking, and like I said, constructive criticisms and advice are welcomed.


TC, DE.
 
Hey DE

I am starting a new layout, too, something around the room; but suspended from the ceiling. We are in a rental, but lucky enough to have some really high ceilings. About the only place I can work is up.

My old layout was on a 4 x 8; which I had to sell due to the amount of space we have. You can see all the photos by searching logandsawman. I tried to stack the photos from last to earliest, but the system would not cooperate. So, you will see some painfully raw early stuff.

A couple newbie questions, why do we use cork or foam or something under the track? Is it mainly to get the ballast effect?

More later, Dave
 
Hey logandsawman,


A couple newbie questions, why do we use cork or foam or something under the track? Is it mainly to get the ballast effect?

Well, originally I was going to nail track directly to the wood, but after asking for opinions on this site, I was advised to put down road bed.

I forget why, but I did noticed that one can level the track better when having some form of road bed. Also, it reduces the noise made by the train rolling along.

I'm very sure someone else will have a better answer.


Anyway here are some more pictures:

5.JPG5B.JPG9B.JPG9.JPG

1st picture: East side of the layout.

2nd picture: Where East side meets the South side and narrows down to 4" to go behind wardrobe.

3rd picture: Bridge section, spans a gap 45" wide. Joins the East side to North.

4th picture: Bridge section removed.


More pictures in next post.
 
More pictures:
10B.JPG10C.JPG12.JPG

1st picture: Bridge section removed, looking from North side of layout to East, what You see is a 49" drop!

2nd picture: Same shot with bridge section in place.

3rd picture: Bridge storage when not in use.


More pictures next post.
 
More pictures (Bridge details):
11.JPG11C.JPG11B.JPG11D.JPG

1st and 2nd pictures : North side and East side end sections with bridge removed.

3rd and 4th pictures : Same as other two, but bridge section in place.


I should mention, that the wires you see are whats connected (via connectors) when the bridge section is place, I have wired it such, that when the bridge section is removed (and wires disconnected) the last 2 sectional curved track at the ends of the North and East side are 'switched' off. Obviously in place just in case the train does run without the bridge in place.


Well, that's it, thanks for looking.

I will post more once more track is added or changed.

Couple of questions:

1. I've tried to base the layout operations on a Norfolk Southern branch line (trains up to 10 cars long with one locomotive maybe two) . In case you didn't notice (due to bad picture quality) the track does to an extent rise and descents and I like the effect of it. I would like to know what a typical speed limit of of this sought of line? (20 mph)?

2. Also, would a locomotive like a SD40 or NS's SD40E be used on such a branch line?


Information will be appreciated.


DE.
 
Hey DE

Thanks for the info about the cork. I kind of like the noise the train makes on the track, but I have heard others talk about the lack thereof being cool. I find your project entirely awesome.

Since I am really into buildings and scenery and stuff, I think I would have left a little more space between the track and the wall. That is where I would put some little scenes or shrubs and rocks or something. There may be a reason that you put it in close, though, something to do with the backdrop?

More later, logandsawman
 
I find your project entirely awesome.


Thanks logandsawman for the compliment.


I think I would have left a little more space between the track and the wall.


You are right, actually I would have left more space between the track and the wall. But the fact that I wanted to maintain 24" radius curves, and also wanting to have some sidings and spurs while maintaining the 24" radius and space restraints, the main track had to be kept close to the wall.

That said, this IS a 'bare bones' layout, it is mainly for just running trains, I do not intend to have any scenery (who knows, I may change my mind), but I'll be adding some light signals and maybe some buildings.


Regards,


DE


Hey DE,

Are you purchasing pre made imagery for the walls? Let me know if you are looking into this. I have heard of some drawing their own artwork.

Later, Logandsawman
 
Hello Logandsawman,


Are you purchasing pre made imagery for the walls?


I really don't think so, like I say this is a 'bare-bones' layout just for running trains.

But who knows, I may change me mind.

Thanks for the offer anyway.


Regards,


DE.
 
DE

I am not building any, would like to know where to get some good artwork for background.

Thanks, Logandsawman


Affiliate Disclosure: We may receive a commision from some of the links and ads shown on this website (Learn More Here)

Back
Top