My new Layout

ModelRailroadForums.com is a free Model Railroad Discussion Forum and photo gallery. We cover all scales and sizes of model railroads. Online since 2002, it's one of the oldest and largest model railroad forums on the web. Whether you're a master model railroader or just getting started, you'll find something of interest here.


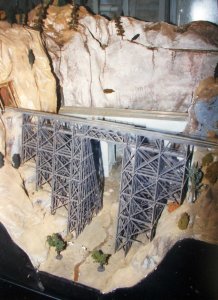
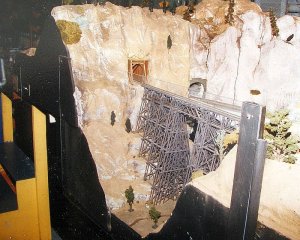
Spent the last couple days moving forward on the trestle area. I still have a very long way to go. I layed down some ground goop for the trestle to get it seated right and saran wrapped the bent leg footings, I sit it in place and built up where it showed a space and once it sit nice and rail was level inward I left it in place overnite then removed and replace then shook some ws dirt and ground foam on it then a shake of sifted dirt.
The rock castings will have to wait a few days before getting painted as there still holding water.
IMG_20141224_164747_zps3d333af9.png

IMG_20141224_164755_zpsbaa77a0b.png

IMG_20141224_164805_zpsdf246019.png

New hills added to break the flatness.
IMG_20141224_164820_zpseee2cef6.png

Another mound and dirt road started
IMG_20141224_164830_zpse7d70ad2.png

Bridge in place for the photo
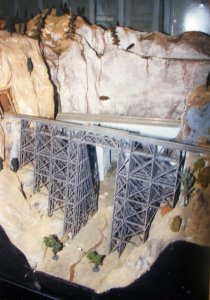
IMG_20141224_164924_zpsed481ce5.png


That layout is gorgeous and awesome!! You must have a jig saw to be able to cut your plywood so precisely. How handy! And so many buildings and mountains already. It's going to be fantastic when it's.... I can't say done, because it will probably never be done, but maybe 'a little more assembled'. hehe
 
That layout is gorgeous and awesome!! You must have a jig saw to be able to cut your plywood so precisely. How handy! And so many buildings and mountains already. It's going to be fantastic when it's.... I can't say done, because it will probably never be done, but maybe 'a little more assembled'. hehe
Thanks for the compliment. I use my jig saw , hand saw , skill saw , knife or what ever tool is most handy to do the job. I got a compound mitre saw for xmas a bit bulky for tight places but I'll find a use for it. ;)
 
I mixed up a fresh batch of my ground goop and I'm attempting to get into the mood of scenicing up the trestle area.
1419705691988-1205972137_zpsdbfa0a20.png

No ground goop in the next 2 shots but more a trial run with building up in layers. I also added some color to the rock work.
IMG_20141227_133440_zps8ba30022.png

IMG_20141227_133431_zps69071b22.png
 
Lynn,

hat is looking great. I really like the colors you have used and how they make the rocks stand out. I can only imagine how the trestle looks when it is in place.


Lynn,

I'm sitting here having my coffee reading through this thread and it's absolutely amazing what you are building. I'm a newbie with this hobby and you make it look so easy and the details are spectacular. It certainly gives me inspiration when it comes time to build my layout.

I can't wait to see more, well done!

Chris
 
Thanks Mike, you can take that recipe as a must follow or not, I tend to add a bit extra paint and a bit less glue. For the celluclay you can use scuptamold as it could be somewhat cheaper. I also if it is kicking around add things like sawdust. I make my batches very large as I enjoy using the stuff and seeing as my layout for me is on the larger size my batches don't tend to last long.

Thanks Chris I'm glad your enjoying the build, I tend to stall quite a bit when I start researching a new technique so sometimes an area will not move and when I get bored of an area I will complete the main components and move on to the next area and bounce back.
 
Your rocks turned out really nice. So did the vegetation around the waterfall. I noticed you added perlite to the mud for the ground goop?? I used up all my wifes when I needed some filler in a couple places. It really soaked up the glue/water, but I guess that is what it is supposed to do.

Really cool layout!!!! lasm
 
Thanks Lasm , this last batch I made up really absorbed the moisture and I prefer more of a sloppy mix so added more water and it loosened it up nicely. I'm off work now for 4 days and will hopefully be doing some more scenery.
 
Boy I have a great photo of that sort of thing from a little club layout up in Frederick, Md,....but don't know where it is on my computer.

Here is a link to that club, but I don't see a link to photos of their layout?
http://fcsme.com/main.htm


I tend to over build and over think no matter what, but if you find the photo please do post it.

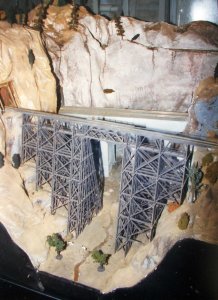
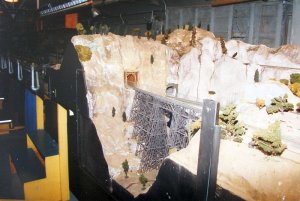
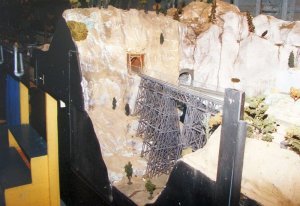
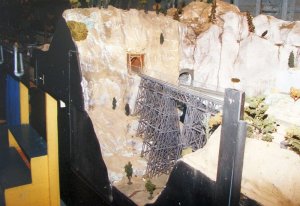
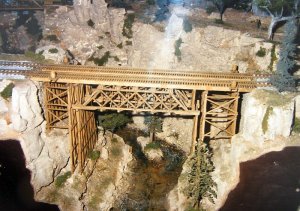
I found a couple of those photos I was speaking of, but they were not in digital form,...so I took a couple of digital photos of the photos. I was mistaken in that they do not really show the sub-framing that supports the trestle bridges.

I also ran across another trestle bridge photo I had filed along with the others.
 

Attachments

  • DSCF3859.JPG
    DSCF3859.JPG
    159.7 KB · Views: 278
  • DSCF3860.JPG
    DSCF3860.JPG
    173.1 KB · Views: 282
  • DSCF3861.JPG
    DSCF3861.JPG
    100.1 KB · Views: 288
  • DSCF3862.JPG
    DSCF3862.JPG
    101.8 KB · Views: 284


Boy I have a great photo of that sort of thing from a little club layout up in Frederick, Md,....but don't know where it is on my computer.

Here is a link to that club, but I don't see a link to photos of their layout?
http://fcsme.com/main.htm


I tend to over build and over think no matter what, but if you find the photo please do post it.

I found a couple of those photos I was speaking of, but they were not in digital form,...so I took a couple of digital photos of the photos. I was mistaken in that they do not really show the sub-framing that supports the trestle bridges.

I also ran across another trestle bridge photo I had filed along with the others.
 

Attachments

  • DSCF3862.JPG
    DSCF3862.JPG
    101.8 KB · Views: 288
  • DSCF3860.JPG
    DSCF3860.JPG
    173.1 KB · Views: 286
  • DSCF3864.JPG
    DSCF3864.JPG
    139 KB · Views: 291
  • DSCF3865.JPG
    DSCF3865.JPG
    132.2 KB · Views: 283


Affiliate Disclosure: We may receive a commision from some of the links and ads shown on this website (Learn More Here)

Back
Top