Module #2 - The First Siding

ModelRailroadForums.com is a free Model Railroad Discussion Forum and photo gallery. We cover all scales and sizes of model railroads. Online since 2002, it's one of the oldest and largest model railroad forums on the web. Whether you're a master model railroader or just getting started, you'll find something of interest here.


KB02

Well-Known Member
Been some time, but I am finally working on the next module on my layout. Simply track plan: Double main line with a simple turnout leading to an industry in the next scene.
54276694455_c623a99b4a_b.jpg


I crushed the centerline into the foam with a dull pencil and then traced it out with a sharpie:
54276694465_6712640387_b.jpg

54276518298_51113669a2_b.jpg


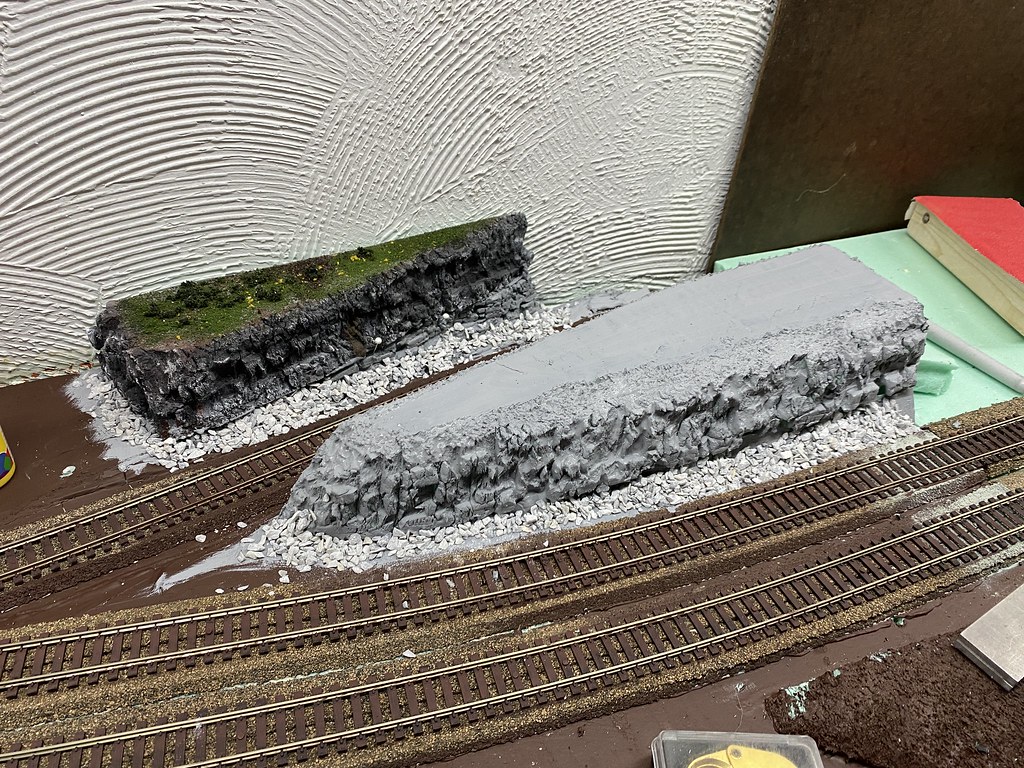
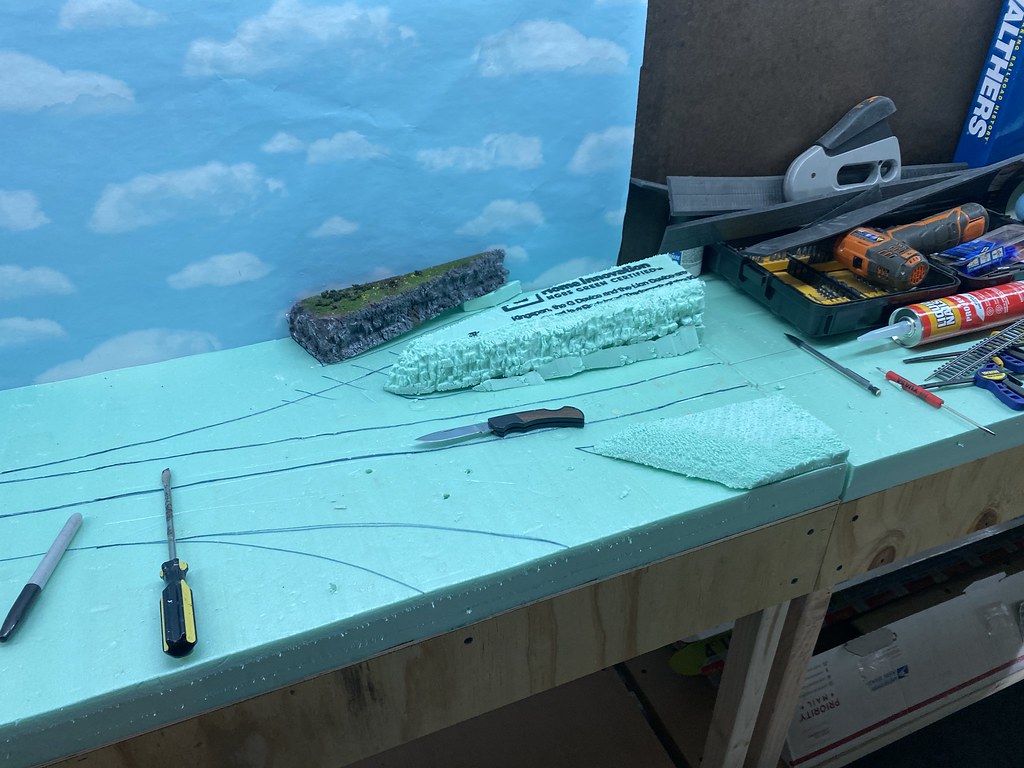
I have been experimenting with a new (to me) method for making rock faces out of foam. I liked the outcome so much I decided to include it in this scene. But, if there was going to be one rock the MOW crew had to cut through, there should be more, right?
54276694495_2ed499c71e_b.jpg


Then, to help break up the monotony, I figured that siding should descend slightly. I'm not entirely sure why I hated myself so much to do this to myself, but that's what I went with. This is also about the time I realized I should not have glued the foam down just yet.
So, I started cutting away...
54276518143_09176763c0_b.jpg


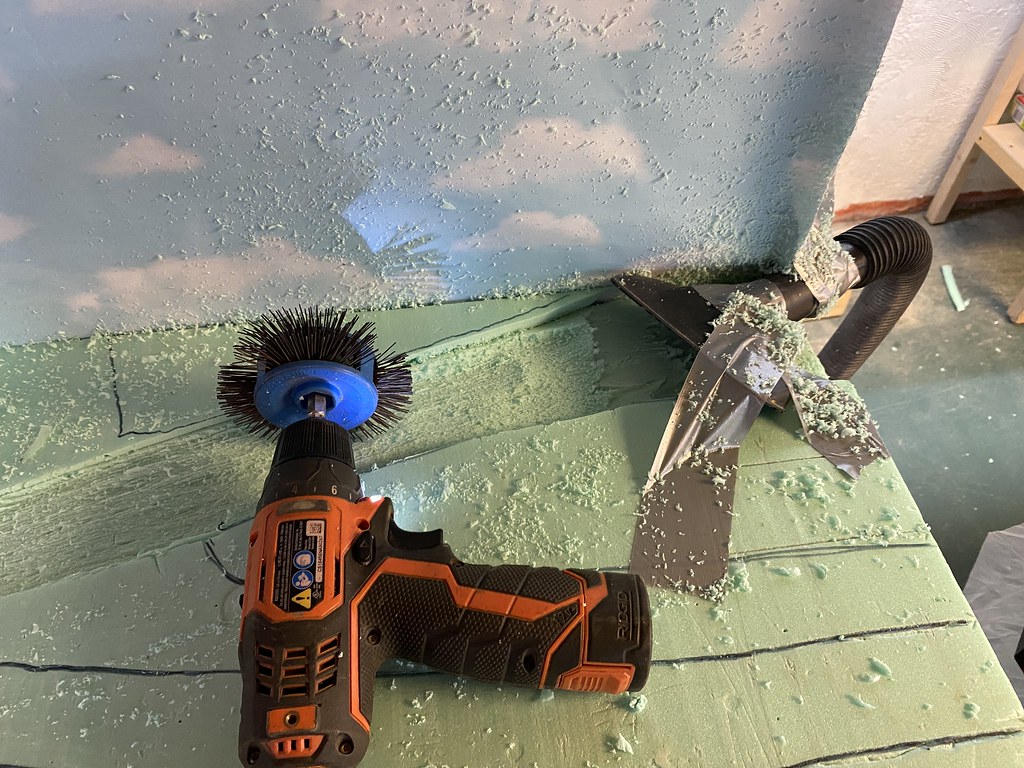
THEN... my inner redneck came out and figured I could really speed things up with a power tool but knew it would make a mess. So, why not use the shop vac?
54276512574_c7fa1677f3_b.jpg


I would have to say that my efforts were only about 50% effective (as you can see). Then I turned around and realized that my shop vac had no filter in it... So... 30% effective.

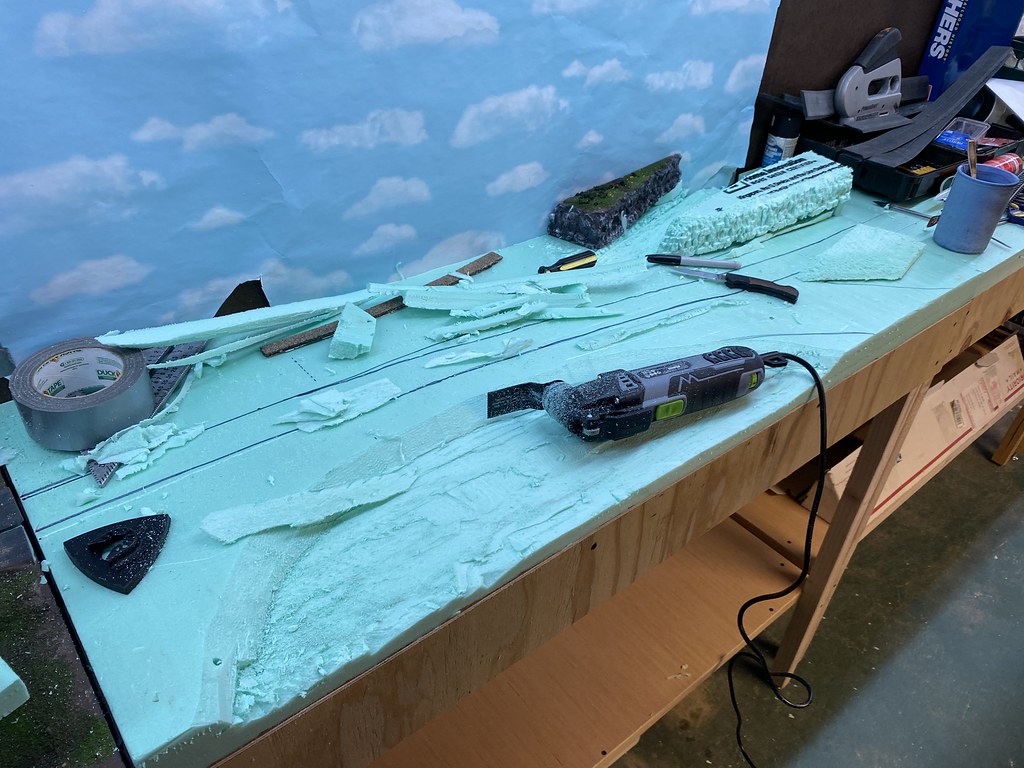
The front needed to be carved out, too, to make a pond. I chose a slightly less messy tool this time, which worked out fairly well.
54276512654_4a9ba117d7_b.jpg


In the end I had this:
54276512599_7a5a90dd48_b.jpg


Then to smooth out the siding route and pond, I made use of ole' standby of drywall compound.
54276518248_03855319d0_b.jpg


So... That was my Sunday.
More to come.
 
Last edited:
Geez you made me laugh when I saw the wire wheel on the drill, been there done that!
I prefer a Sureform tool which still makes a mess but easy to control.
The rock work looks great! Since I’ve discovered that method I gave away all my rock moulds.
 
Last edited:


I found this thing in my toolbox, I have no idea where it came from (I have no recollection of buying it!) or what it is supposed to be for, but it works great for shaping insulation foam. I think it might be called a former? Stanley makes one under the brand name Surform for $13, which seems like a decent investment.

PXL_20250116_171100100.jpg
 
I'm glad to see there's another Bubba that can redneck the results they want. 😁

I use that Stanley Surform tool and a serrated steak knife. My wife doesn't like the smell when I use a hot wire.:rolleyes:
 
Back on task with this module this morning. Starting getting track into position so I could know where to drop my feeder lines. Everywhere there is a pin, there will be a hole:
54301643292_110caaa489_b.jpg


After the drilling and some clean up, I had this:
54302514066_f2c693212a_b.jpg


And then I even drilled a few more holes. for turnout control and a powered frog. Then I was able to get the track in place:
54302766358_6bdd790210_b.jpg


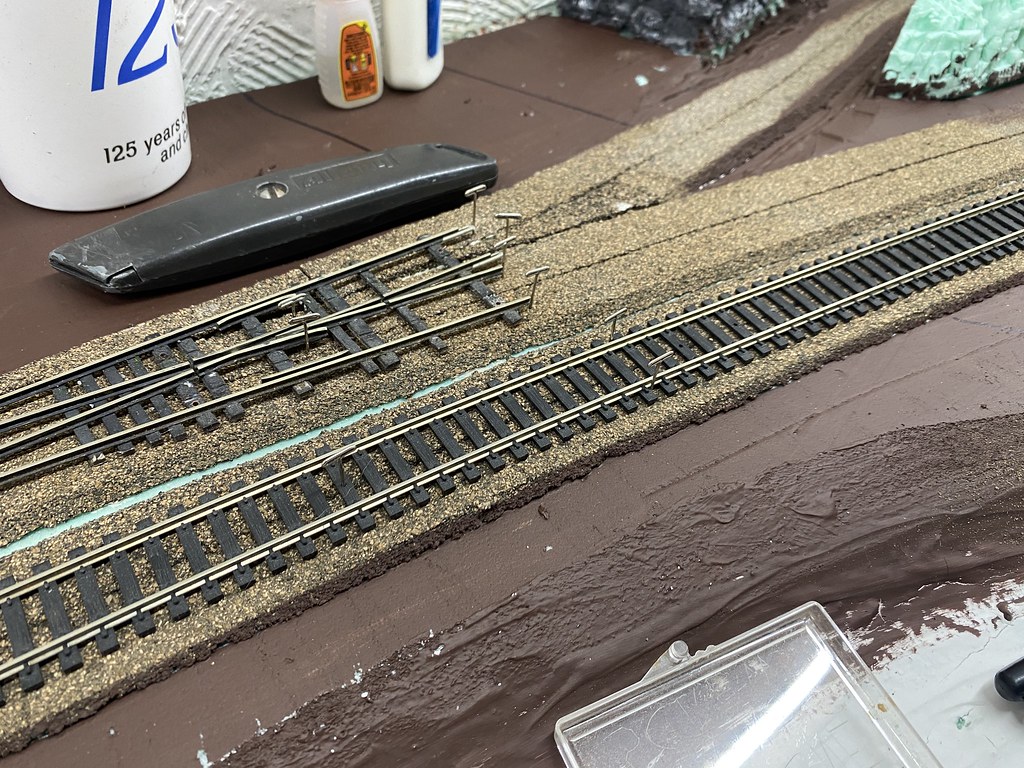
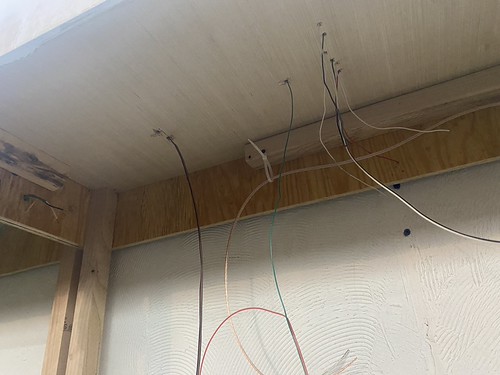
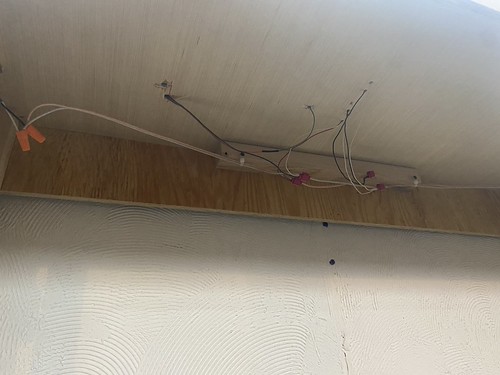
Decided to go with track nails instead of construction adhesive. The nails do a fine job and are easy enough to put in through cork and foam. Plus, once I have the ballast in place, that will help ho9ld everything in place as well. Now I have some wiring work to do.
54301643182_6df1a13c0a_b.jpg


This shot was taken before a few extra holes were drilled for the powered frog. Some more wires are going down for that. The wife and kids might like to see me a bit today, though, so that may not happen this afternoon.


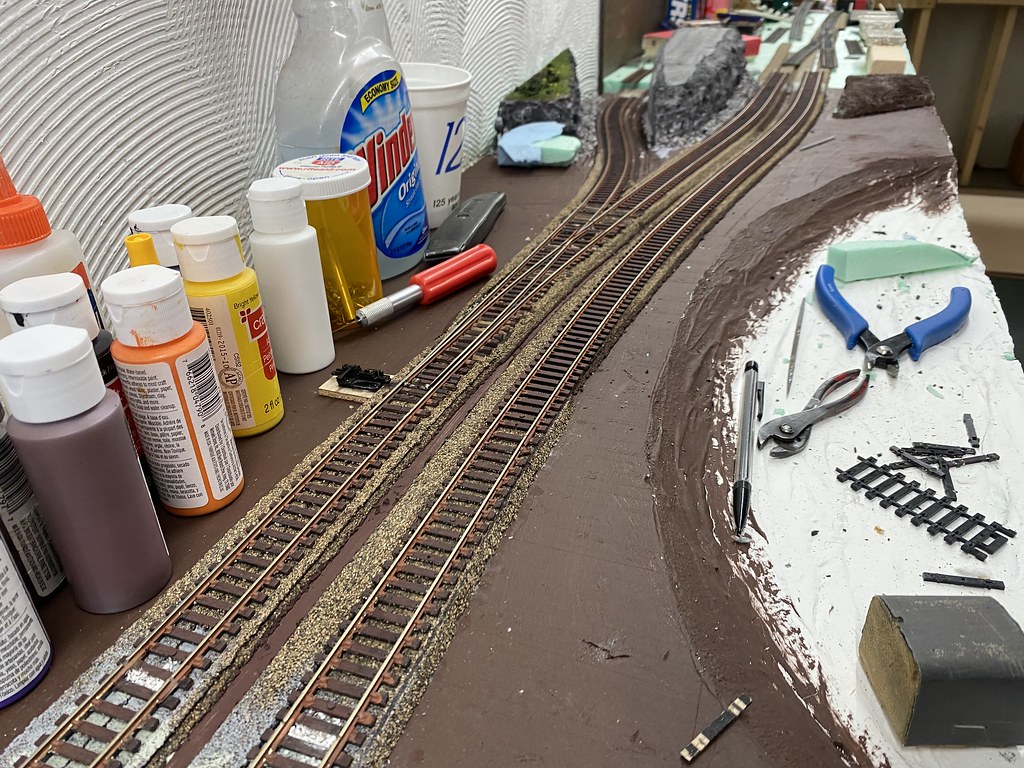
A little mid-week progress. All the ties have been put in place and painted. Then I got the glaringly bright green rocky out cropping painted a more eye pleasing color. I added some real rock to the bottom of the cliffs to help c over the transition. I did this before any paint washes so that I can include them in the paint wash to help them blend better.
54309853169_06f7932c90_b.jpg
 
After all the rails were painted,
54314945680_c274816e54_b.jpg

(won't lie, that sucked. Not super happy with the way it came out, but I'll live and will move on).

I mapped put the cross road,
54313638792_445b7a7dff_b.jpg


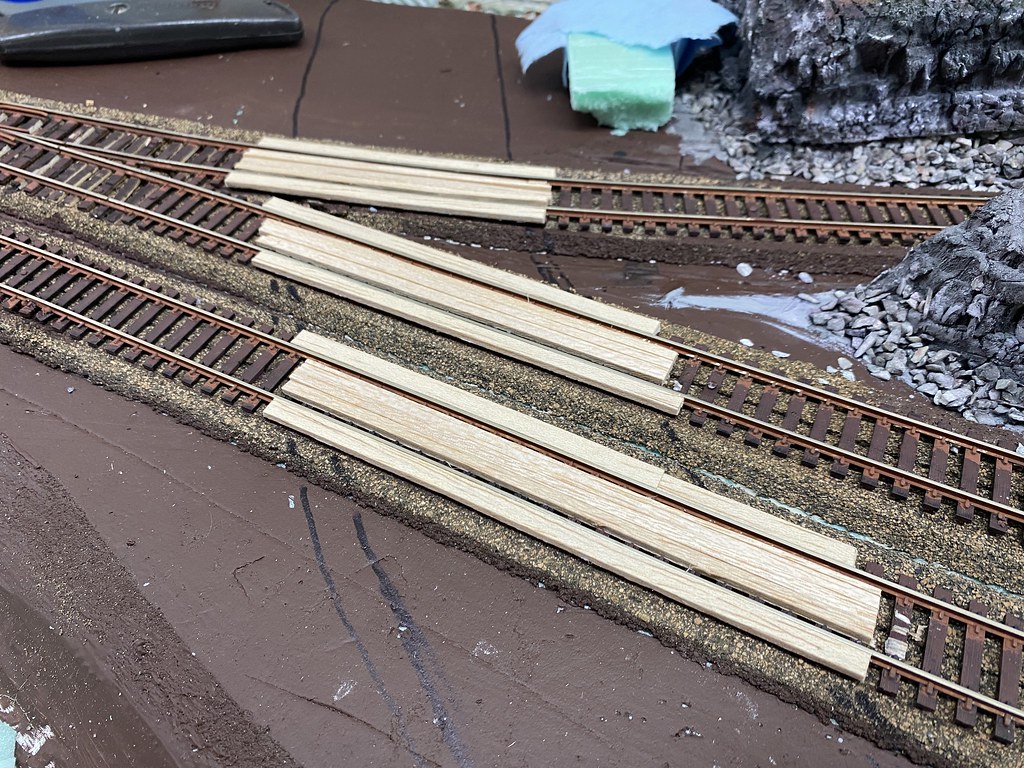
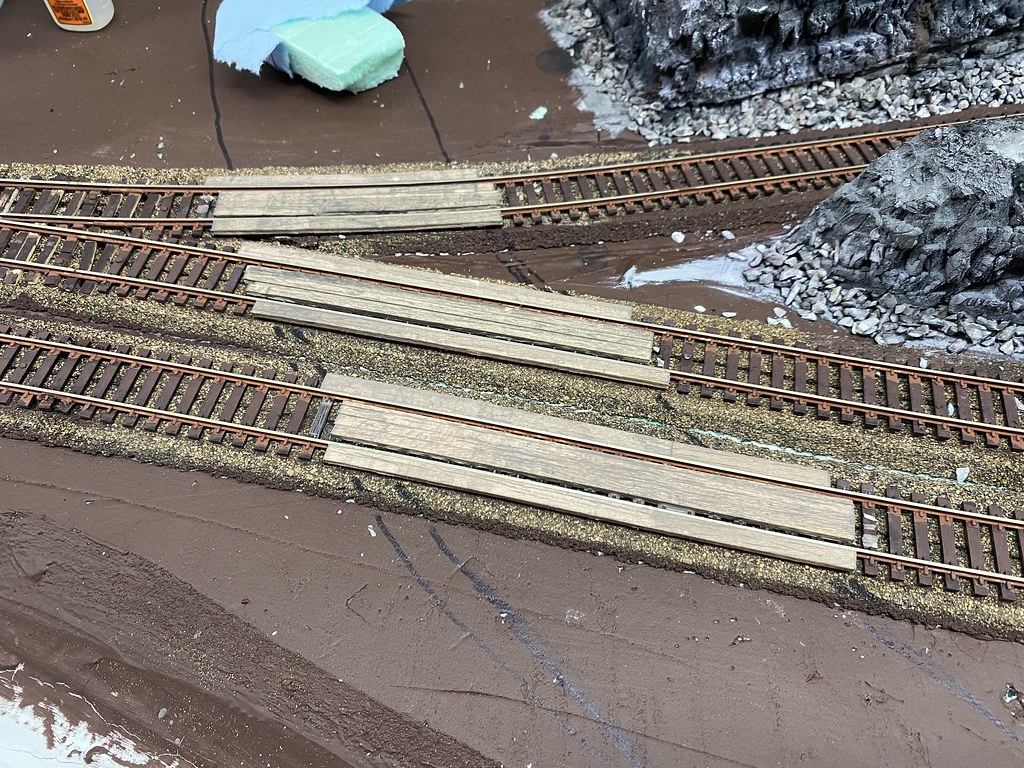
Then laid in some boards for cars to cross on.
54314945715_dbbc5f28a7_b.jpg


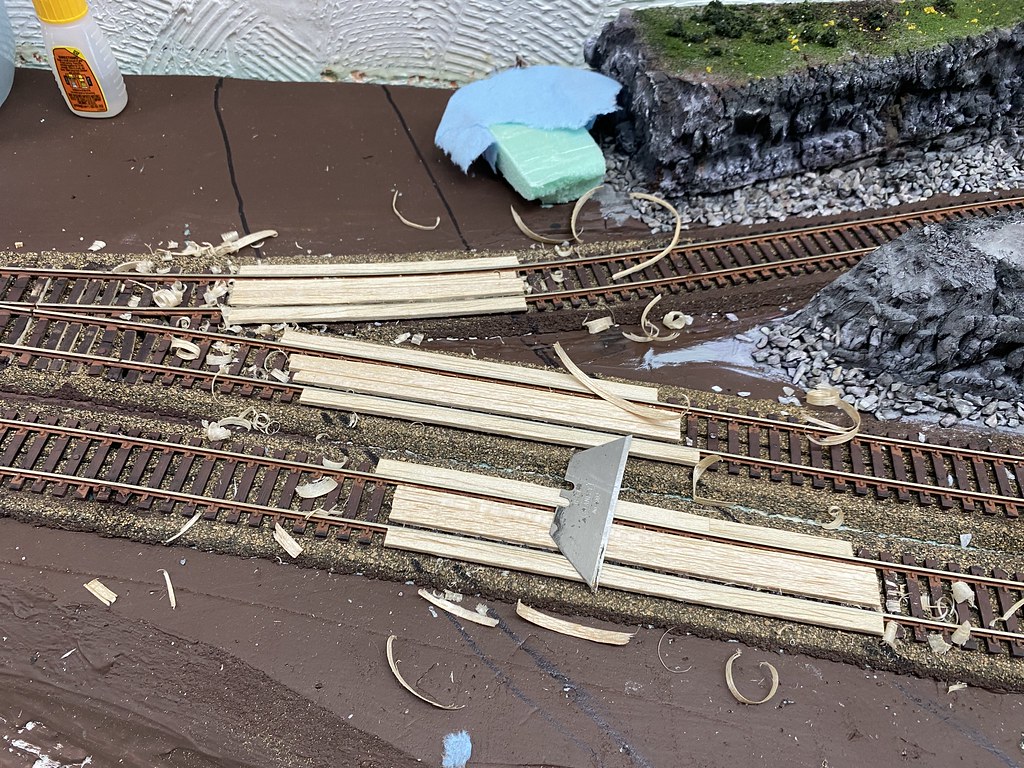
With my chosen weapon of destruction in hand, I shaved down the wood to be no higher than the rails at any point.
54314763688_17de042cf0_b.jpg


If you go super light, and many light passes and a very shallow angle, you shouldn't gouge any of the rails like I did in a few spots. It's not too bad, but with a close inspection you can see a few spots where the razor dug in.

Then a little light wash to weather the crossing:
54314750234_f3223fc094_b.jpg


The previous two nights have had washes of the ledges. After I was done with the crossing, it was time for a final dry brushing touch to the ledge faces.
54314750239_5769312271_b.jpg

It really is such a simply technique. and comes out looking great.

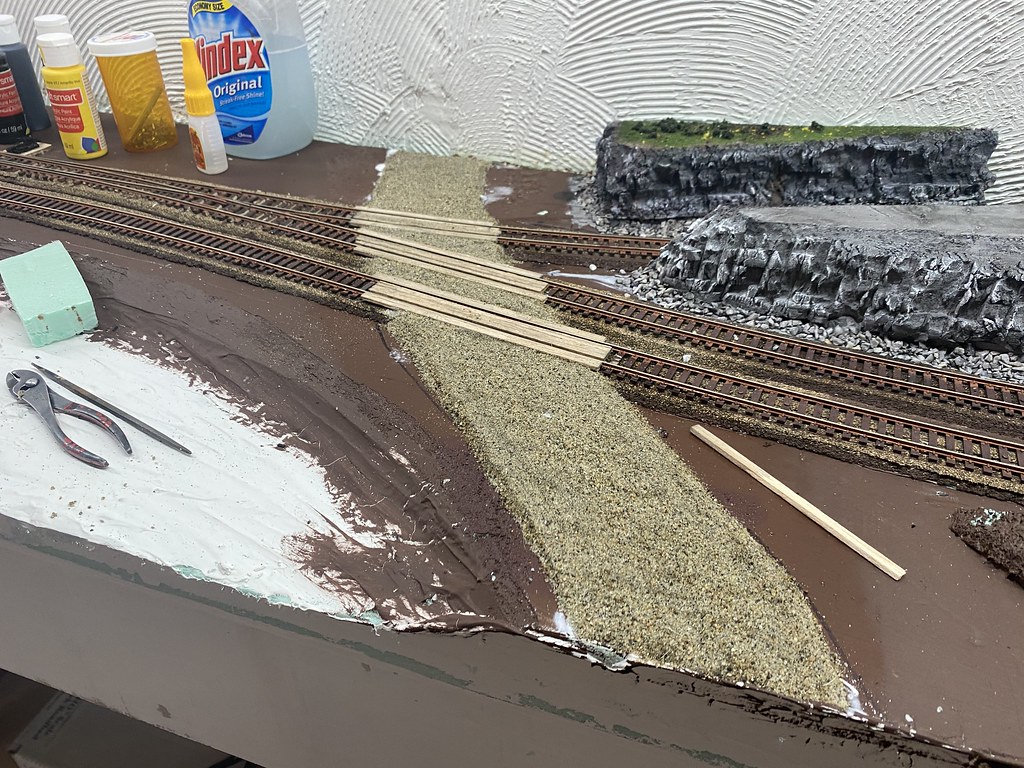
Next will be laying the dirt road down... or ballasting... not sure which yet, but I'm ready for both. Just got to figure out if I'm missing any steps before I get to those points.
 
Looking good. I do not have the patience to paint ties, but have huge respect for those who do!
Painting ties is easy. Painting rails is a pain in the a$$! :D

----------------------

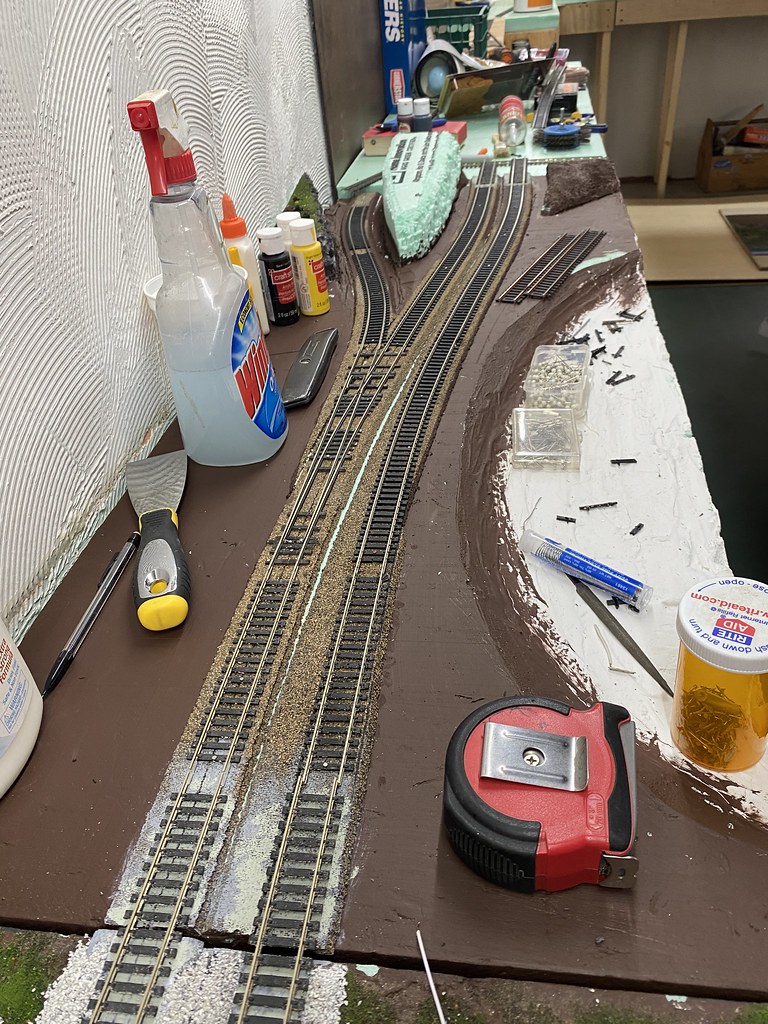
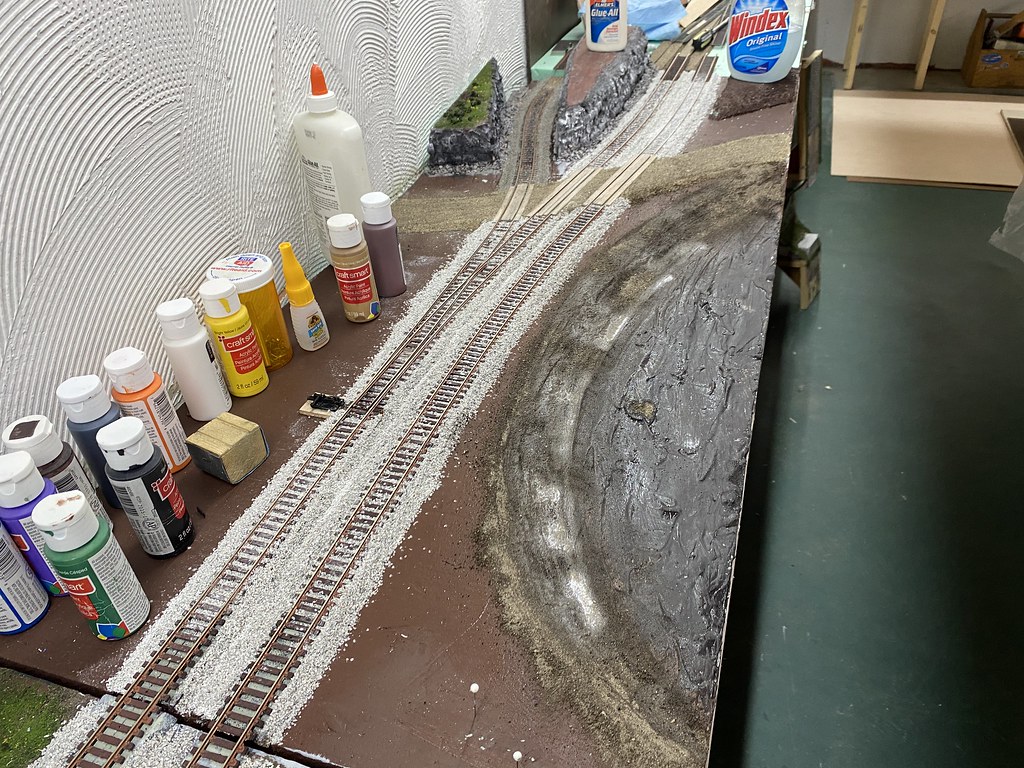
Mid week progress. This section is now fully ballasted.
54323835257_a4c6432c5e_b.jpg


Have I complained, recently, about how I hate ballasting turnouts?

And then just to prove how stingy I am: Yes, I recycled ballast from sections of the layout I torn down.
54324955658_78be47b355_b.jpg


It actually works out well to have the older, dirtier, darker ballast on the siding. I'll end up having some more scenic elements in place aging the track when all is said and done. At least that the plan.
 
One thing I have noticed in my time of really getting into this hobby, is that the background can really help create a scene. I bought a couple from Trackside Scenery and am very pleased with the product. Joey was quick to respond to any questions and I will definitely be placing additional orders in the future.
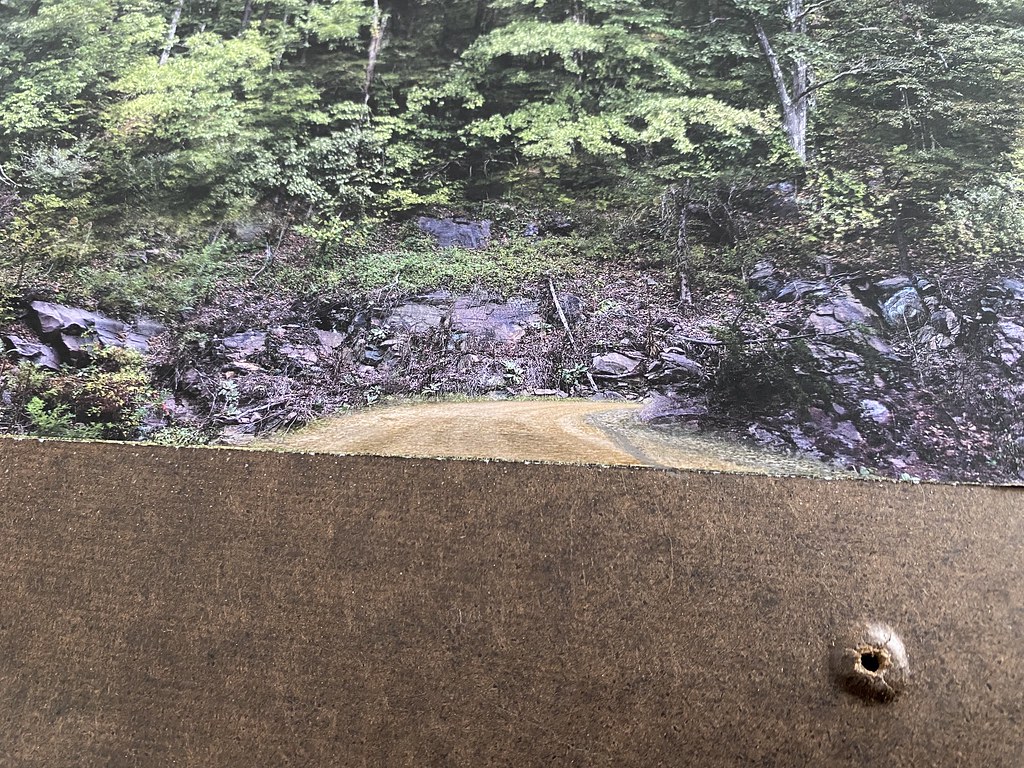
When mating a backdrop to a module, I have discovered, you have to either plan ahead, or be willing to roll with the punches to make it all work. I had two problems with the backdrop I chose for this section:

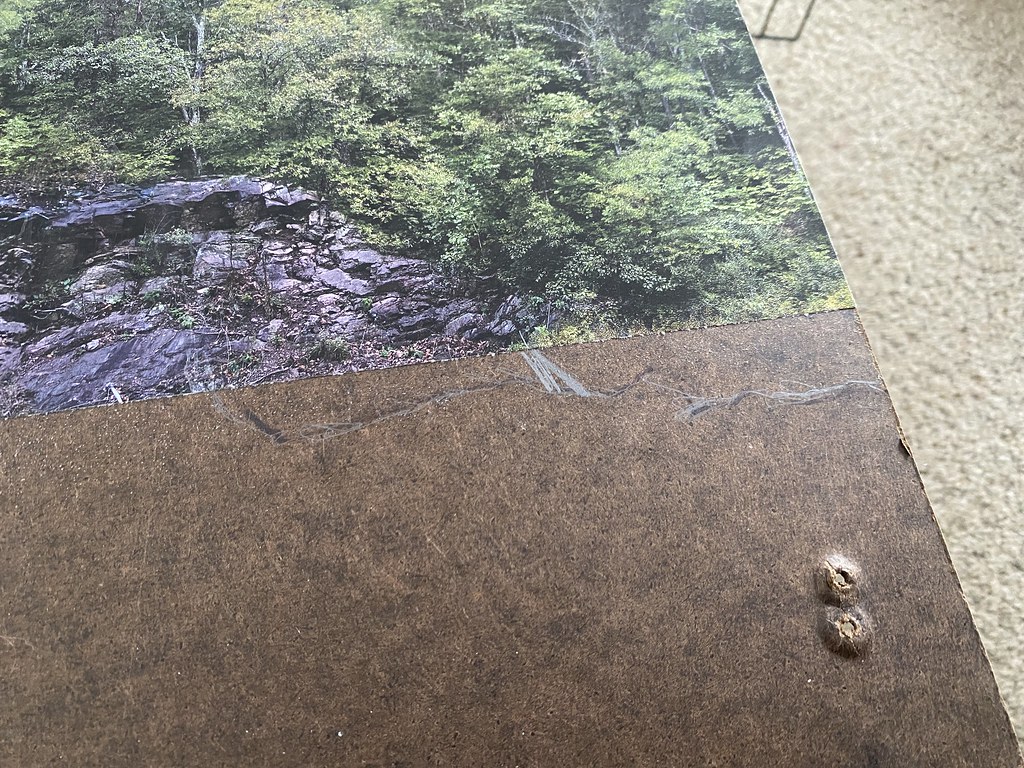
1.) I asked to have a dirt road added to the middle of the picture. It looks great, and I did my best to get things lined up, but when it came time to connect the backdrop to the module, the road in the picture opened up a bit more than the road I had built.
54329868379_c3822894b7_b.jpg


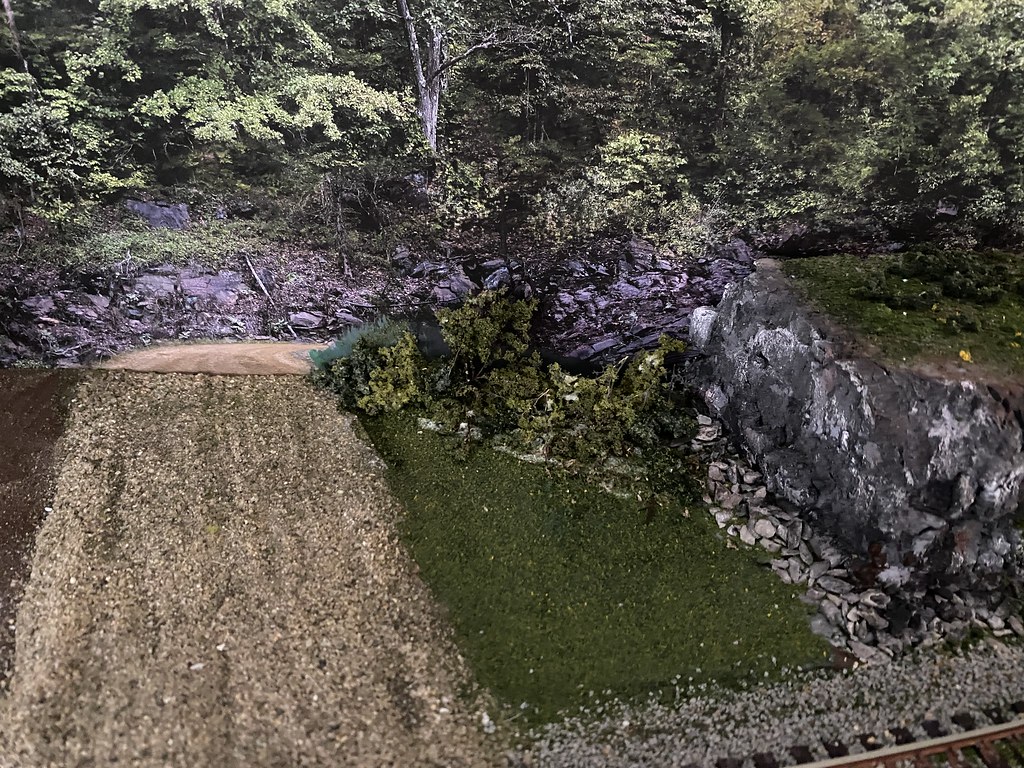
You can see some pencil mark denoting where the backdrop had to be altered. Honestly, I should have just kept at it with the pencil as the graphite actually blended rather well. BUT NOOOOooooooooo...I had to be Fancy... so out came the paints. I would have to say that I do a pretty piss poor job at paint matching. Turns out these trees are really much more of a greenish-brown than a brownish-green. In the end I tried to hide my mistake with shrubbery. It came out okay, but you can still see some green in the background that doesn't really match. I'll have to see how much that bugs me in the future. When my OCD rages, it can't let these little things go.
54329868304_bc8e34aa1f_b.jpg

Then I noticed how much darker my road is than his... :mad: (I'll come back to that.)

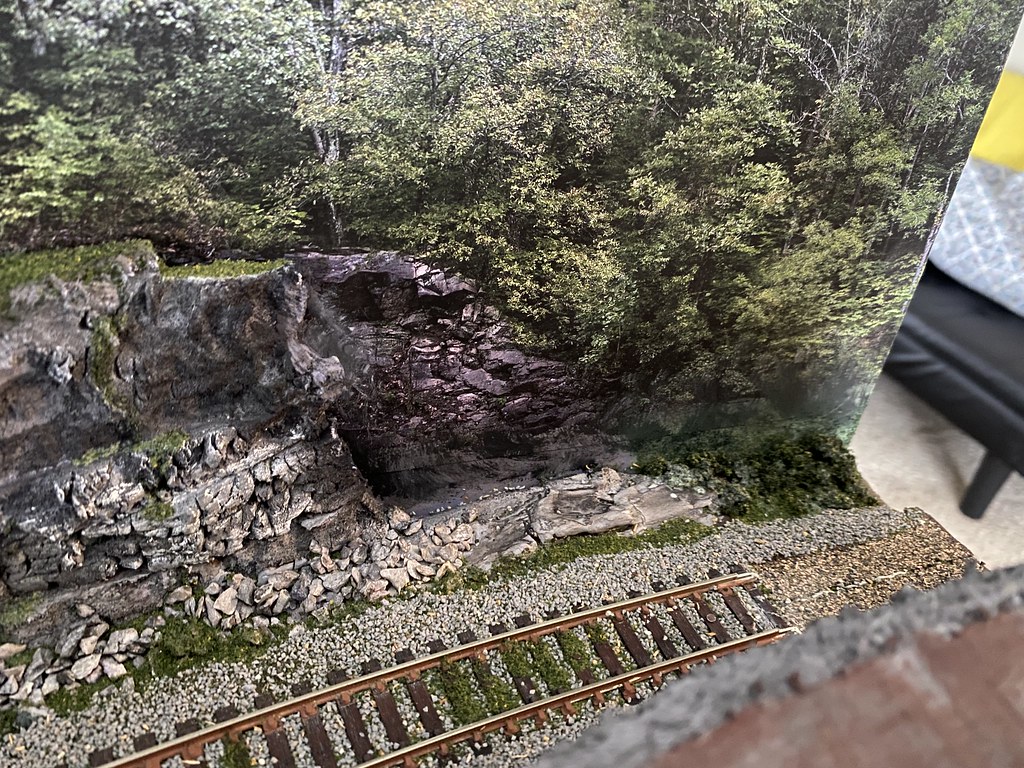
Problem #2.) My siding actually slips below grade which means it slips below the edge of the backdrop. Only a tiny section can be seen if you know where to look.
54329650436_df6c9b63fd_b.jpg

As previously mentioned, my OCD knows exactly where to look so out came the paints once again. I thought at first I could just hide this with foliage, but I'm quite sure you (my OCD) could still see the edge of the picture. I did a much better job at matching paints colors this time, though. I'm actually quite happy with the end result on this one.
54328742077_cdcc229c00_b.jpg

The top of my cliff needed a tiny carving to match the level of Joey's ledge. Easily enough done and it adds to the realism to not just have a flat top.

The siding itself needed a little bit of aging. Some of the ties got a bit mossy with some greenery along the edges of, and within, the ballast. Overall not too bad I figure.
54328742072_8737649755_b.jpg


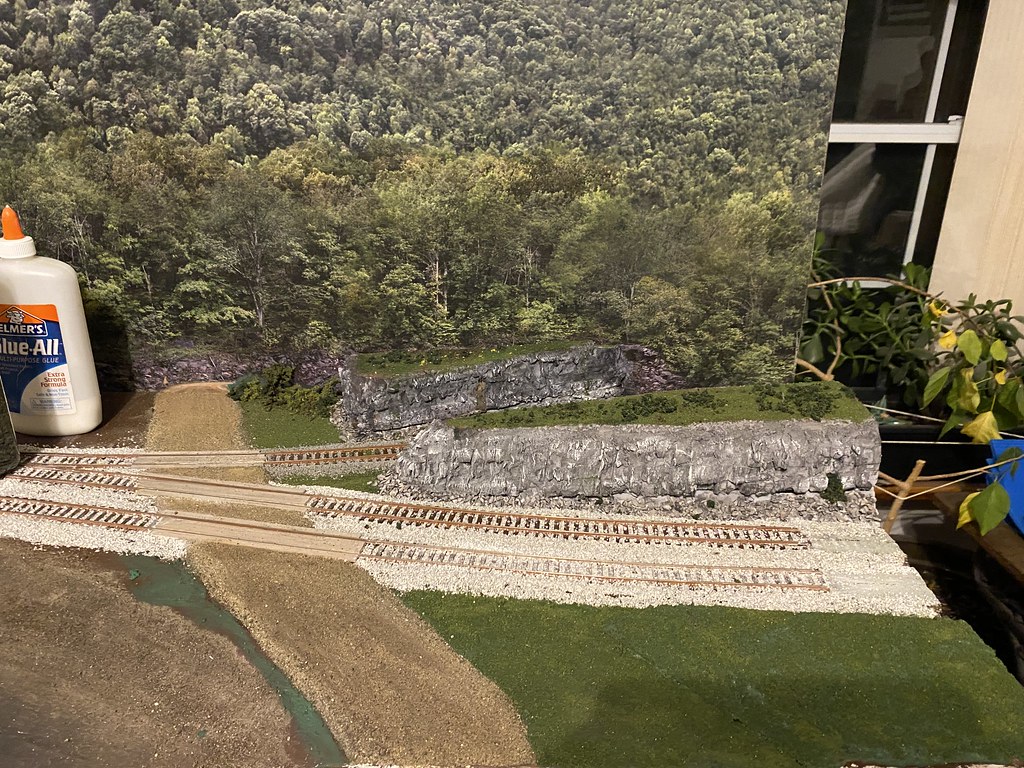
The right side of the road is basically done. Kind of even and grassy in the lower right, so there may be more coming there. Not sure just what, though. Maybe a tiny home on the little bluff or something. We'll see. I need a static grass applicator. That would make a big difference.
Then back to the road, the color difference was really starting to bug me. I took some tan acrylic paint I had and dry brushed the road to bring them closer in color. Ever dry brushed dirt before? It brings all kinds of questions to mind, like, "What am I doing?" 🤣
In the end, though, my OCD was placated and the road blend really well into each other.
54330954996_01a196c2cf_b.jpg


Now onto the left side of the road. Trying to decide if I need another rocky outcropping or not...


I found this thing in my toolbox, I have no idea where it came from (I have no recollection of buying it!) or what it is supposed to be for, but it works great for shaping insulation foam. I think it might be called a former? Stanley makes one under the brand name Surform for $13, which seems like a decent investment.

View attachment 209632
I have the Stanley small cutter and one that is over 12 inches long. Messy; but I find the little Stanley tool a great investment for Styrofoam


Affiliate Disclosure: We may receive a commision from some of the links and ads shown on this website (Learn More Here)

Back
Top