Jim's Layout Progress

ModelRailroadForums.com is a free Model Railroad Discussion Forum and photo gallery. We cover all scales and sizes of model railroads. Online since 2002, it's one of the oldest and largest model railroad forums on the web. Whether you're a master model railroader or just getting started, you'll find something of interest here.


riogrande5761

Well-Known Member
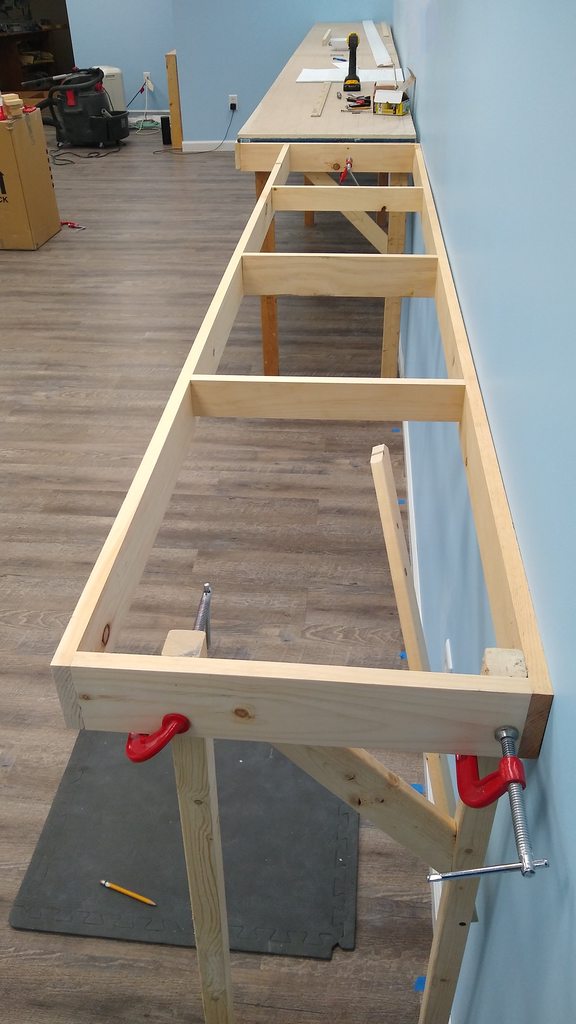
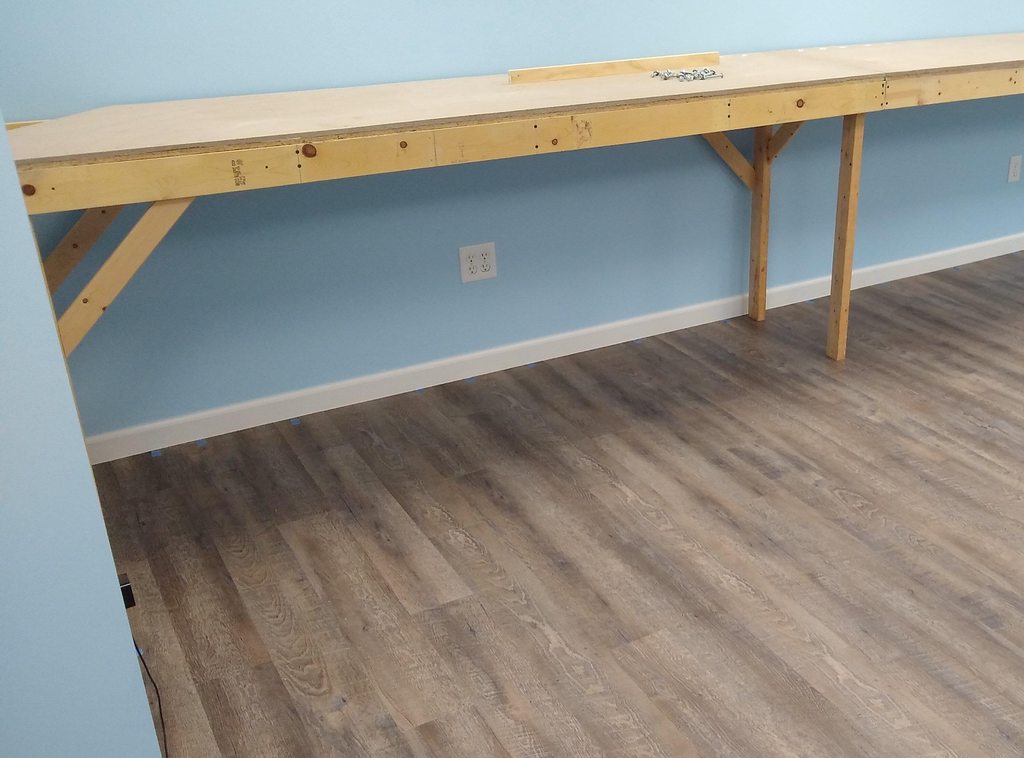
I began erecting benchwork at the end of 2019 after I finished the basement DIHY and it had passed inspection. Here are the first pieces going up. The rest photos here follow the main benchwork construction.

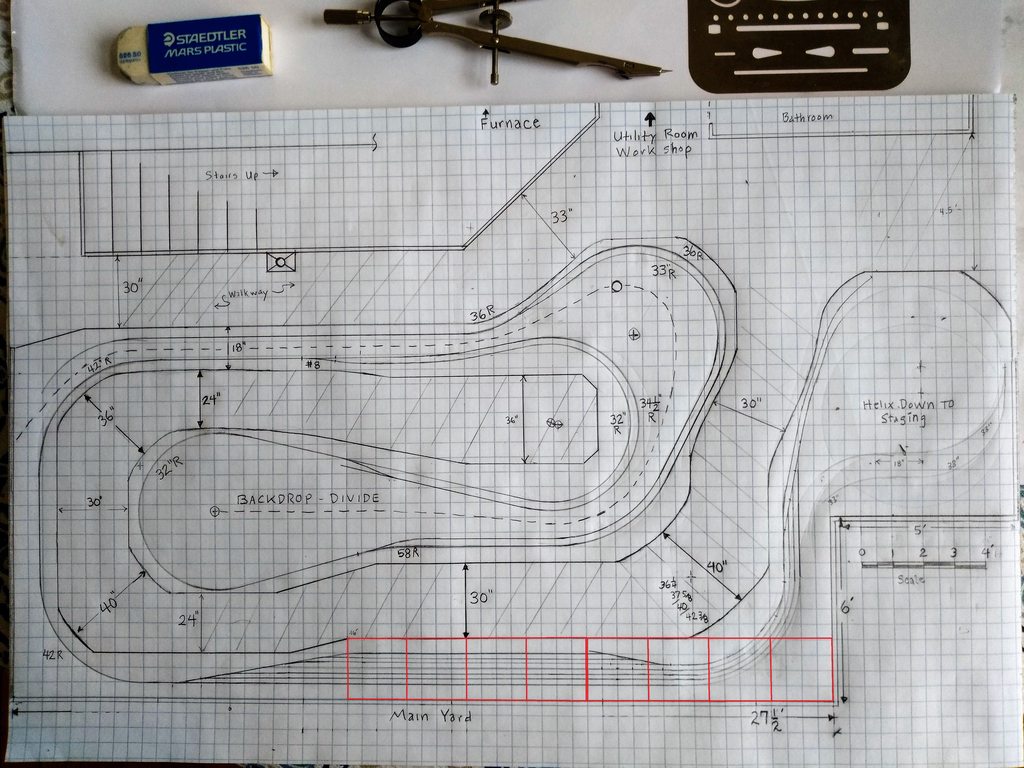
I re-used two 2x8' sections from an old layout and will be adding on. I've lowered the elevation to 39" above the floor and the yard above it will be 51 inches. That will give 12 inches from the staging deck to the upper deck with 11 inches clearance above the staging deck.
zA14sKqh.jpg


Here is where those two old benchwork sections drop into the scale drawing:
Su04LFYh.jpg


Added another section on Monday:

QXGvUwTh.jpg


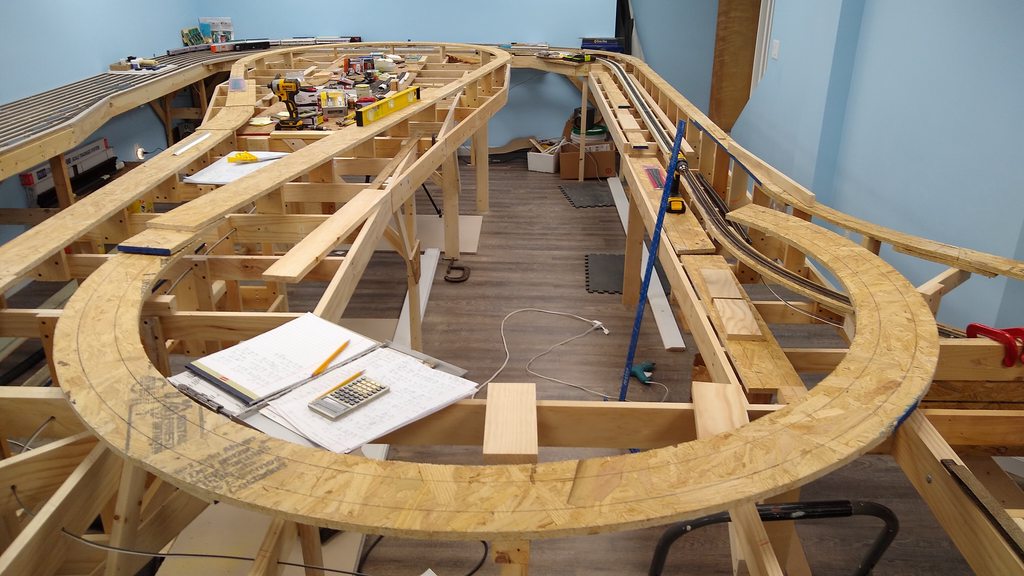
From there I added benchwork to get all of the support structure in place.

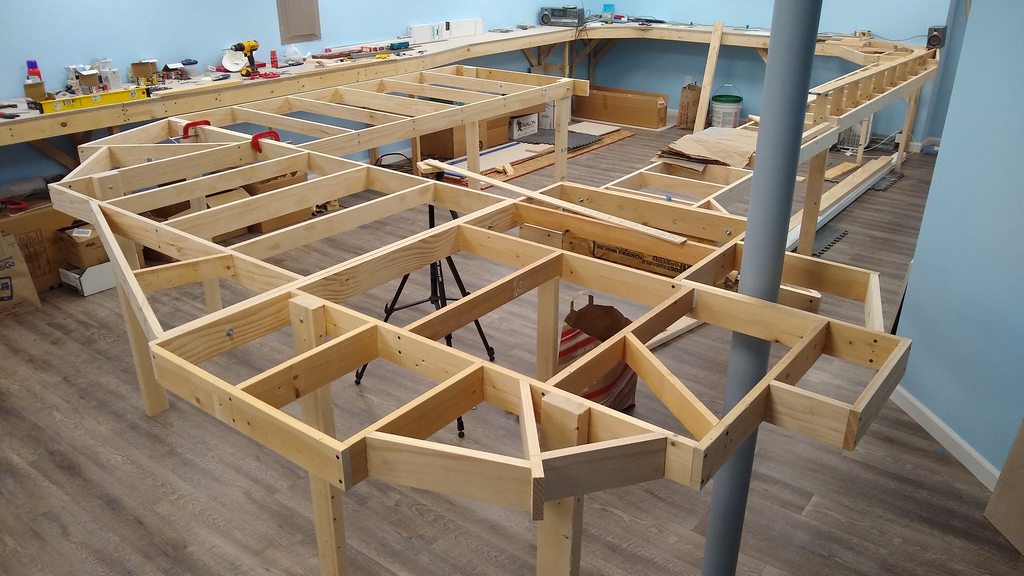
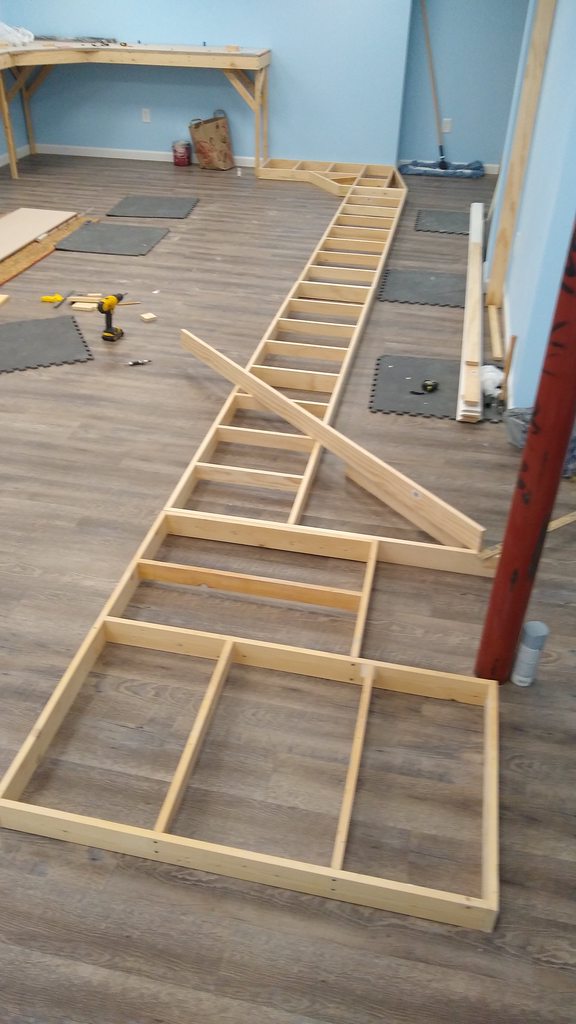
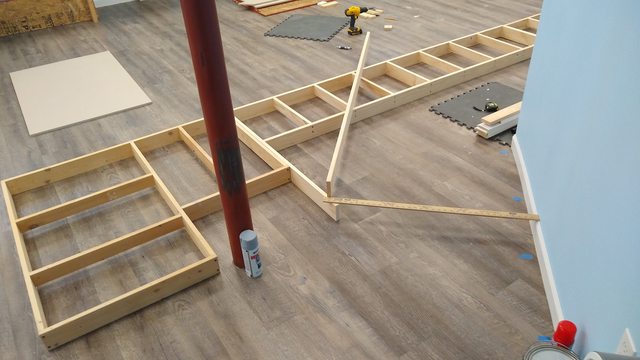
I did a mock-up of four benchwork sections on the floor to make sure it all checked out measurement-wise from the drawing. So far so good.
Rj6HegHh.jpg


3IdDbmUl.jpg


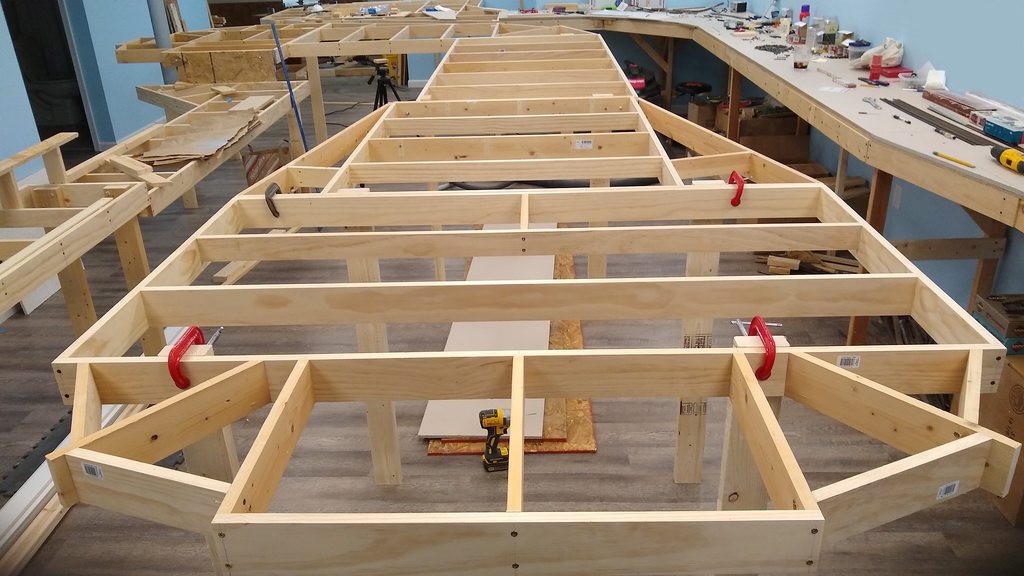
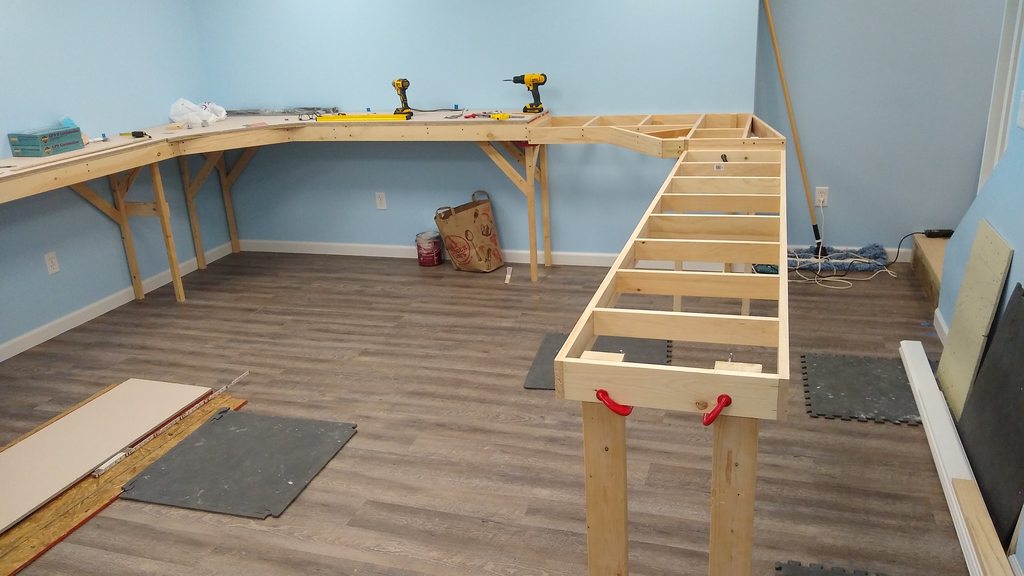
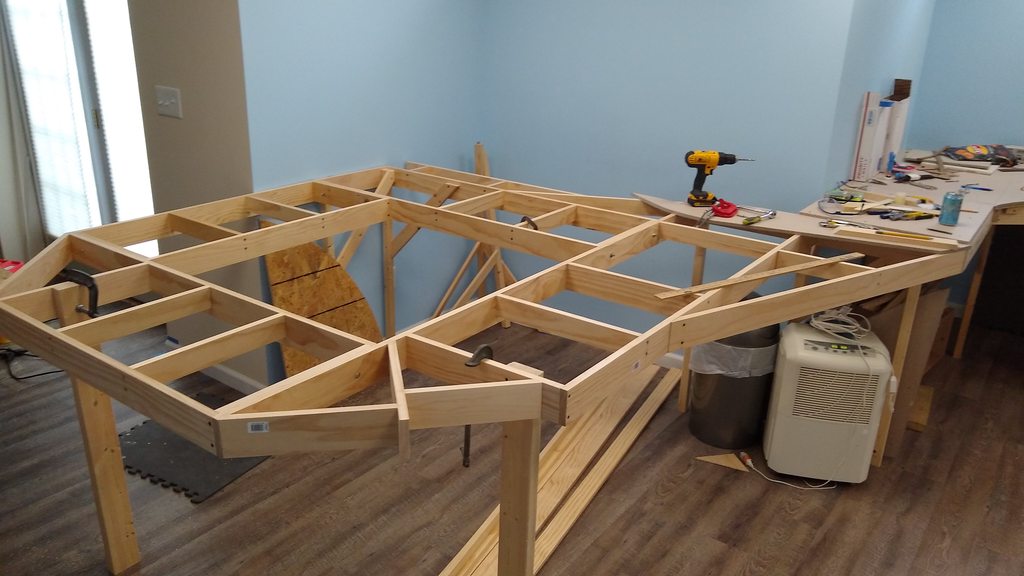
Then got two sections up on legs. They are at a lower elevation to allow for a branch-line that will drop down while the mainline climbs in elevation.
udA3pdTh.jpg


I attached the benchwork lower and lower in a step-wise fashion to accommodate a lower level branch-line. I'm not real skilled at bench-work but have an idea on how it it will go.

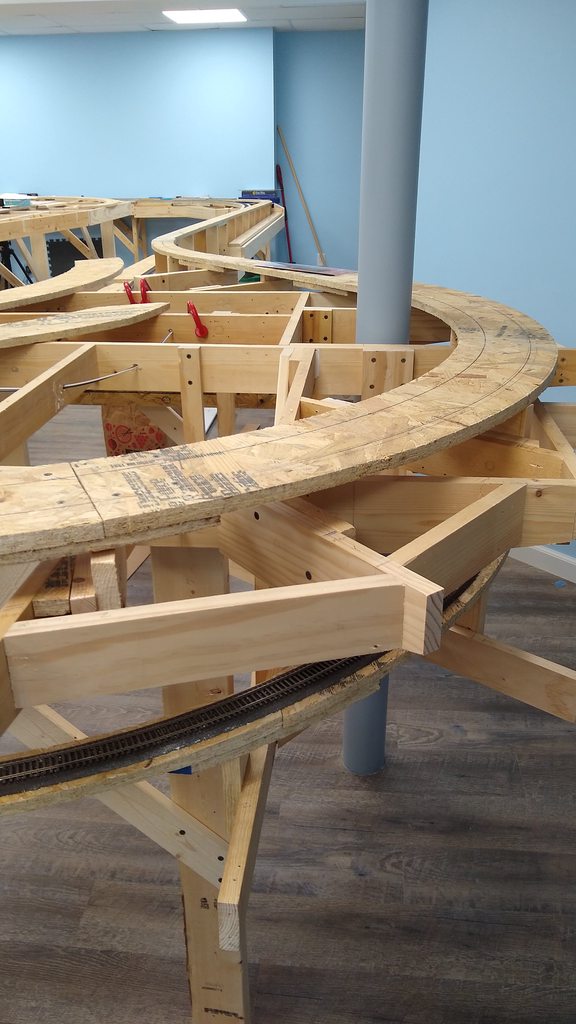
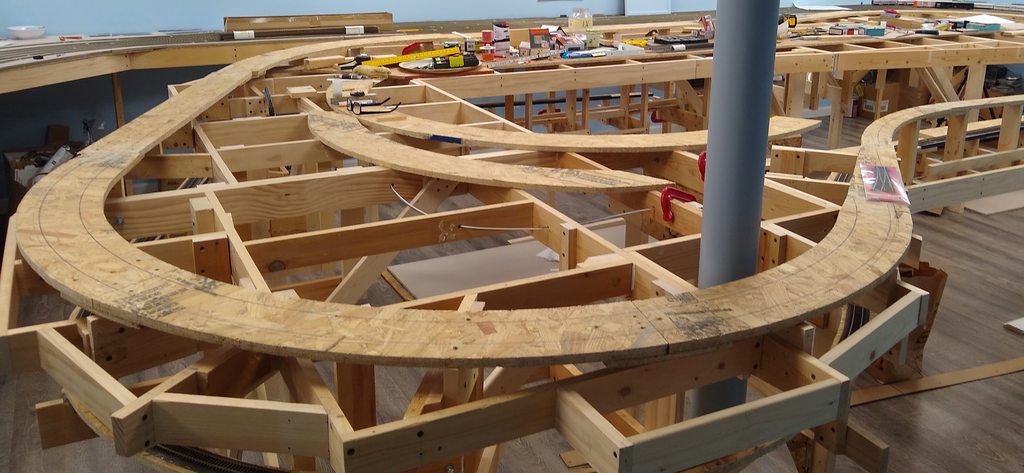
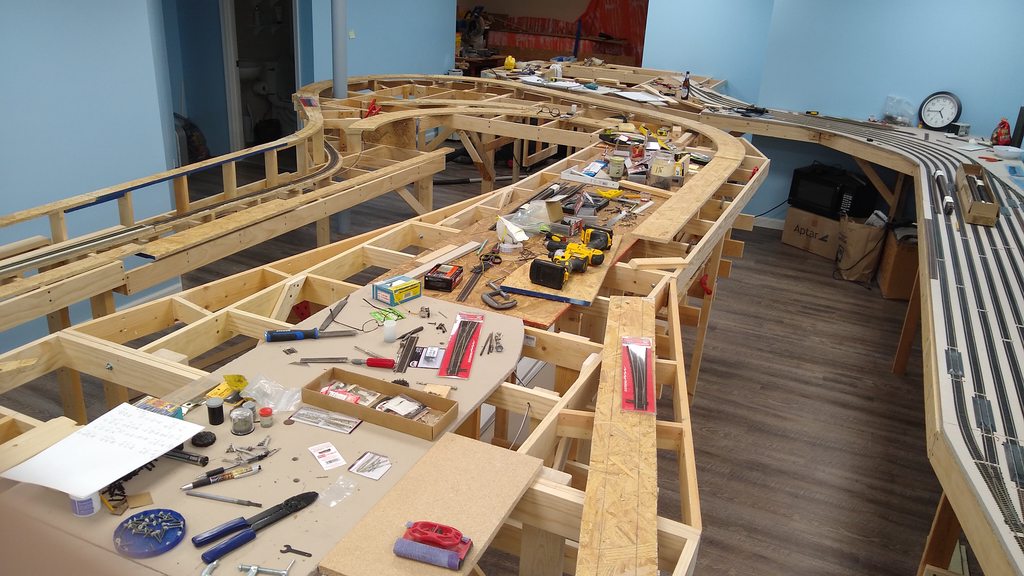
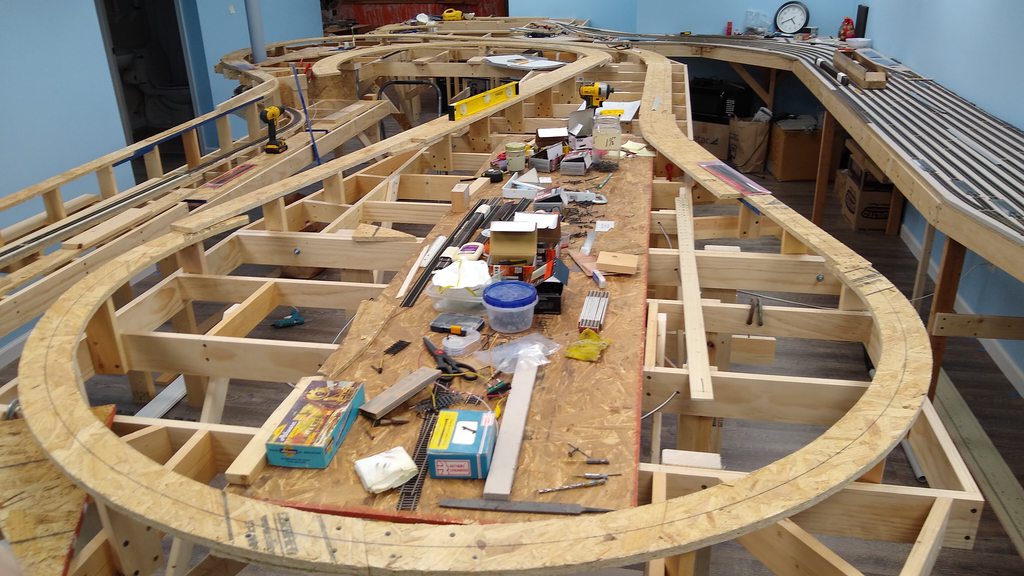
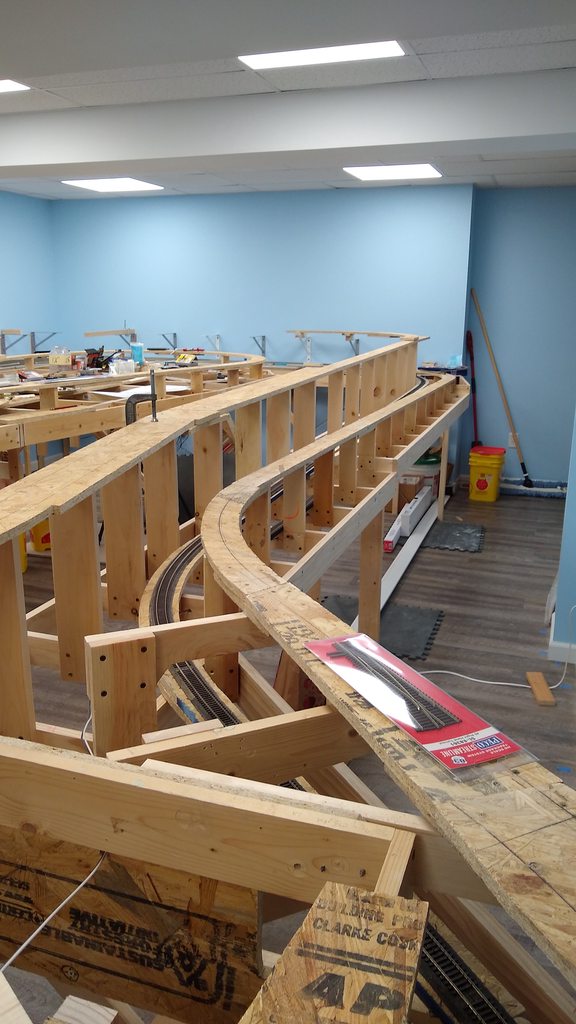
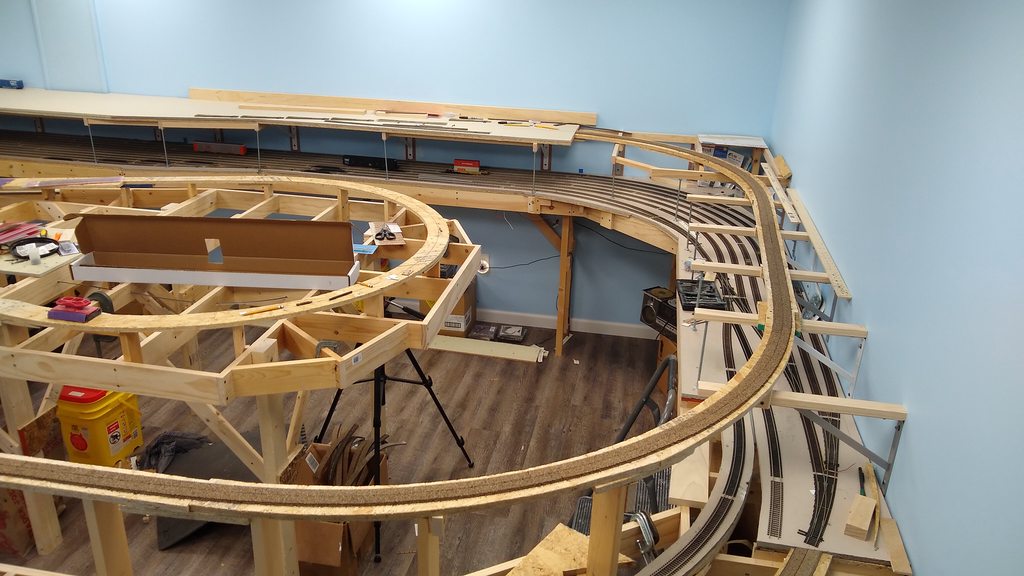
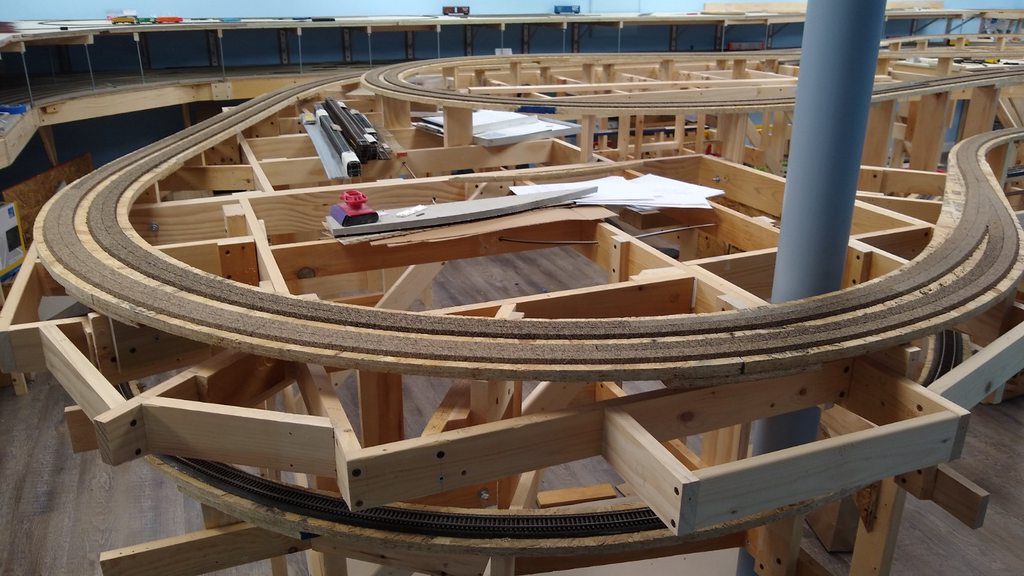
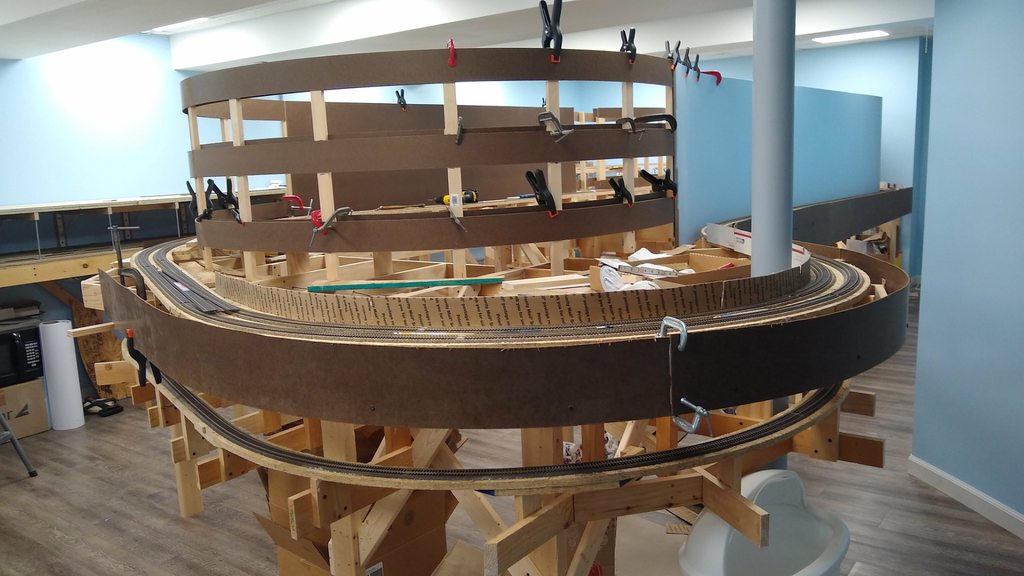
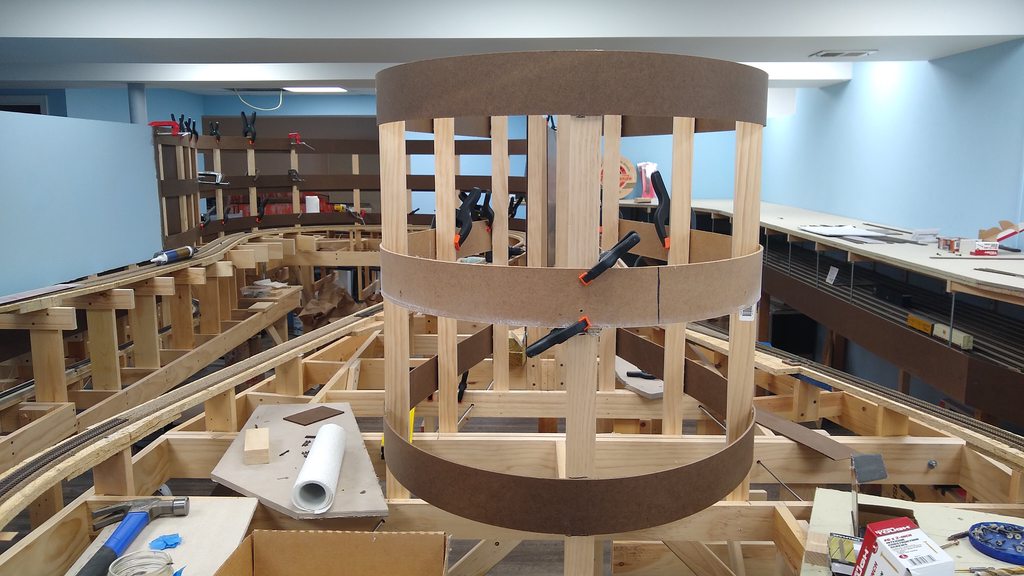
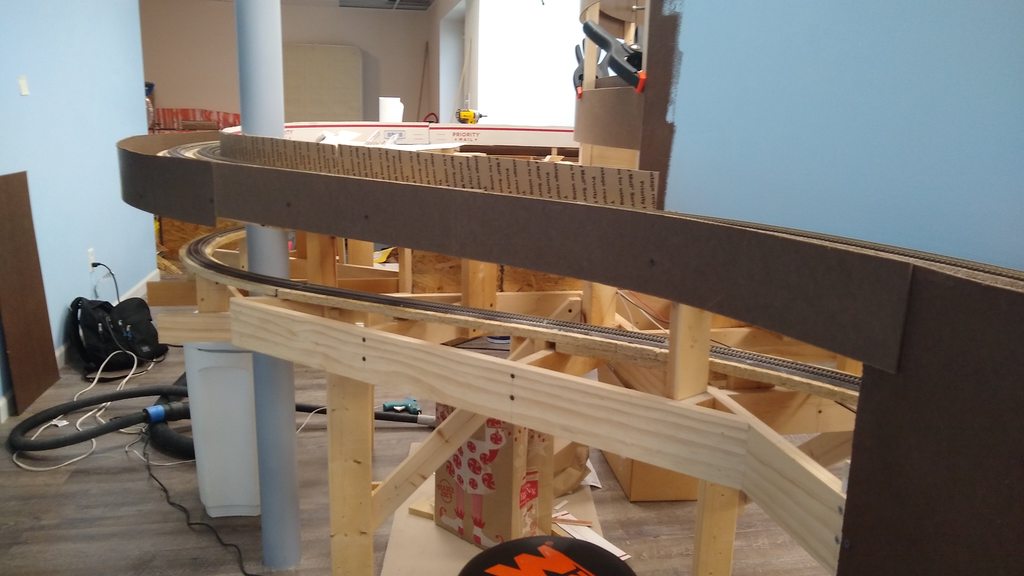
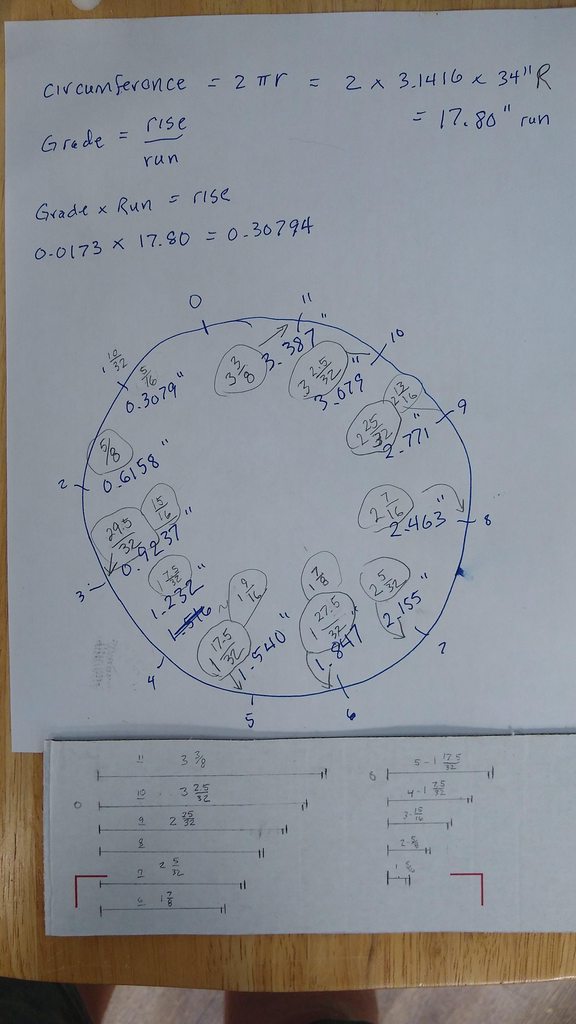
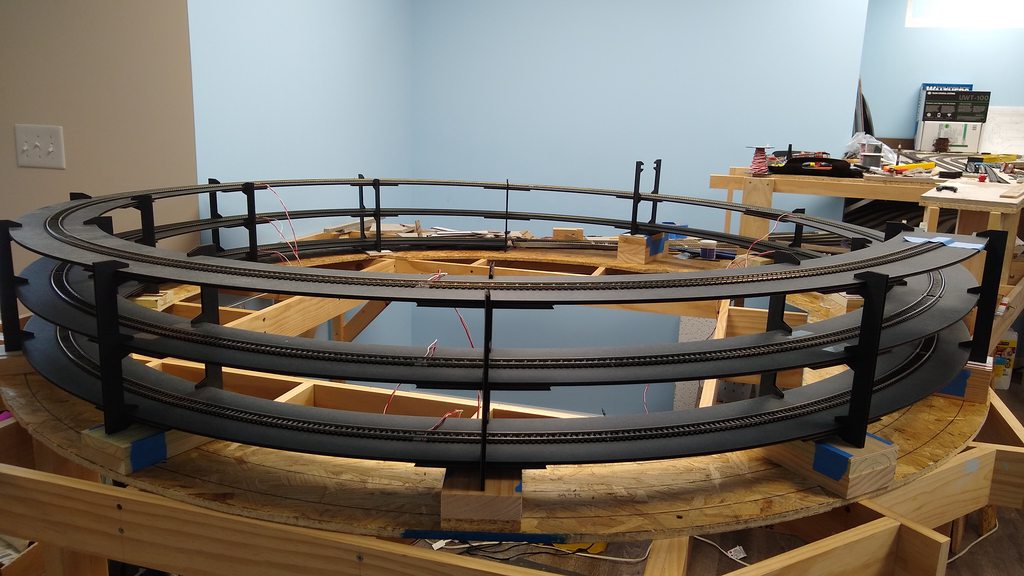
Here is the helix area benchwork mostly done:
snFEF2uh.jpg


El8hk8Bh.jpg


nFsWcJoh.jpg


K0EaiaIh.jpg
 
I began erecting benchwork at the end of 2019 after I finished the basement DIHY and it had passed inspection. Here are the first pieces going up. The rest photos here follow the main benchwork construction.

I re-used two 2x8' sections from an old layout and will be adding on. I've lowered the elevation to 39" above the floor and the yard above it will be 51 inches. That will give 12 inches from the staging deck to the upper deck with 11 inches clearance above the staging deck.

zA14sKqh.jpg


Here is where those two old benchwork sections drop into the scale drawing:

Su04LFYh.jpg


Added another section on Monday:

QXGvUwTh.jpg


From there I added benchwork to get all of the support structure in place.

I did a mock-up of four benchwork sections on the floor to make sure it all checked out measurement-wise from the drawing. So far so good.

Rj6HegHh.jpg


3IdDbmUl.jpg


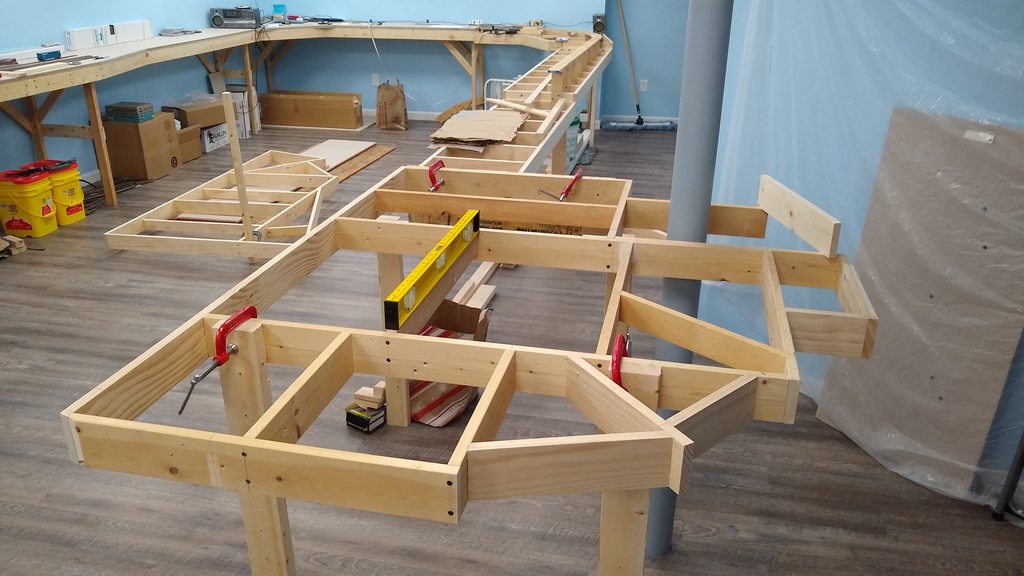
Then got two sections up on legs. They are at a lower elevation to allow for a branch-line that will drop down while the mainline climbs in elevation.

udA3pdTh.jpg


I attached the benchwork lower and lower in a step-wise fashion to accommodate a lower level branch-line. I'm not real skilled at bench-work but have an idea on how it it will go.

Here is the helix area benchwork mostly done:
snFEF2uh.jpg


El8hk8Bh.jpg


nFsWcJoh.jpg


K0EaiaIh.jpg
Great work, I can see this is going to be one impressive layout, and I look forward to seeing this progress.
 
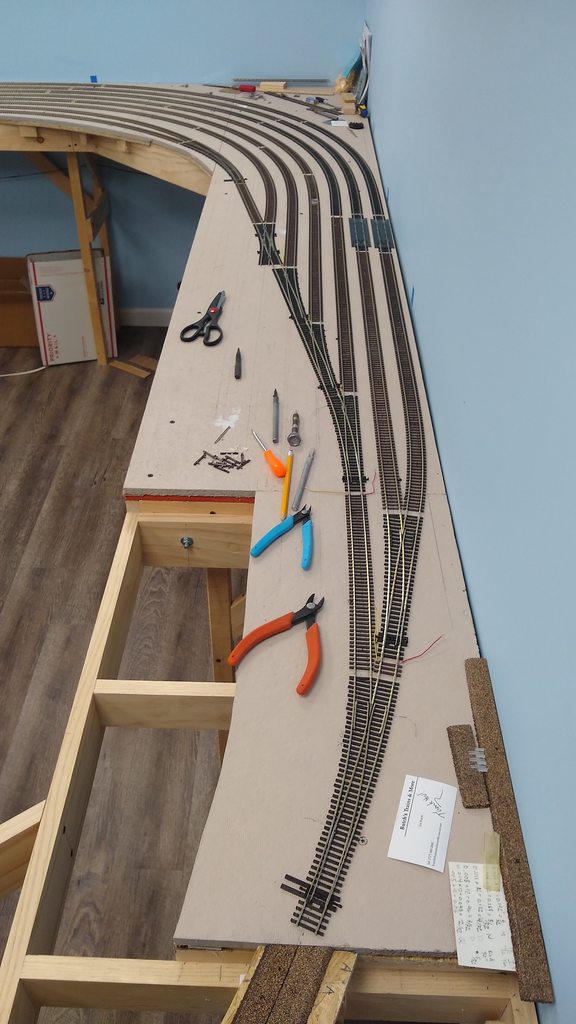
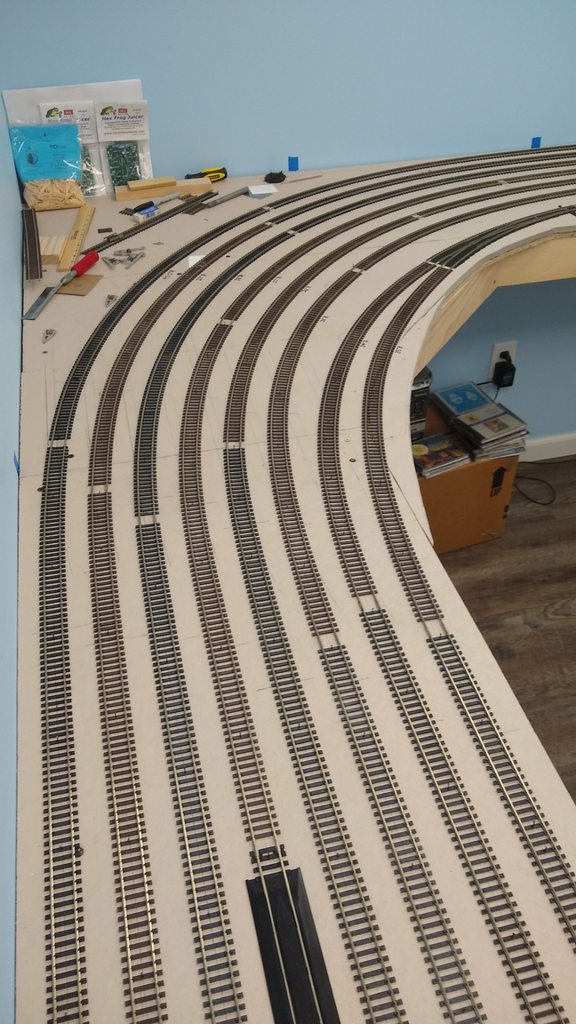
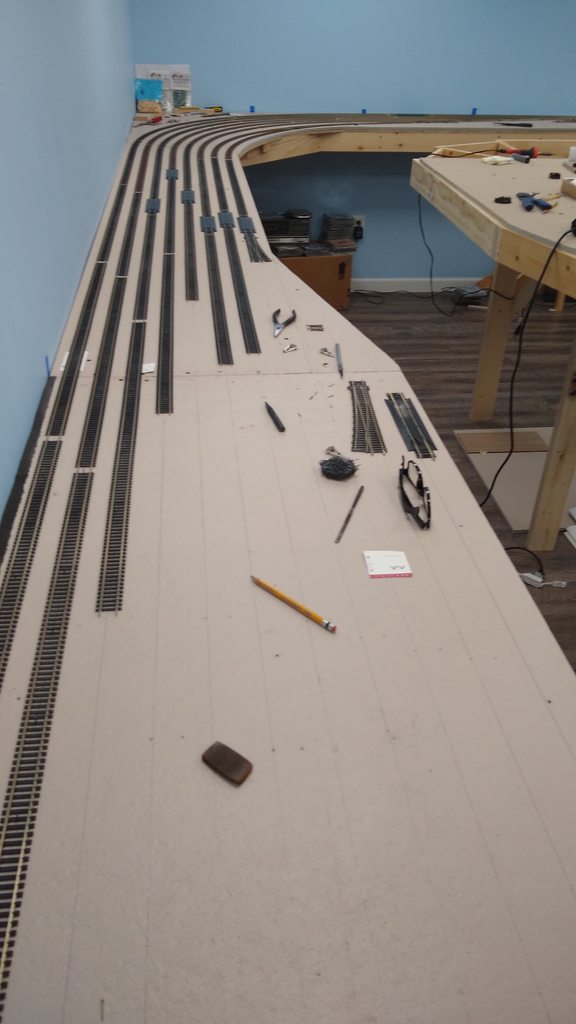
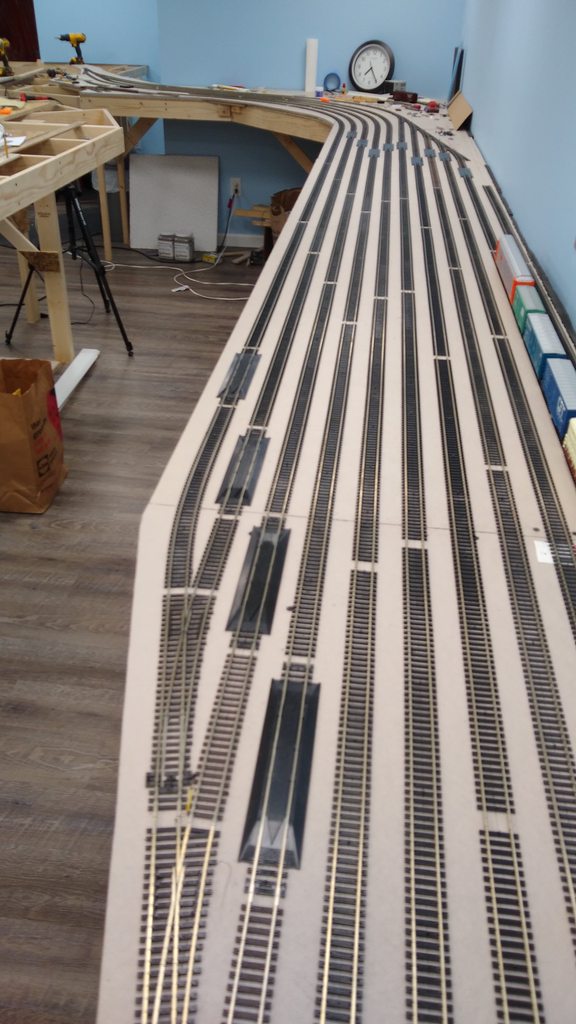
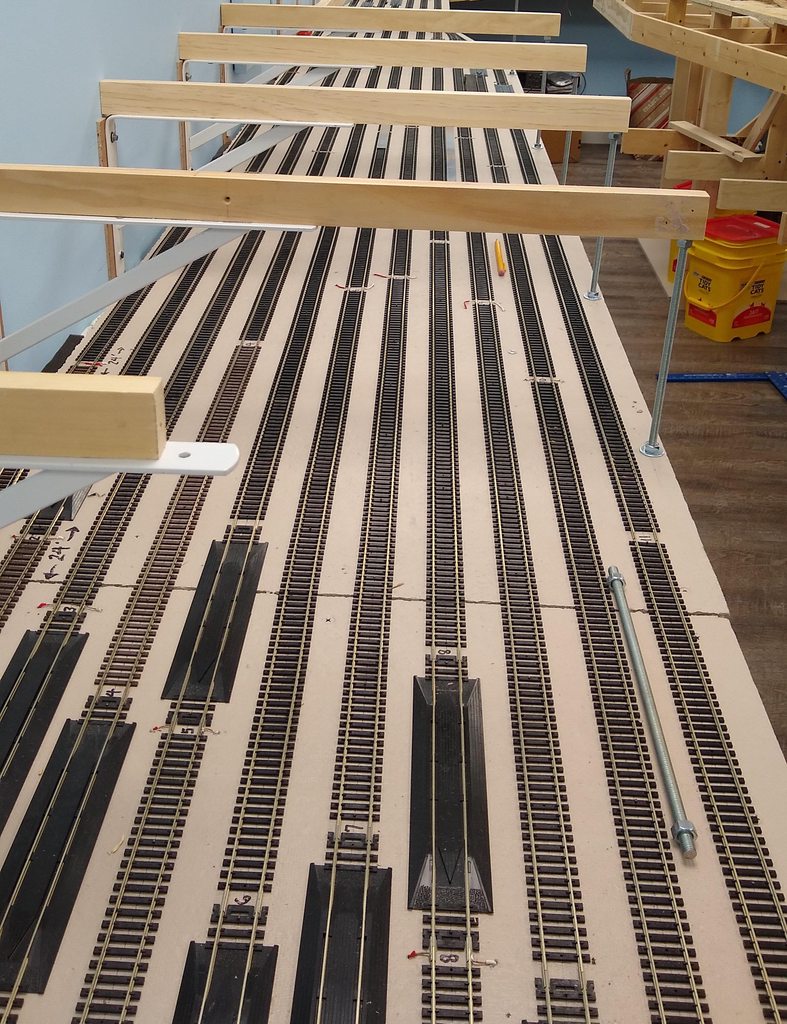
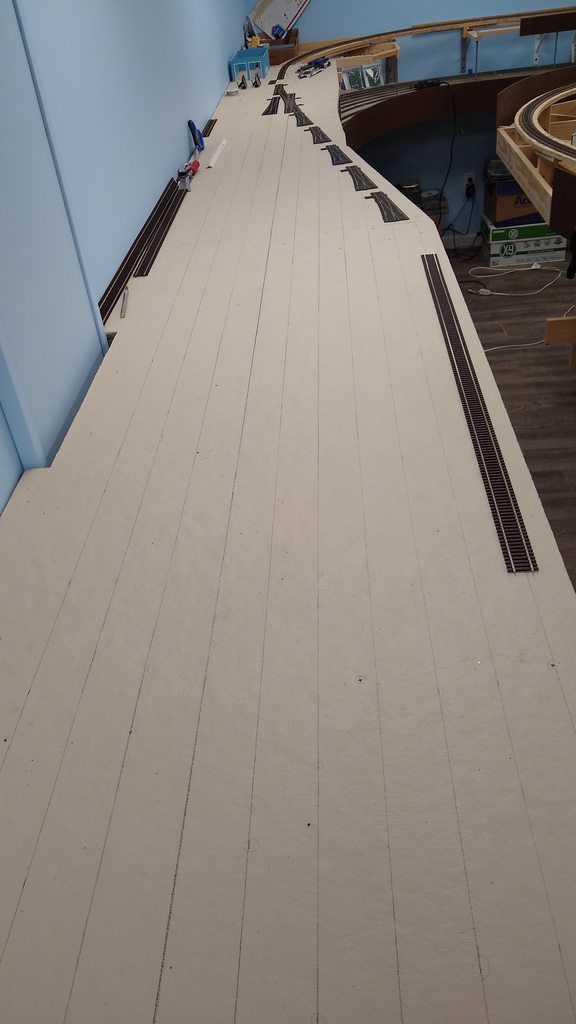
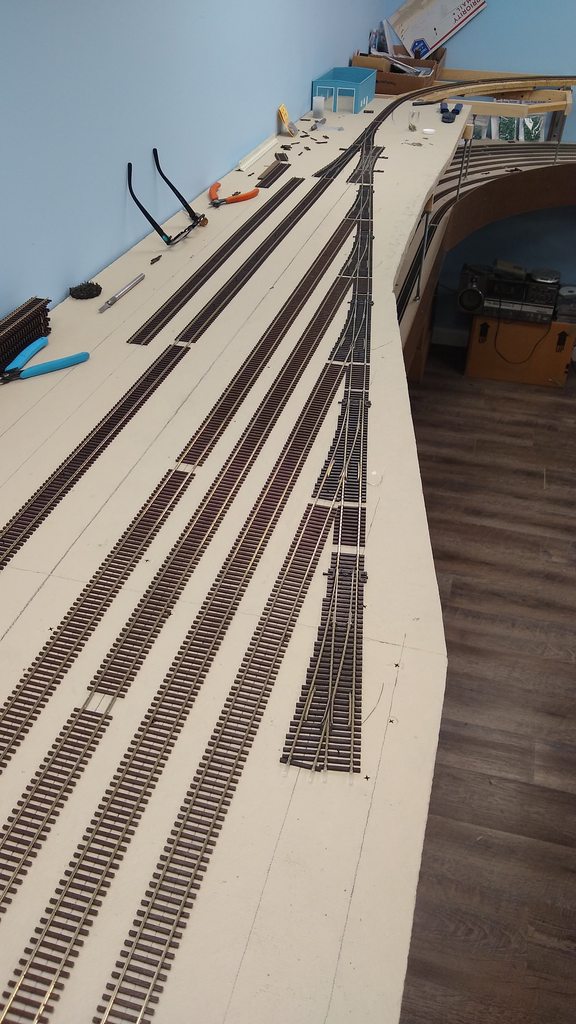
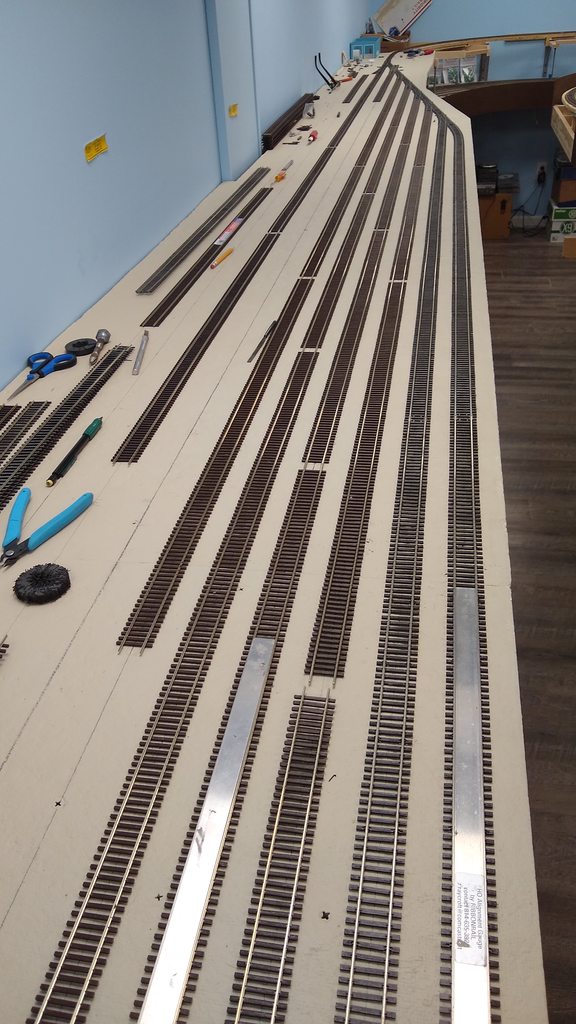
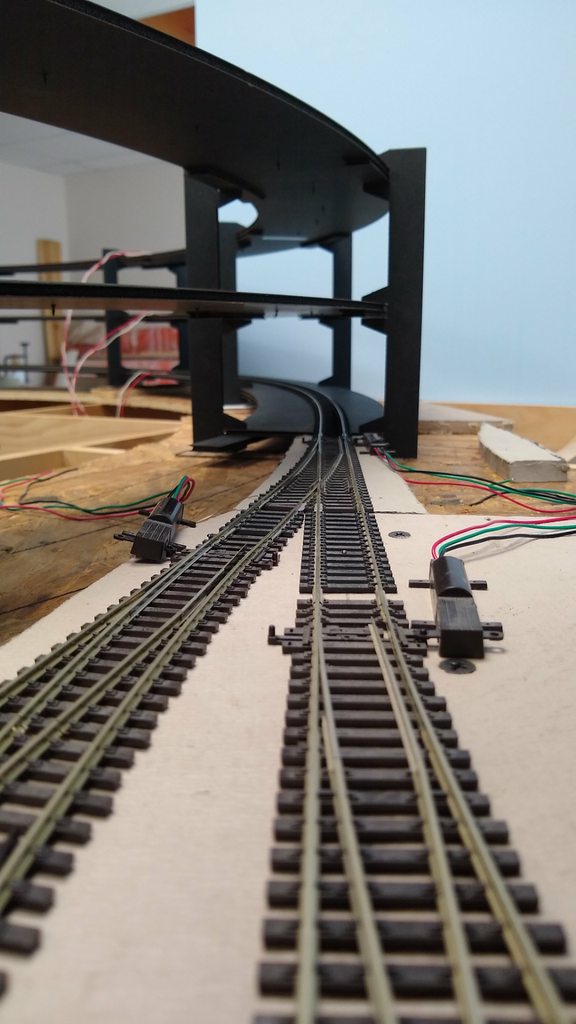
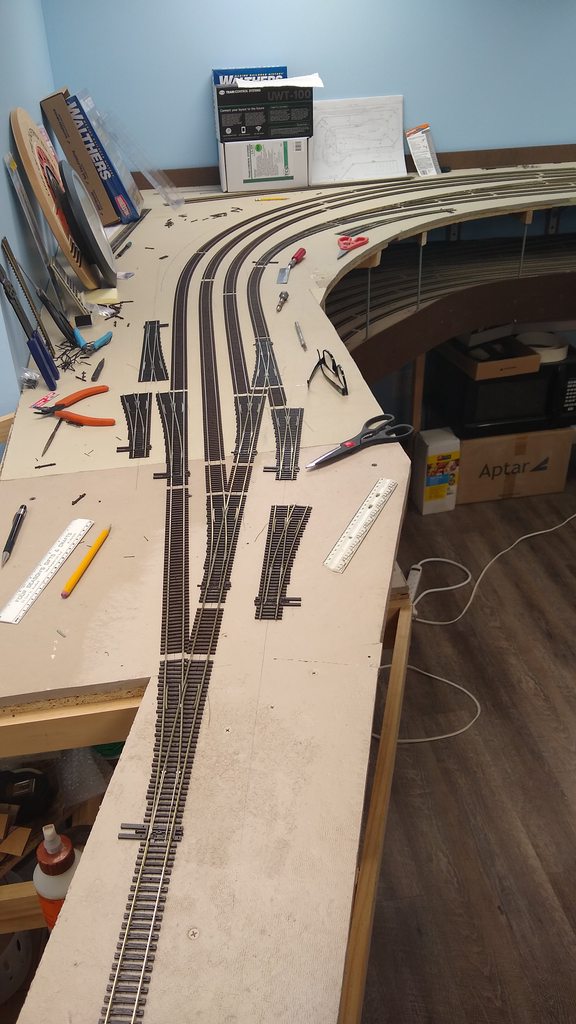
Next the staging yard was put in with Homasote and code 100 flex with Peco large turnouts.

qfzIeaQh.jpg


sYEaHPKh.jpg


I saved all my track from my last layout and thought I might have nearly enough code 100 flex for this staging yard but other than a bundle used on curves (one rail shorter), I just ran out of straight sections. But to be fair, the old room was 18' long but this area is 27' and then some with a jog to the helix area.

Fortunately I had ordered a stack of 10 sections a few months ago meant for the helix but will use it to continue the straight area that expands to 11 tracks. I'll have to order some more; fortunately there seems to be plenty in stock at online vendors:

kEl73gkh.jpg


A7DMHP8h.jpg


dbzd3yeh.jpg


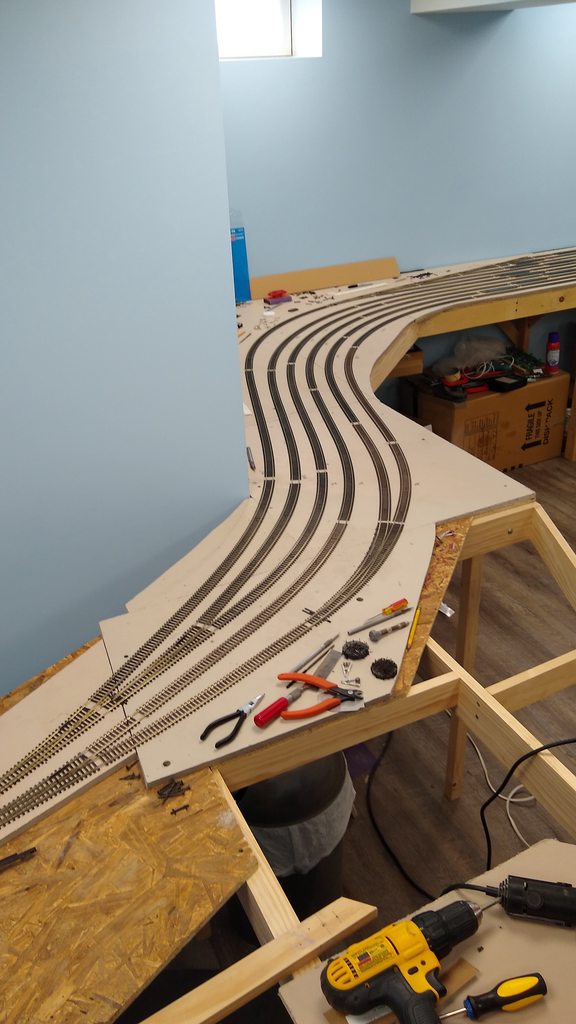
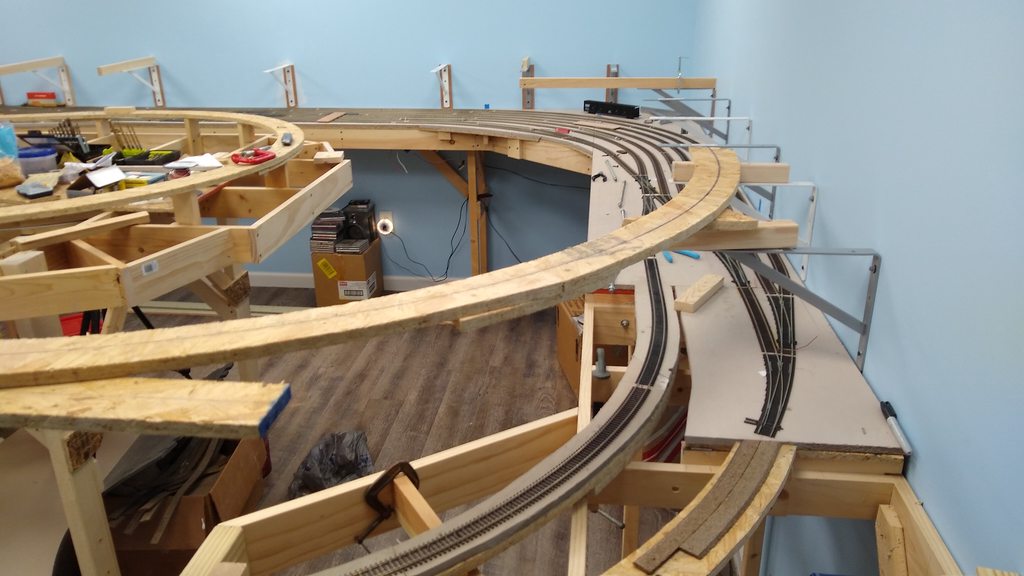
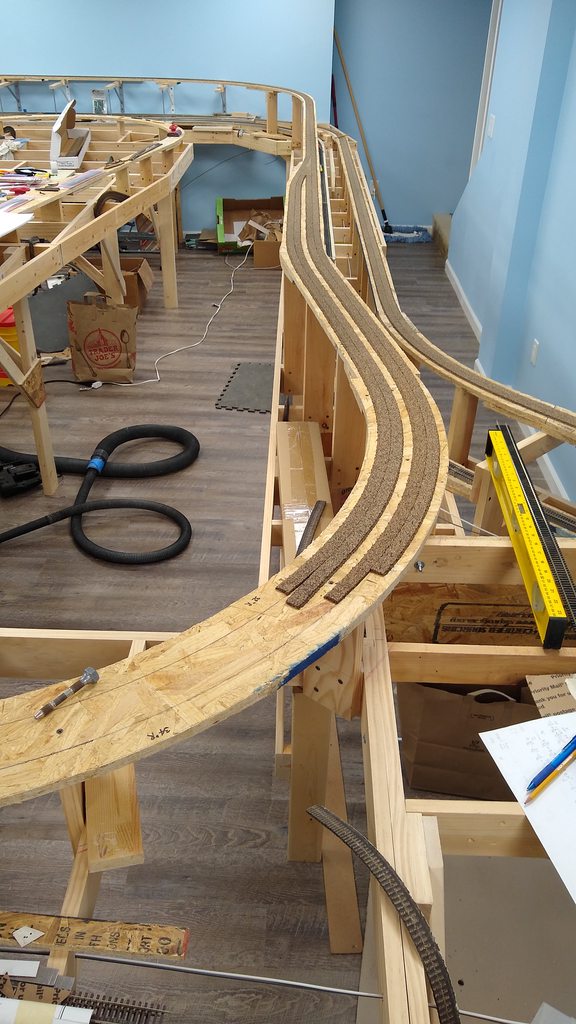
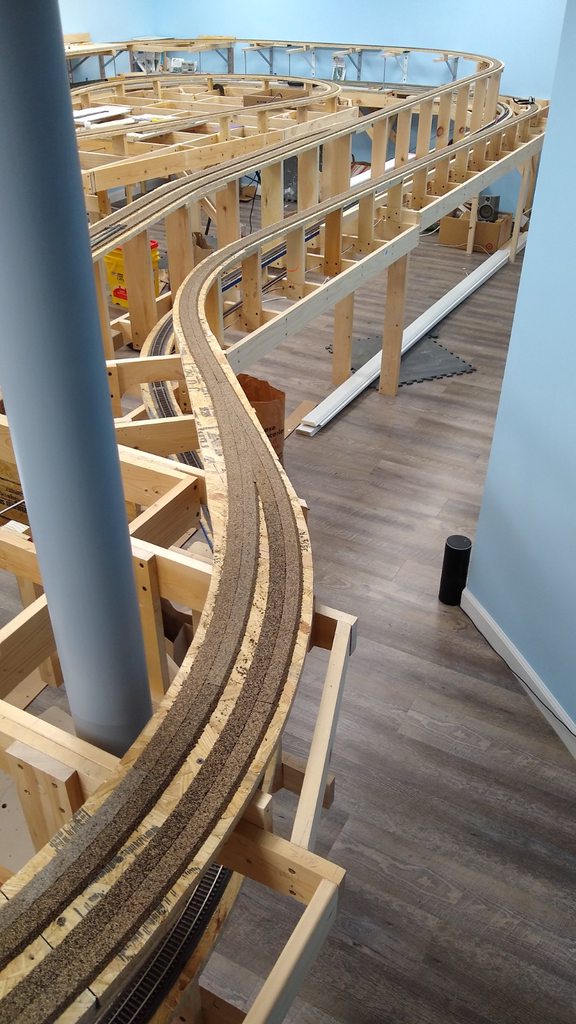
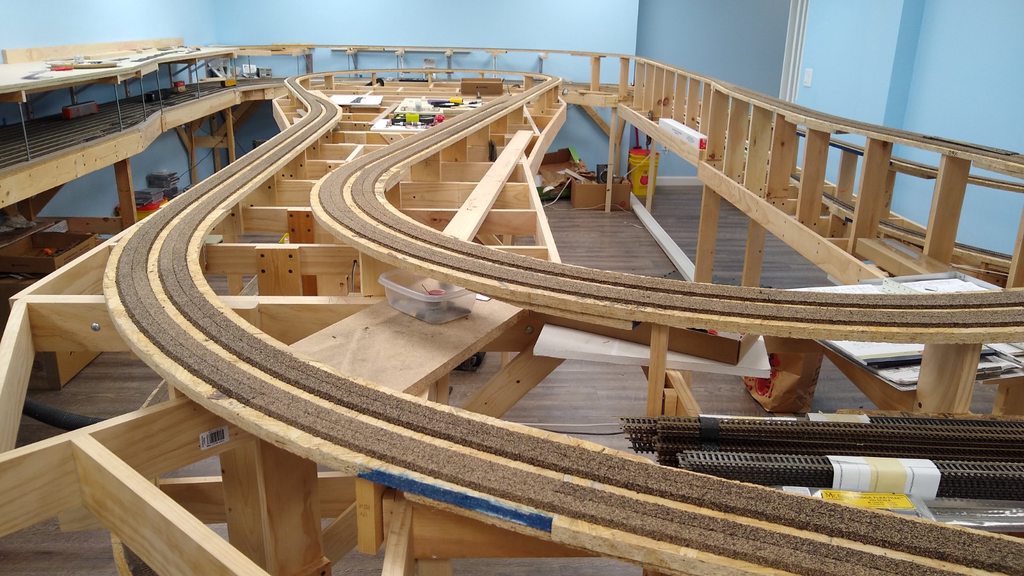
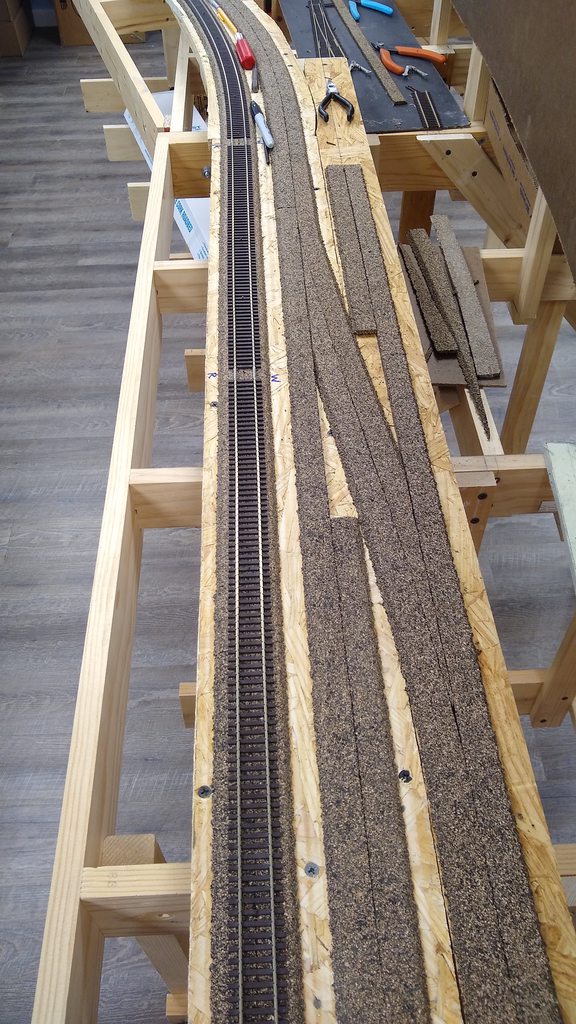
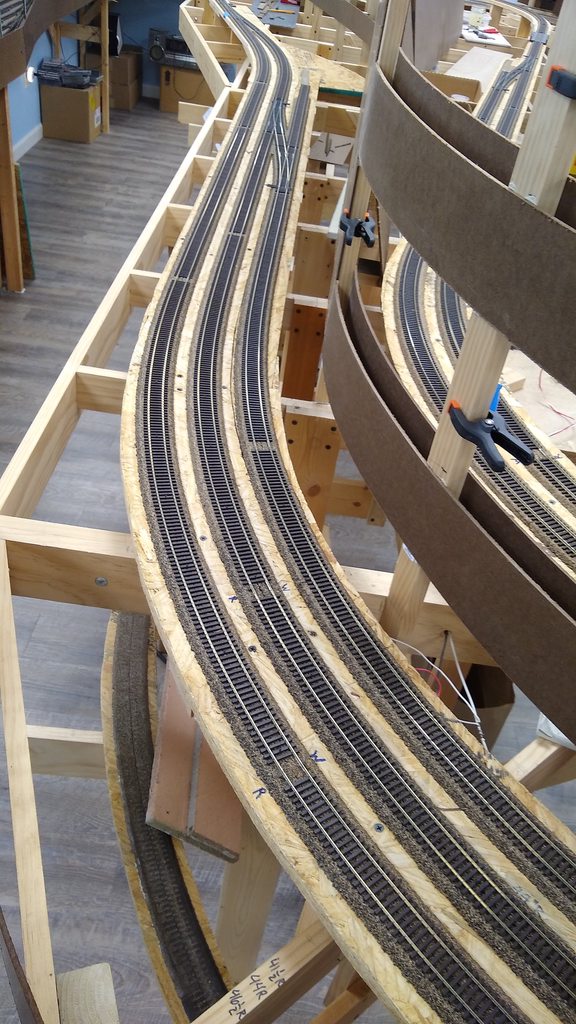
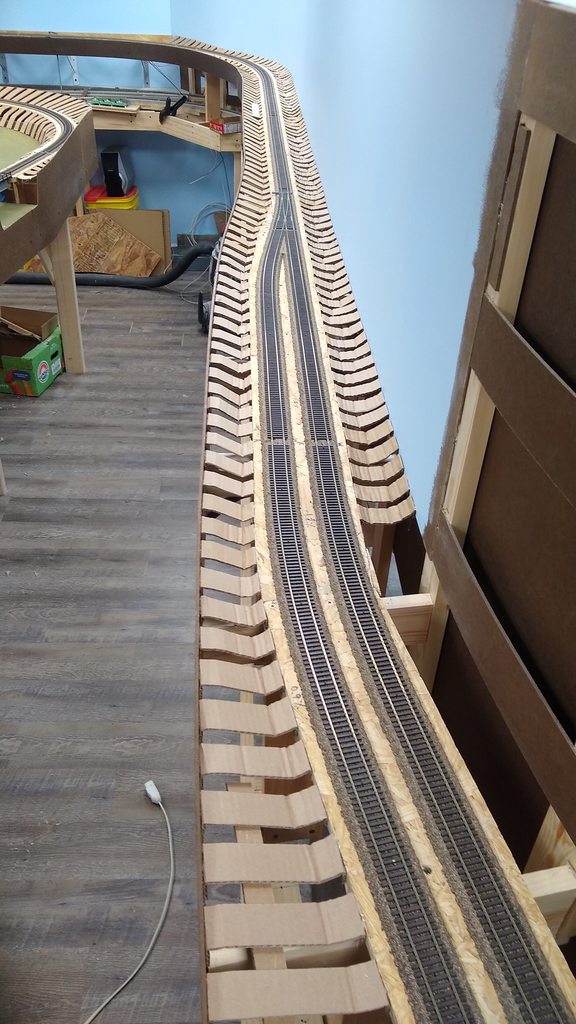
Then the subroadbed for the mainline went in:

p61yrBvh.jpg


SVfYcfyh.jpg


bzMs5wgh.jpg


Jim-Glad your posting progress on this forum. I've been following along with your posting and progress on ARF. I'm not very active over there much anymore, but I will defiantly follow along here.

I know you stated your hobby time was limited due to life and housing revisions. Has that time opened up more for you?
 
I'll try to get this thread up to the present. Here is some more in the chronological progress:

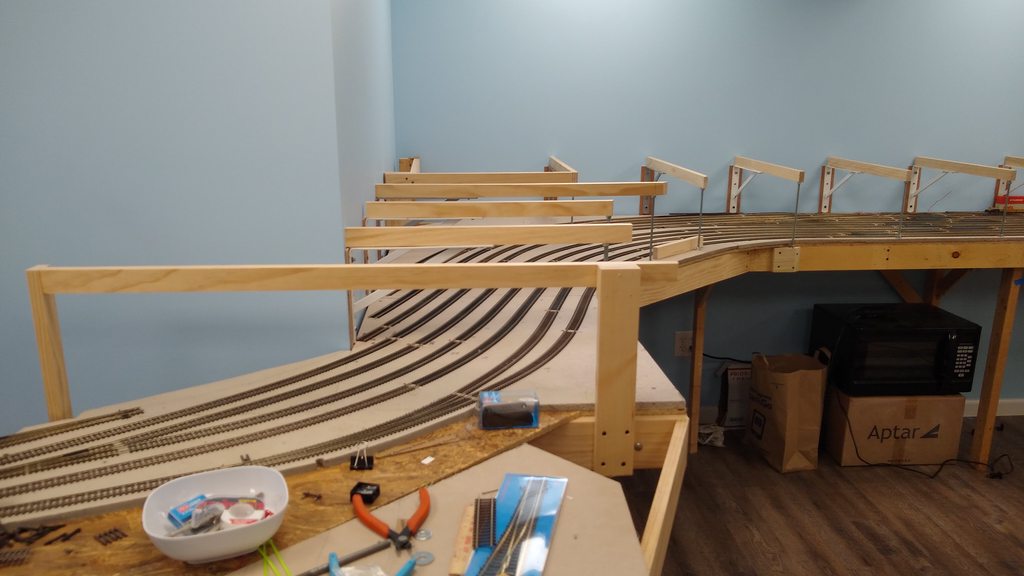
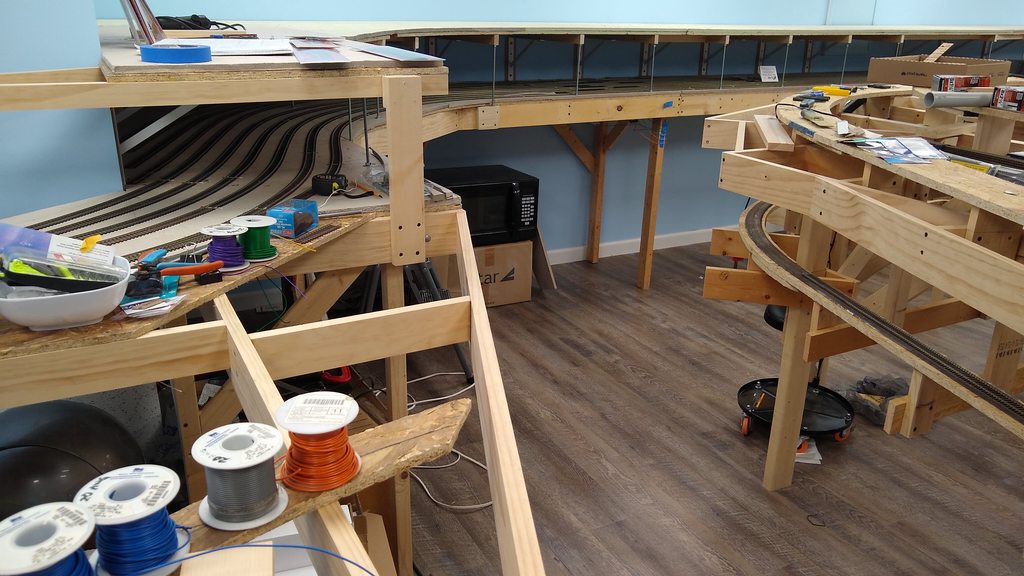
The mainline has reached a point that I am having to get the main yard supports in.

uaXyk38h.jpg


VDLMmORh.jpg


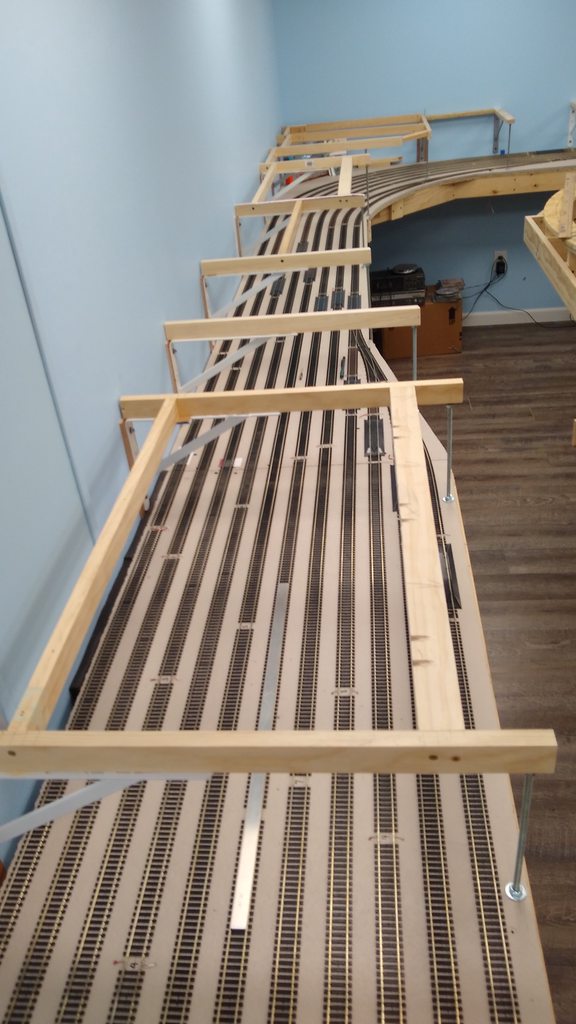
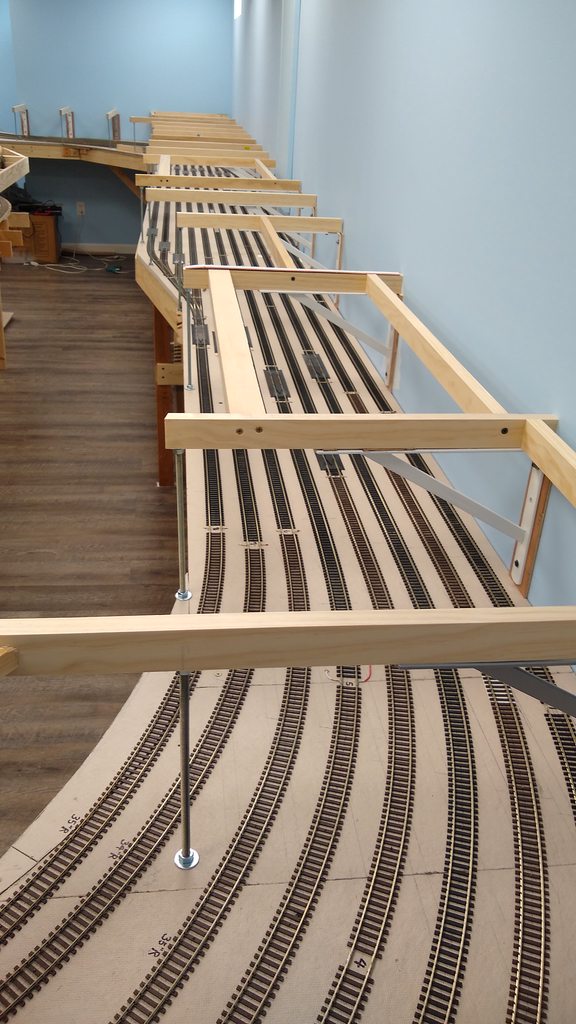
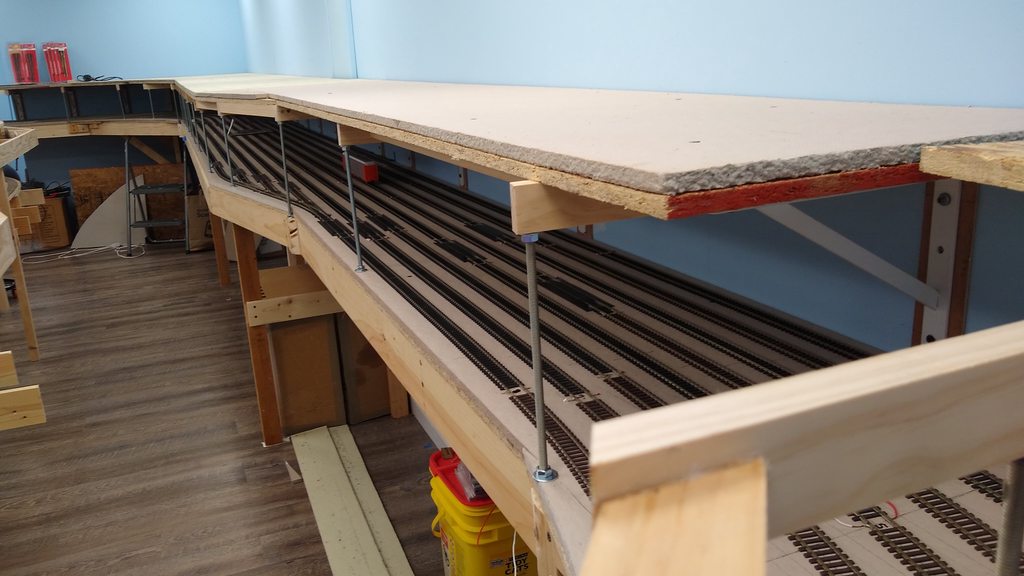
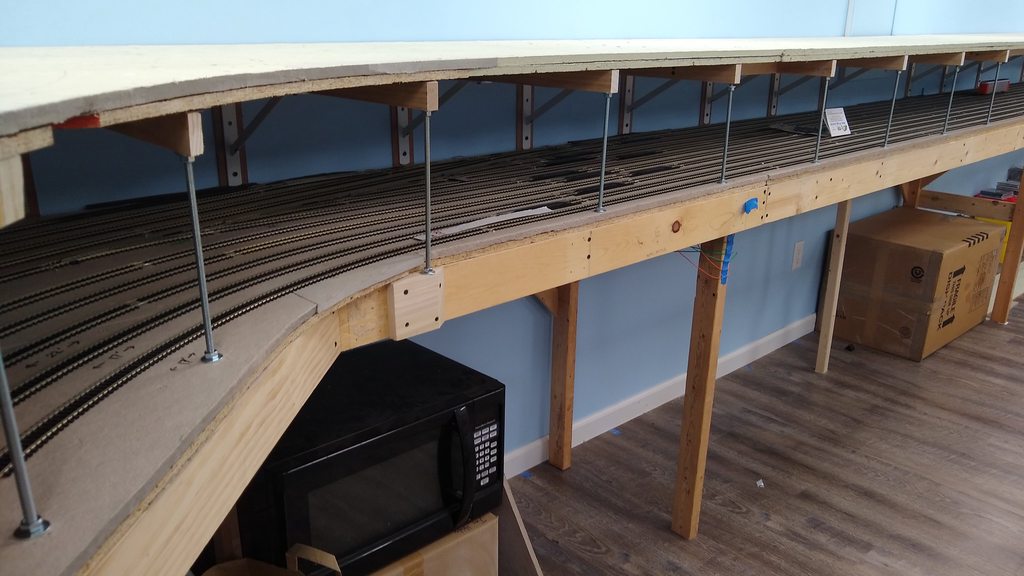
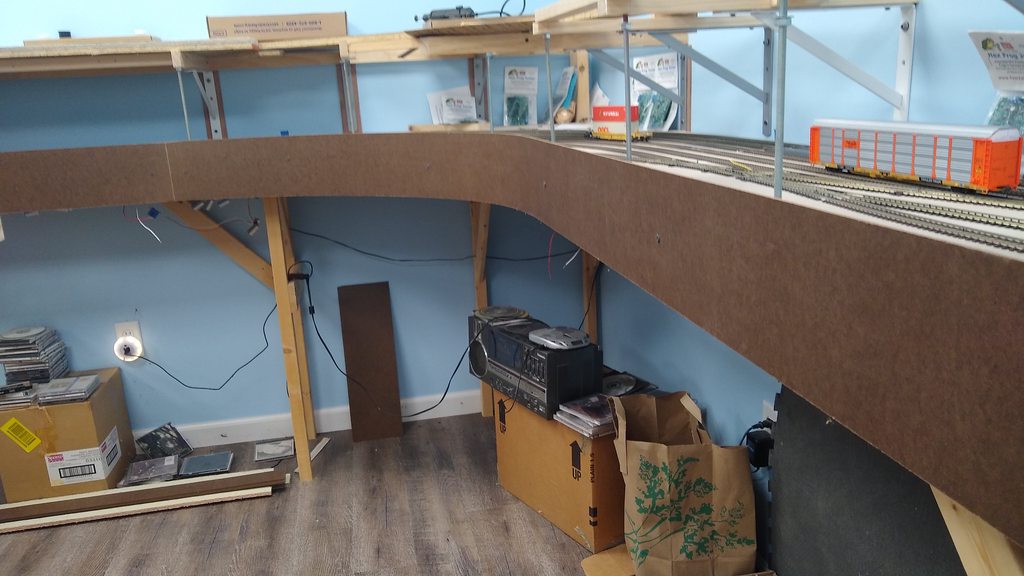
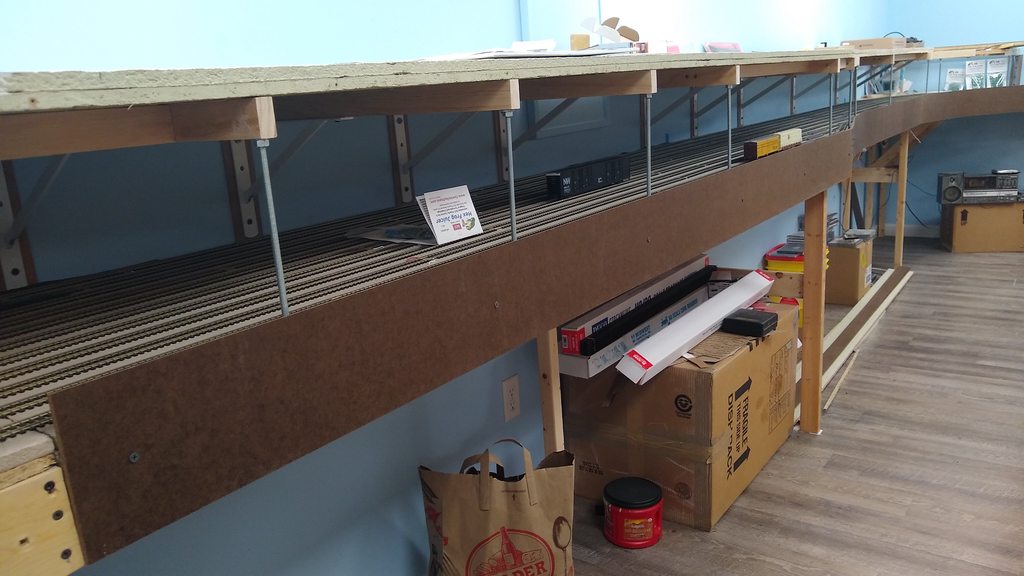
This time around I'm using threaded rods to support the outer edge of the upper level.

8UGyGUCh.jpg


Upper yard supports going in:

LDxsRDph.jpg


5mSo77mh.jpg


t3RX6rqh.jpg


Upper yard Homasote sandwich going in over the framing

4pv9aIhh.jpg


L0NnTV5h.jpg


kwmz9vxh.jpg


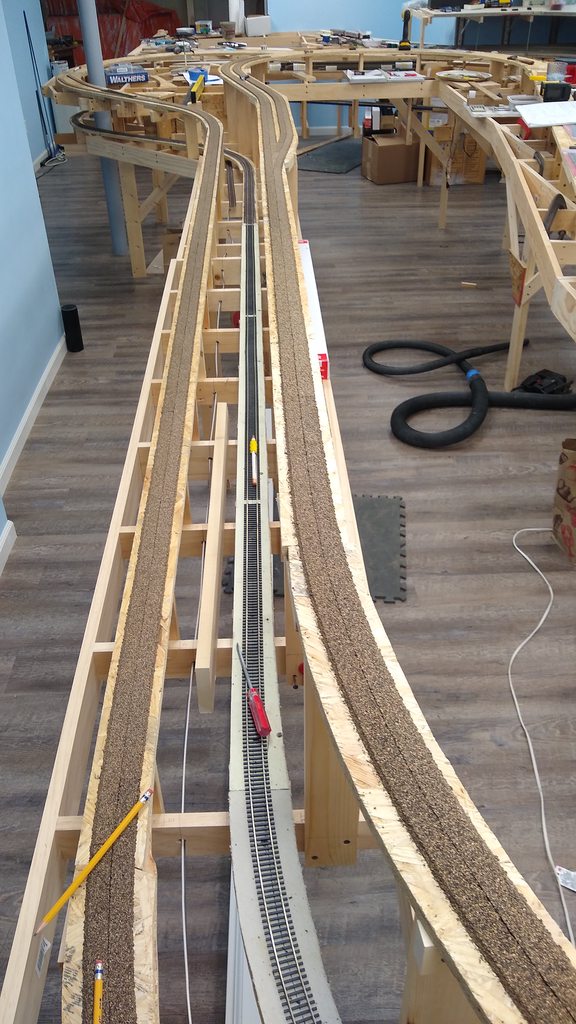
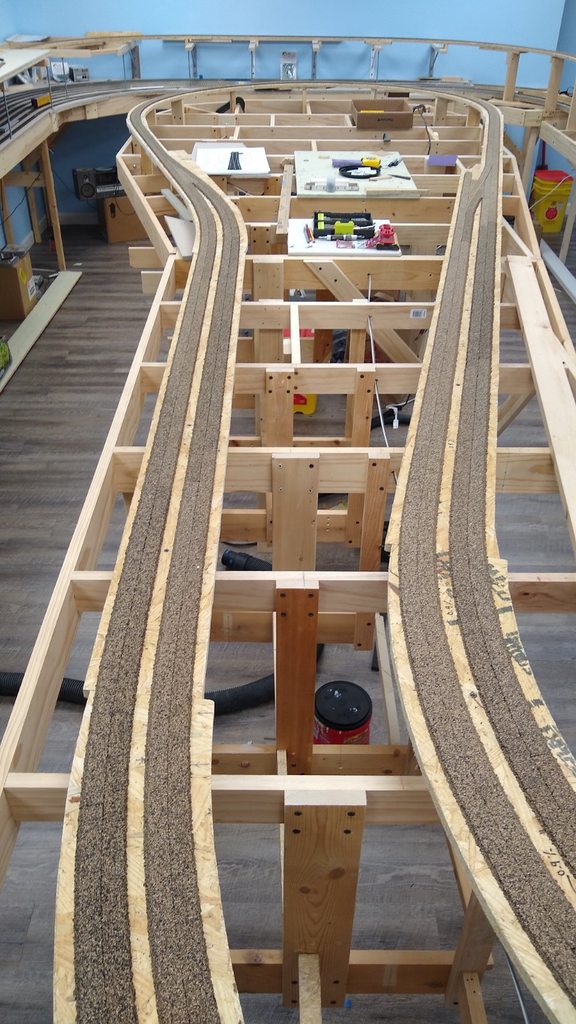
The last stretch of subroadbed was completed around to the wall and connected to the upper yard, as well as cork going down.

PkDUGSIh.jpg


hPt6g8Rh.jpg


JH4hrQHh.jpg
 
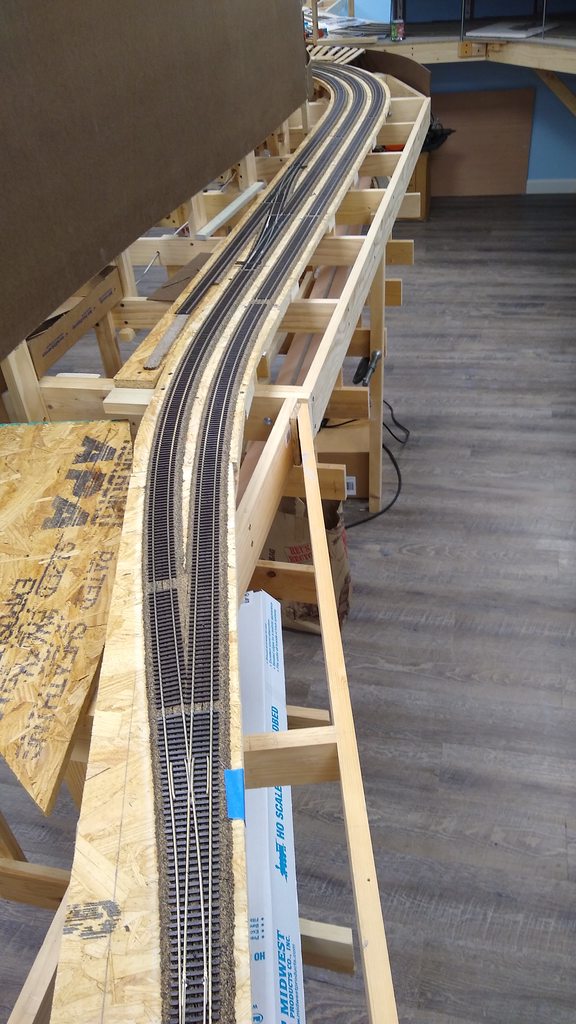
All the mainline cork is down

BpYbz8Wh.jpg


3WS8AGEh.jpg


EukDDWJh.jpg


SeCywrPh.jpg


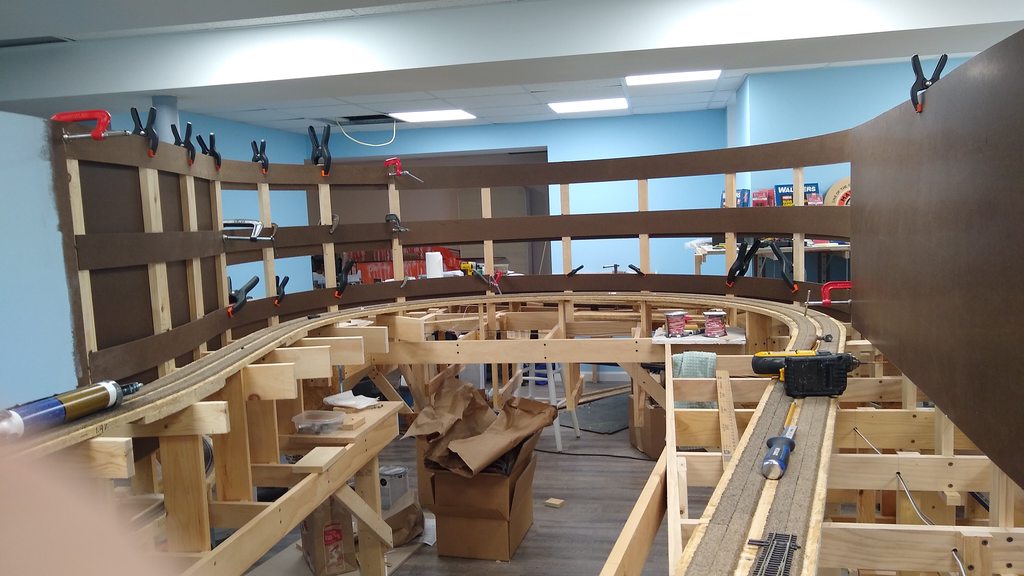
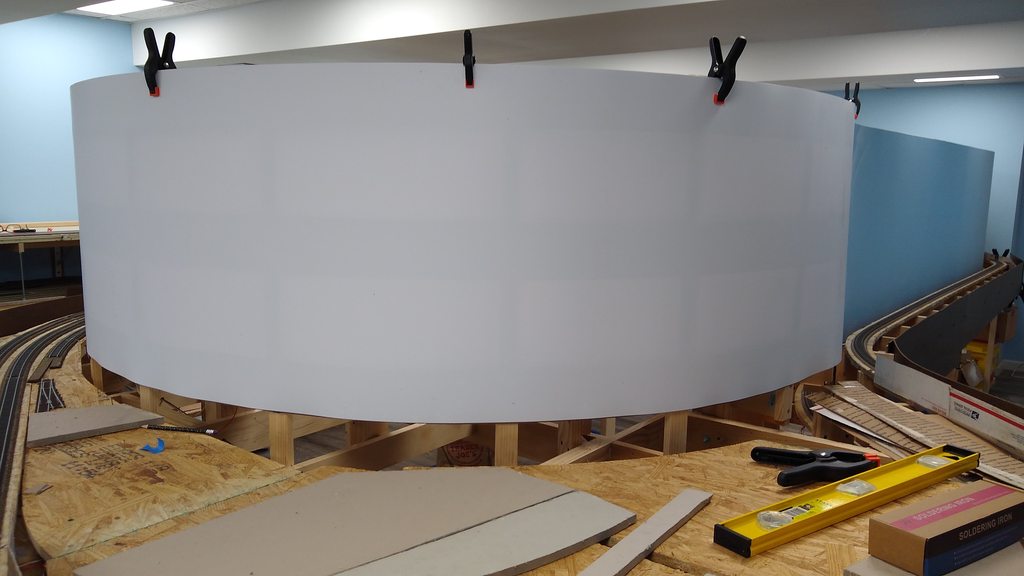
Added hardboard for backdrops and finished cork

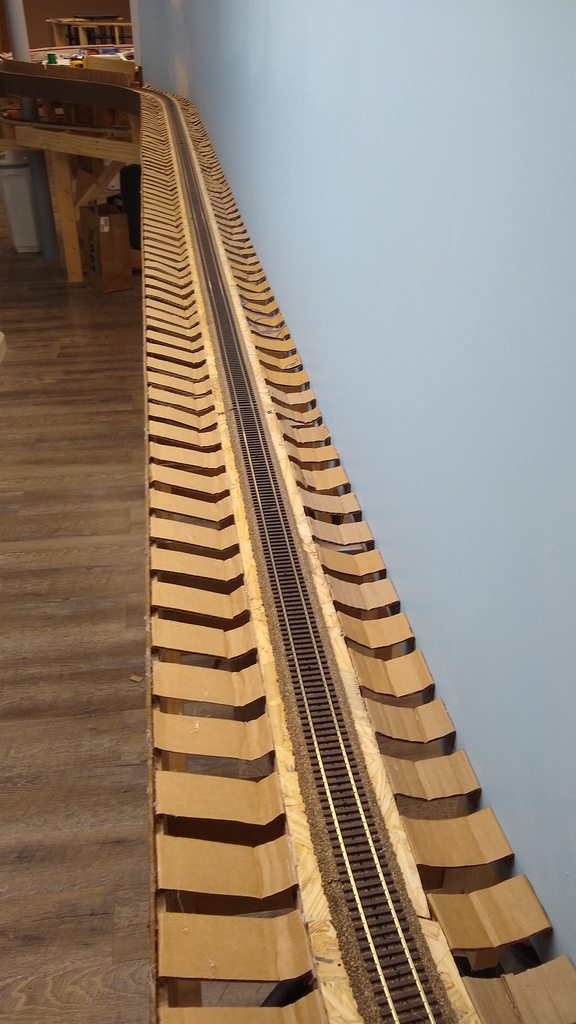
Finally getting the odd day here and there to work on the layout. Mostly I've been working on the backdrops and fascia.

The strips in the background is to support a vinyl flashing that will curve around and is flexible vs. hardboard if installed in 2 ft wide pieces.

BmNaCTbh.jpg


XWZ2TKuh.jpg


3yBe0dqh.jpg


Added fascia:

KYPW05ph.jpg


mz2UZC0h.jpg


WhrD7i9h.jpg
 
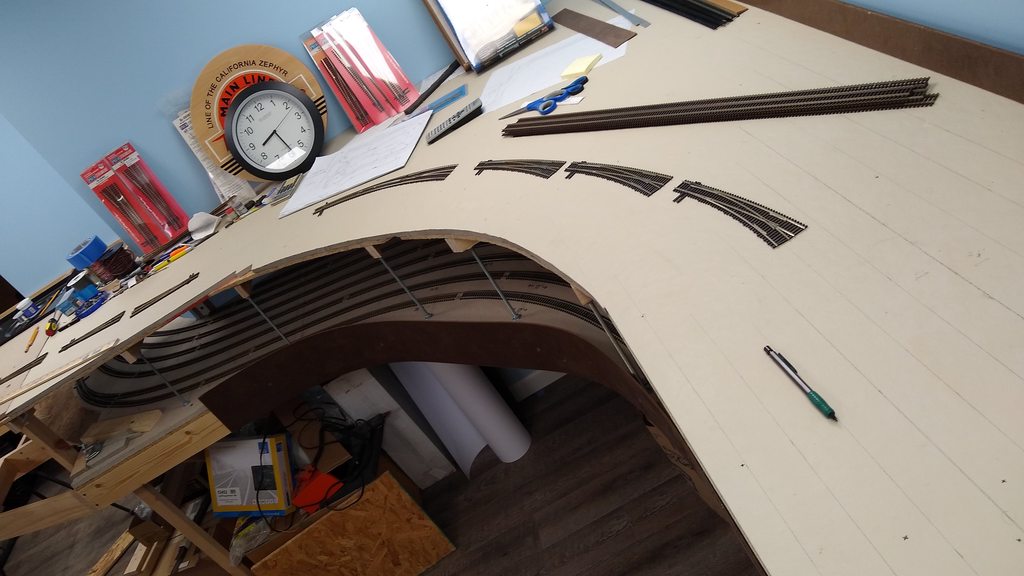
Main yard going in.

First thing was to get the centerlines marked based on the geometry of the turnouts, which include a Walthers #6 double slip, a Walthers #8 curved and the rest are #6 Peco code 83 turnouts. Most of the track centers are 2 inches but a couple are a bit more. I plan to use some Walthers "background" industries for switching. Looks like an engine terminal will go against the wall. Due to the narrow space it limits where things can go. The only place where complete buildings will go for the most part will be in the helix area.

bx16Tc5h.jpg


I also extended benchwork at the other end of the yard 18 more inches. Helix will have to go in before that end of the yard benchwork goes further. Curved Peco #7 turnouts (60"R outer / 36"R inner) to maximize the capacity and length of the yard tracks.

uZCQXsvh.jpg


Got the first ladder laid. Had to totally eyeball it so I would know how to cut in the track between the turnouts.

dzEpFfih.jpg


Installed mostly Micro Engineering code 70 track to the main yard (tracks 3-6 from the right edge) and 2 rows of Shinohara code 70 track, all of it spiked using MicroEngineering spikes.

XtfY0twh.jpg
 
Last edited:


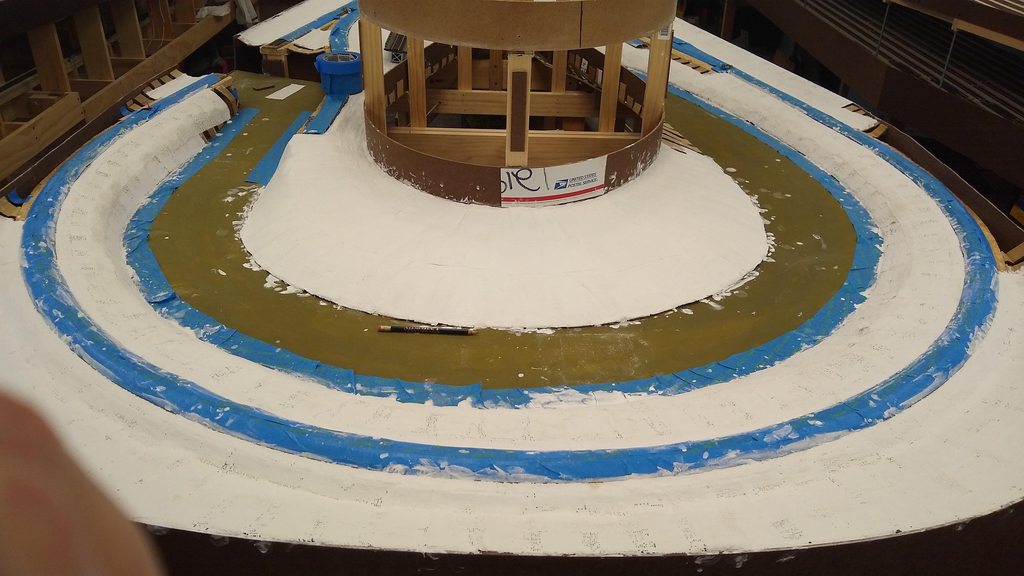
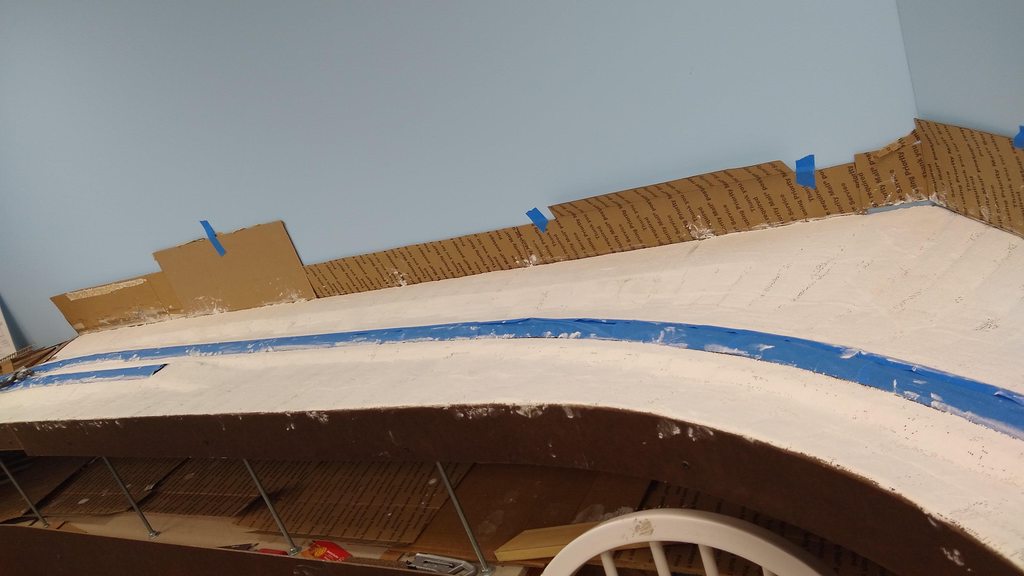
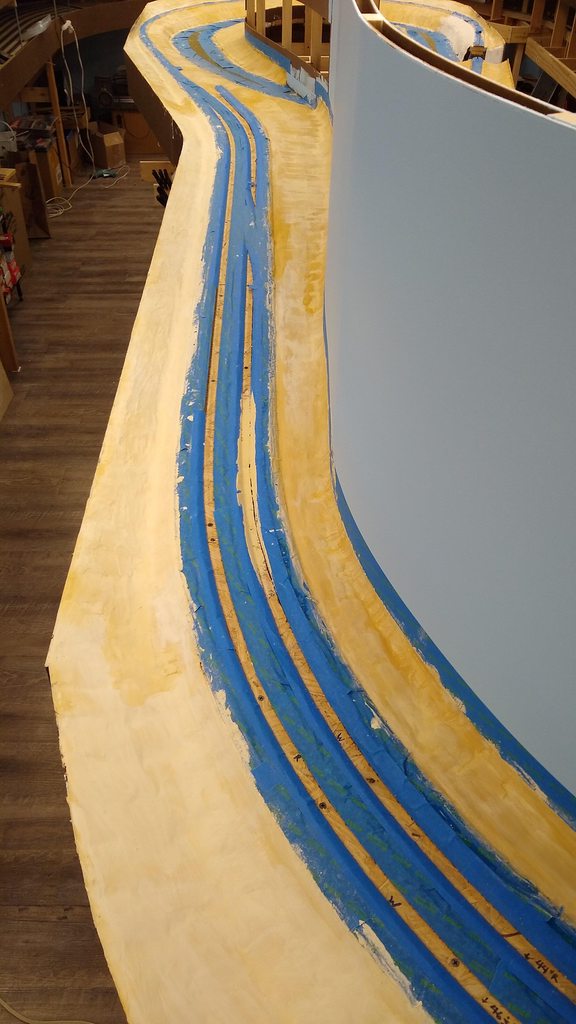
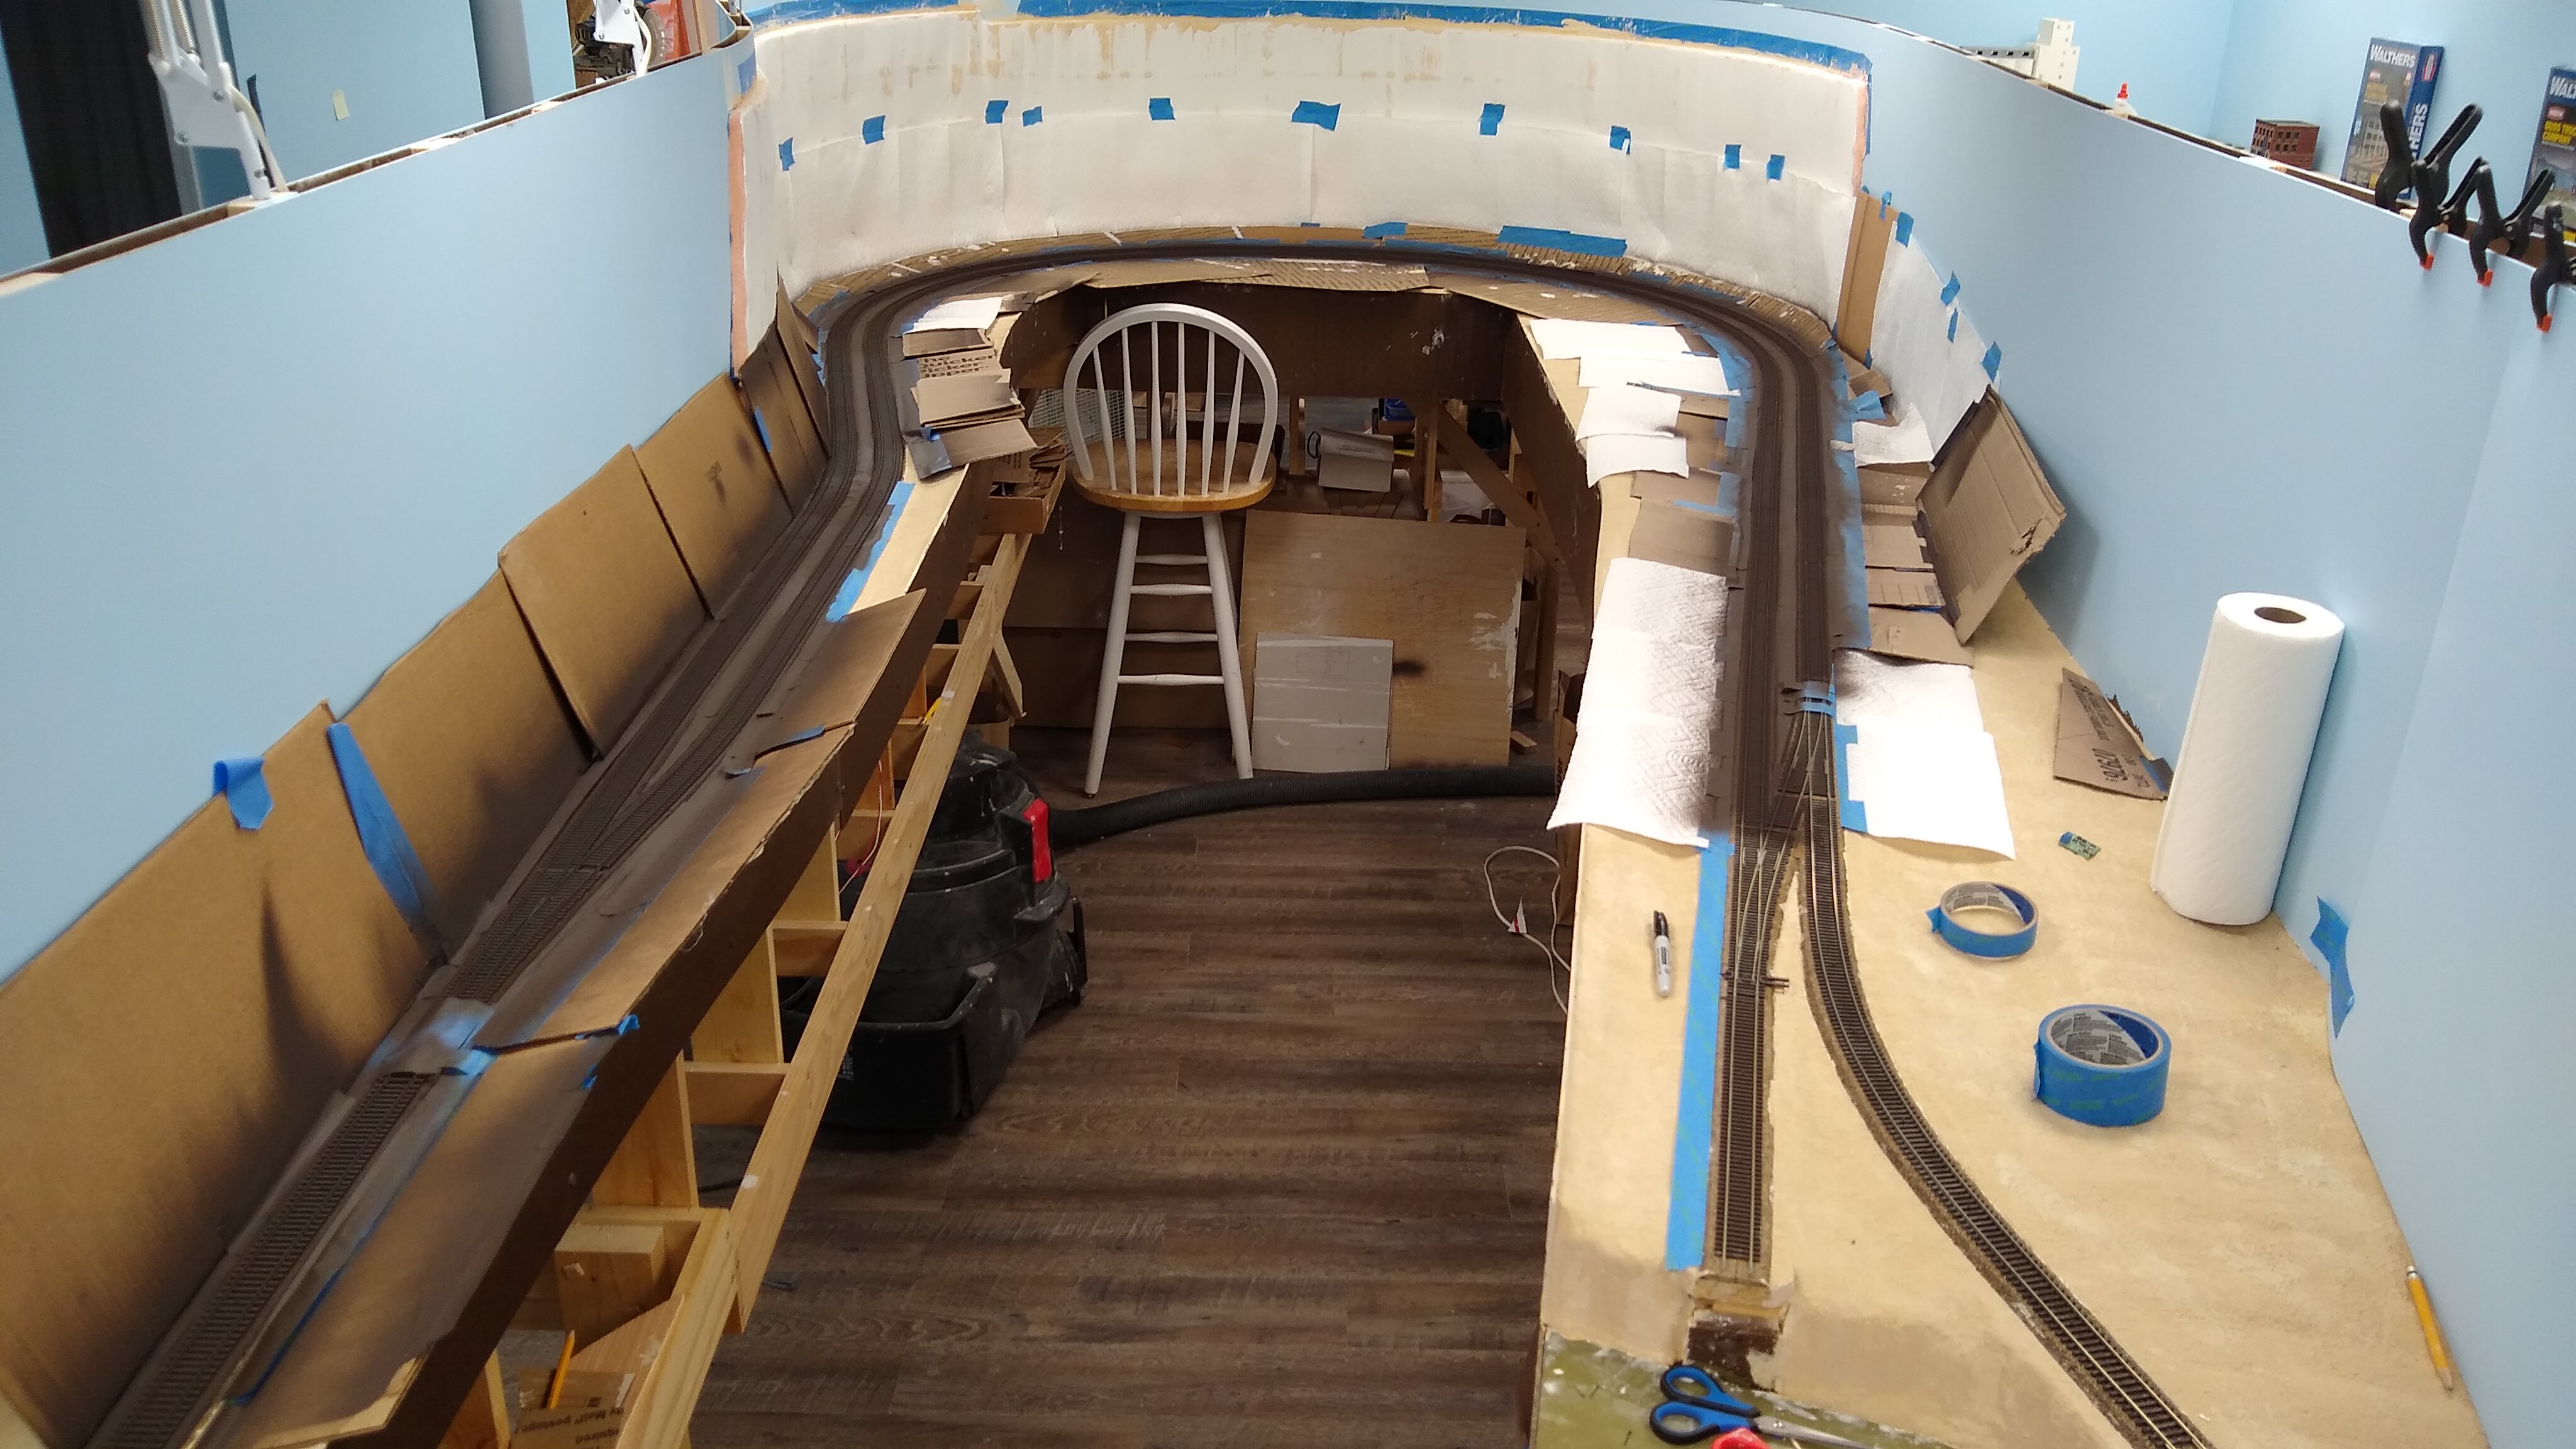
Have laid quite a bit of plaster gauze - into my 3rd 5lb roll now which I hope is enough but have a 4th roll if need be:
hnRRQmTh.jpg


TNAMgC5h.jpg


RlleksLh.jpg


Pretty soon it will be time to start buttering on plaster - I need to pick up some Quikcrete color to color the plaster.

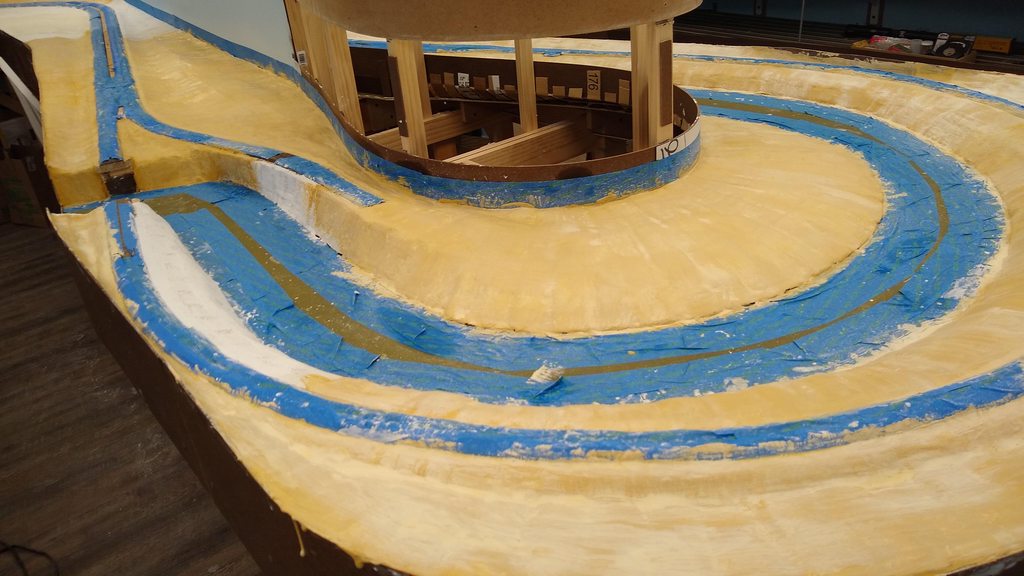
Most recently have been putting in a thin layer of plaster over the plaster gauze with a bit of pigment to me it easier to see and smooth.

XP53LAuh.jpg


do6kJCYh.jpg


I've gone through about 25 or so pounds of plaster so far and am closed to 3/4 of the way done.
 
Time to get caught up to mid October. Back in May here was the state of things:
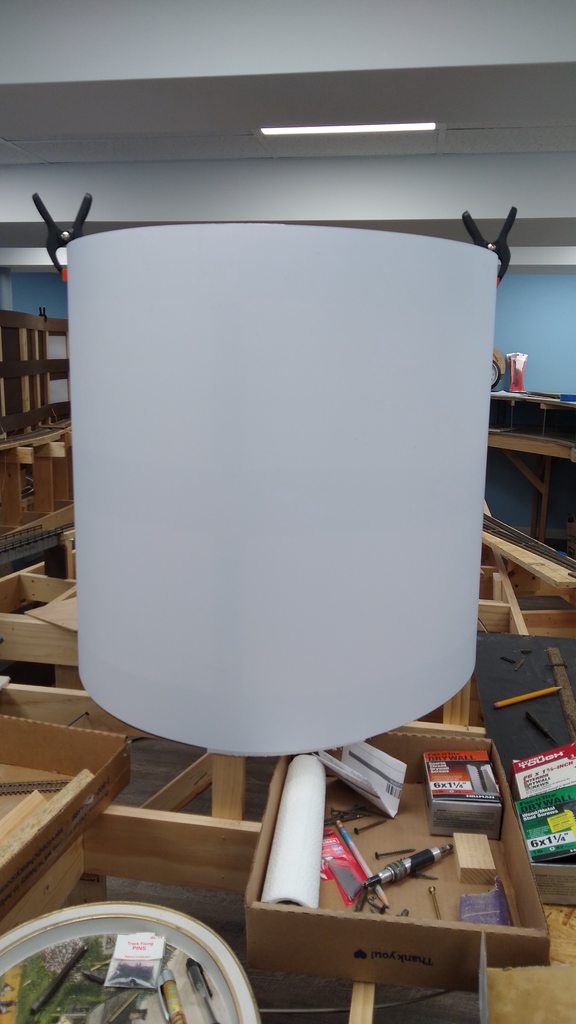
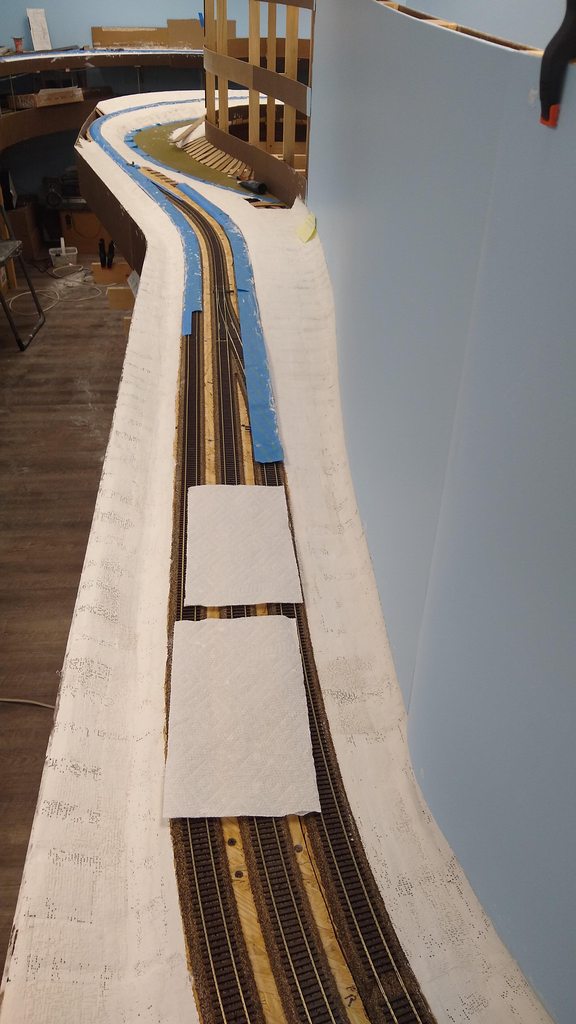
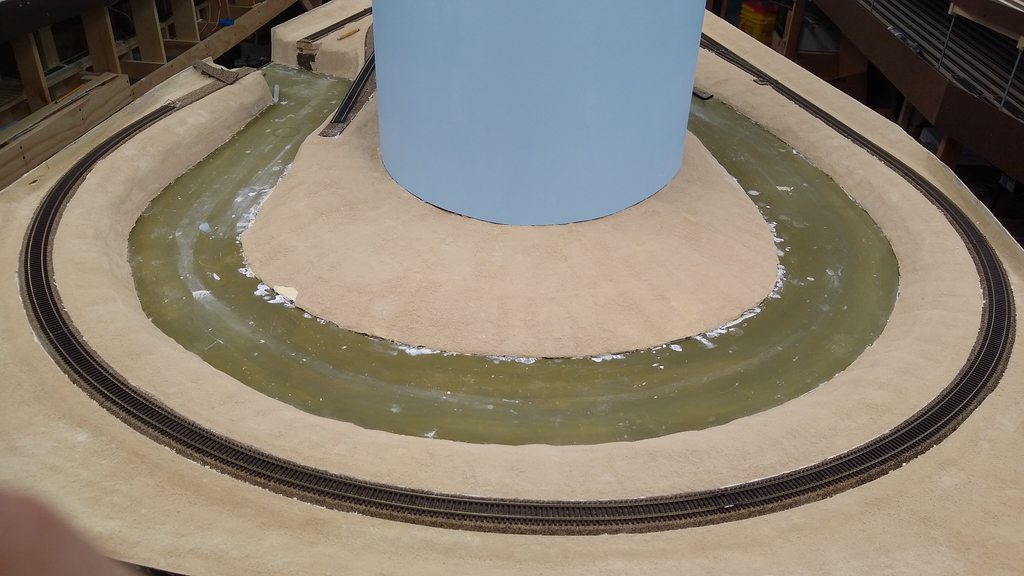
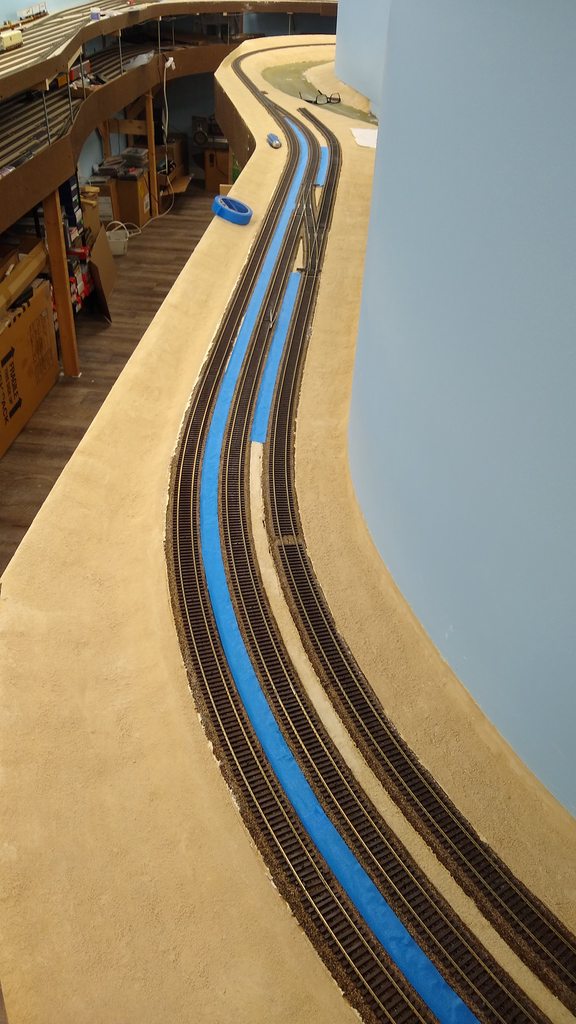
Peeled up the blue tape I covered the track with.

Since the river is drywall mud, I had to paint it to stabilize it. I'll have to go over it again now.

fva8voUh.jpg


One thing I forgot to do was to paint the track so I've been masking and painting with Camo Brown

OGwj3pDh.jpg


Here the rail and tie has gotten painted and the rail surface cleared of paint.

2QTaMaPh.jpg


emlmykn.jpeg


The stretch off screen to the top that goes around and oxbow in the river also got camo brown. I'll have to get another can of camo brown as the current one is getting low. Looks like it will take at least two cans to cover the entire mainline.
 
In June filled in ties where the track is joined in the main yard, about a 2/3rd done.

l5tFoMsh.jpg


Added sidings for the grain elevator.

VKm7Kd4h.jpg


Continuity testing using a DC power pack to make sure tracks are all energized before hooking into DCC.

Working on wiring the Tam Valley Frog Juicers in. Did 6 for a hex juicer at the right end of staging and another 12 at the right end of the main yard.

HC8x5Gj.jpg
 
Have most of the Peco electrofrogs wired to where the Hex Frog Juicers will be located. I had forgotten that I had pre-wired some of them which are at hard to get to way in the back near the wall in staging.

u40foyf.jpg


I think I have nearly all the drops tied into the bus. Maybe a couple left - I keep finding them! XO

Getting up after sitting on the floor twisting wire and soldering - the bones really hurt for a bit!


w6W4dap.jpg


vea3L4c.jpg


Masked and painted a bunch of track as well.

t8XTMvd.jpg


I went back over the river that had gotten splotchy while doing the plaster and sanded grout and gave it a second coat so it's about ready for the Mod Podge gloss coating to give the appearance of water next. I bought some rafts to put in the river. I plan to put some figures in them with at least one mooning the train, which happened when I was riding the Amtrak California Zephyr on the Rio Grande many moons ago.

vxWKJDW.jpeg


I had removed the ExactRail Rio Grande bridge while I was painting the track and repainted the river so I restored the bridge. I still need to add cement abutments below the bridge on each side of the embankment.

XBVZog1.jpeg


Here is the river with a fresh coat of acrylic paint. The white specks are just dust I'll need to vacuum up.

xxa71Cz.jpeg


After that I got out a Stewart F7 and began running it around the mainline slowly to check for dead spots. I did find some so added more drops to and connected them to the bus.

The Stewart F7 stopped between the heal and the break in the rail on one Peco #8
Electrofrog turnout so it looks like the points were reliably passing power from the heal to the half of the turnout on the left side. I may have to add feeders there to give reliable power to that part of the turnout. The F7 ran through all the other Peco #8 turnouts with no hesitation.

tSyPcSkh.jpg
 
Mid August decided to see what would fit in a siding so pulled out 30 Exactrail quad coal cars - which fits with 4 SD locos and a caboose:

gOv2YCMh.jpg


Got 14 autoracks out of the boxes and onto the layout as I was testing track continuity and shaking down the layout. I have to replace plastic couplers, wheels and adjust height as necessary. Here is the test rain with 14 autoracks and filler freight on the rear. The first is one of two 32" minimum radius curves and the 2nd is on a 46" CURVE.

30cdyhn.jpeg


gITBaQU.jpeg


I have some turnouts that are not reachable from the operating isle so I had to set them up with switch machines. The Peco didn't work here for this purpose so I subsituted Atlas above ground switch machines along with a Peco CDU to prevent burnout of the twin coils. I had to create my own linkage.

zaUfpCrh.jpg


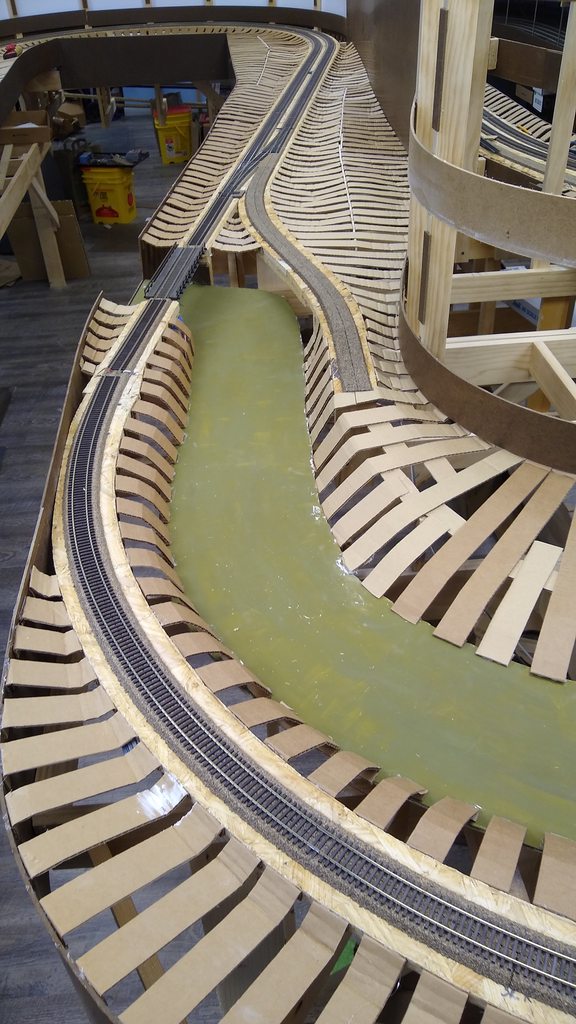
This month I decided to work on an unfinished part of the layout where a mine would go:

IY8g5HGh.jpg


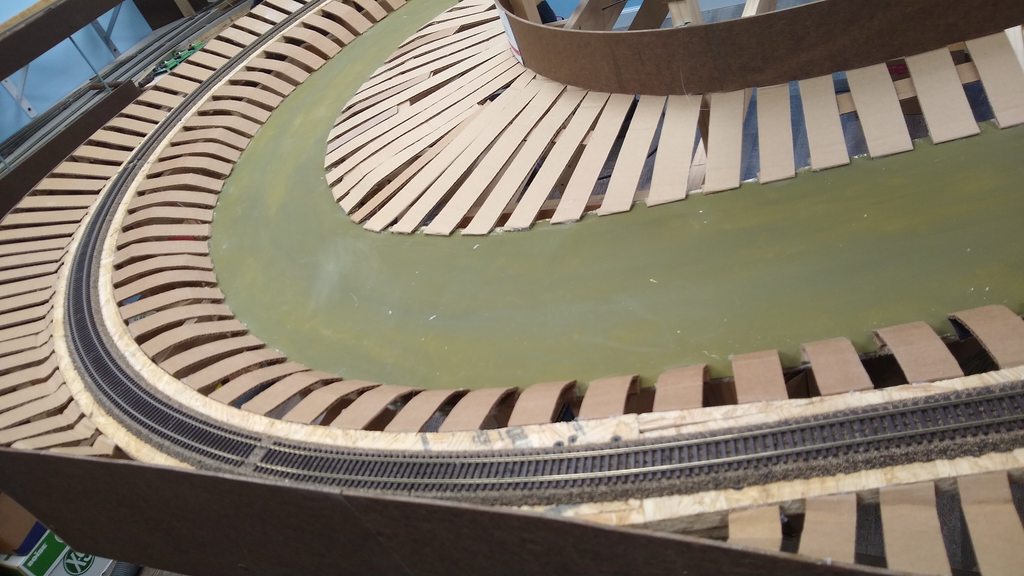
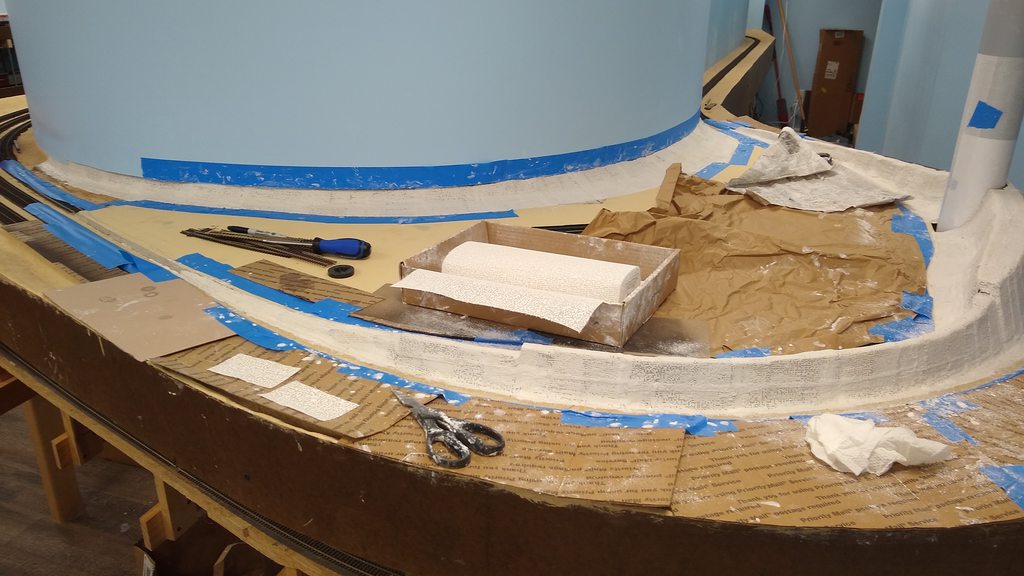
With cardboard strips to create basic landforms past week and today covered it with plaster gauze.

First before getting messy, masking tape down.

z0ATmc5h.jpg


cUzLM3dh.jpg


mdCOYYoh.jpg


Next will cover it was a layer of plaster over the plaster gauze.


Affiliate Disclosure: We may receive a commision from some of the links and ads shown on this website (Learn More Here)

Back
Top