ModelRailroadForums.com is a free
Model Railroad Discussion Forum and
photo gallery. We cover all scales and sizes of model railroads. Online since 2002, it's one of the oldest and largest model railroad forums on the web. Whether you're a master model railroader or just getting started, you'll find something of interest here.
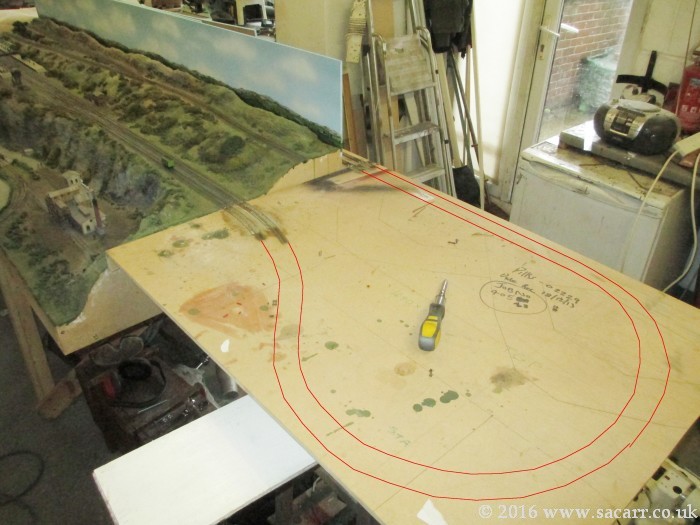
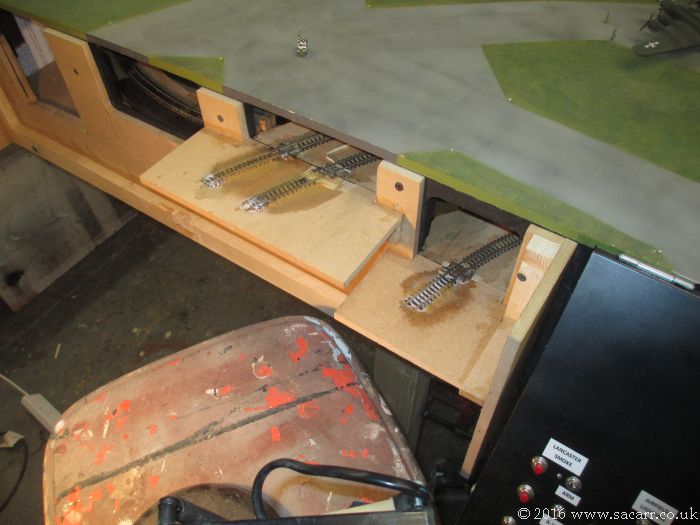
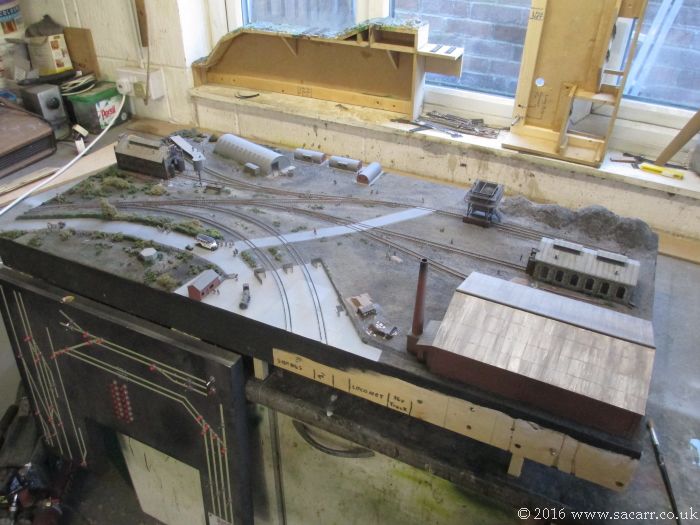
While the build has effectively ended now, I didn't want to leave the layout in a position where it couldn't be used. So at my own time and expense, I've used some left over of track and MDF, and I've knocked up this board that the customer can complete to get both the main lines running as a full loop.
I've laid four short lengths of track that will match up with the station section. The customer can purchase two or three more lengths of flex track and finish the loop, allowing both main lines to run. It will need some legs/supports making, but at least the track lines up and they are wired with fly leads to connect to the station section.
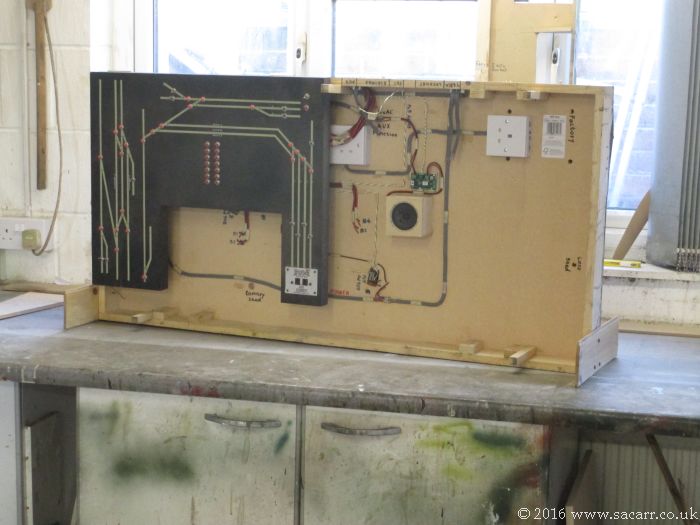
With the layout on its side, linking wiring was made to join the station to the quayside yard.
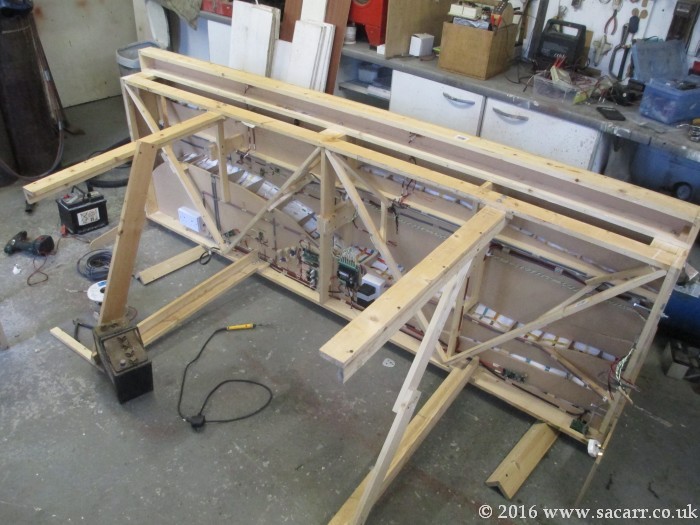
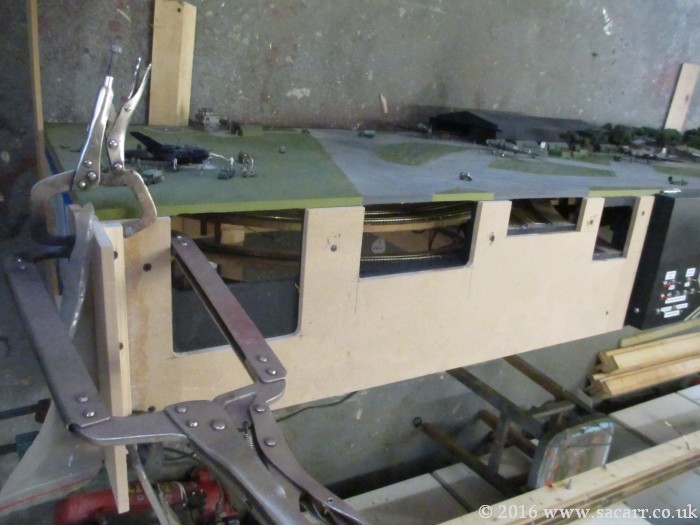
The layout legs were removed and six inch long legs fitted instead. These allow the layout to rest on the floor without the transformers touching the floor, they allow me to get my hands under the section to lift and carry it and also provide a fixing to attach the section to my trailer floor with angle brackets for transport.
The station section complete and ready to go back in the garage, which it did at the weekend.
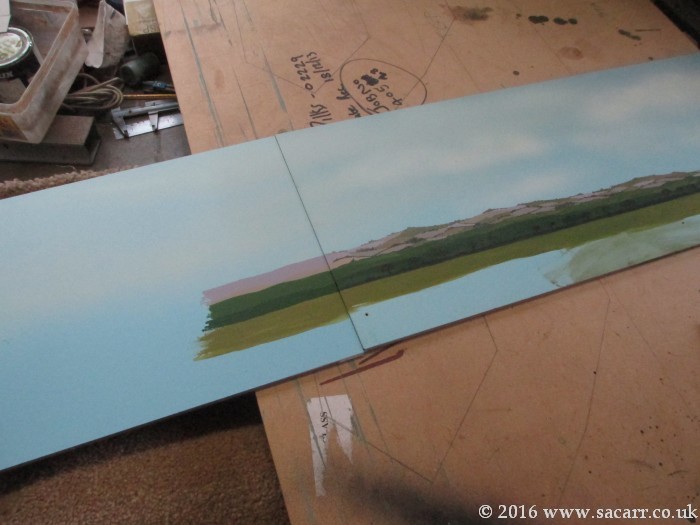
For a future section extending from the airfield, I painted up a new backscene to match up with the two feet long piece that fits across the end of the airfield. It is seen here with the hills partly painted, but is yet to have the hedge lines added.
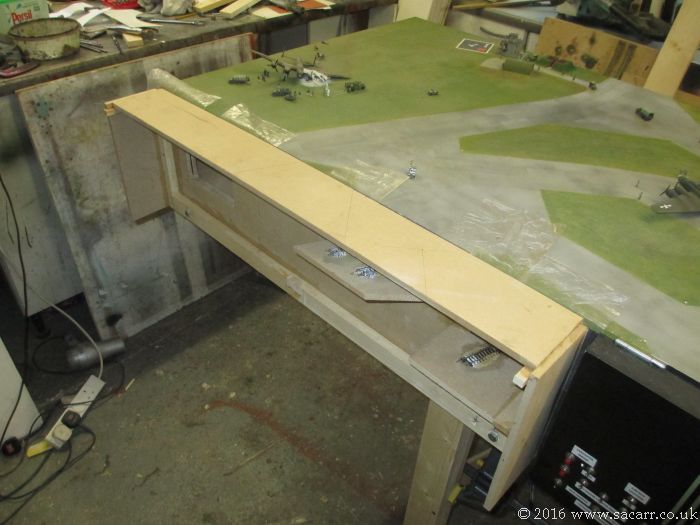
The airfield section returns to the workshop so that I can build and fit the section legs and also a 4 inch section that will match up with the part where the tracks run off under the crashed Lancaster. This piece will also be kept by me for possible future extension of the layout.
After a hardware store trip for some timber, the legs were made. While they were drying, the beginnings of the short extension was started.
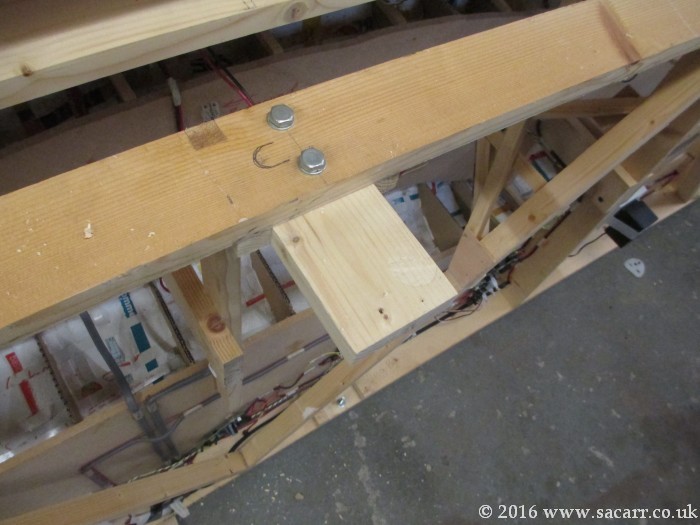
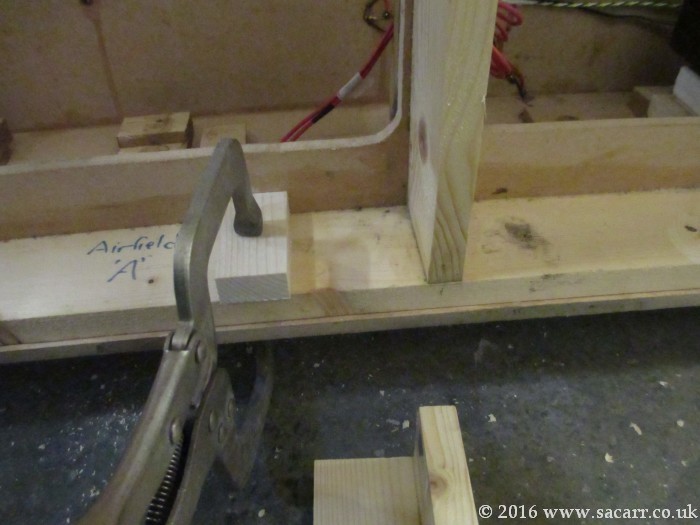
I also started making the sockets where the legs will bolt onto the layout. These allow the legs to slot into place while two bolts they hold them securely.
What is going to become of this great looking layout????
It will be heading to the customer in Ireland in the next couple of months.
I hope you can get some photos of the entire layout put together. I would love to see that. I have seen some videos you posted of trains running, but I can't remember if you ever posted photos of the entire layout set up.
Beautiful work.
This is as much as has been laid out so far.
Excellent dock work.
AS and aside, this is to my knowledge the ultimate in model shipyards. The subject matter is the US navel shipyard at Mare Island near Vallejo California in 1943-44 in 1/700 scale. Unfortunately the railroad didn't work.
http://www.shipmodels.info/mws_forum/viewtopic.php?f=59&t=33372
Take some time to enjoy the model work, etching and resin casting skills.
Steve nice to see the layout project is not just put to the side. Not sure if working on this would be more fun than driving the jeep in the snow though.
Very soon, once this is out of the door, I'll have my workshop back for my own projects, unless another customer turns up wanting something. My next project is building myself an observatory for my telescopes. It will be nice after five years to have my workshop and garage space back again.
Well-Known Member
Staff member
Certainly been a long haul, great to watch. Congratulations on a awe inspiring achievement.
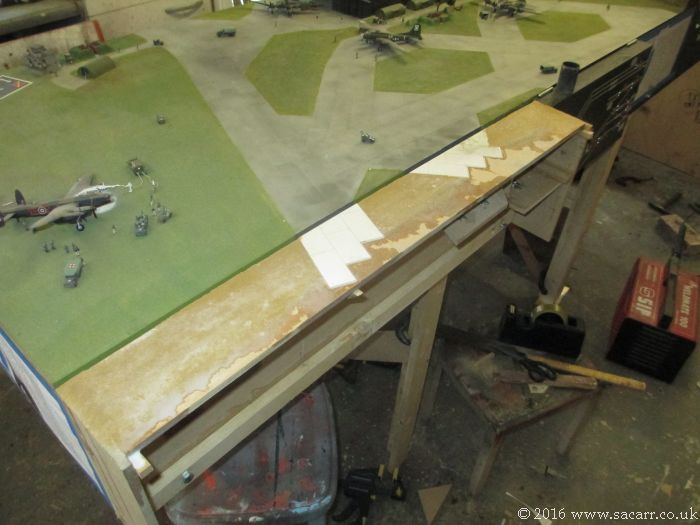
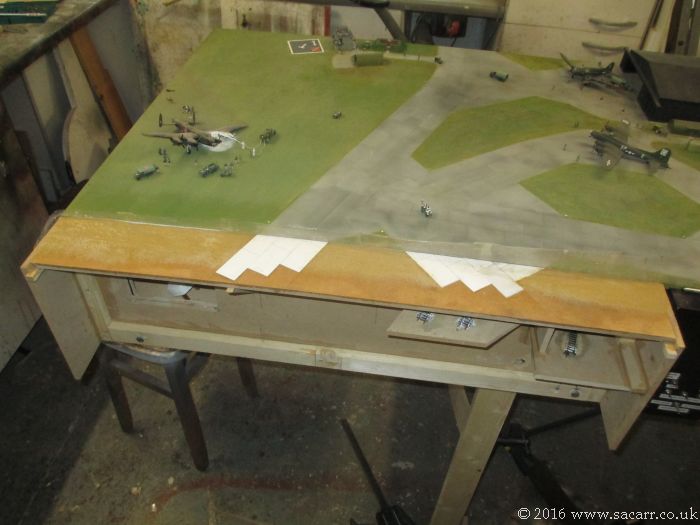
After the section's legs were made and fitted, I continued with the extension, by adding two pieces to support the track. Once dry, copper clap board was glued to the board edge where the rails would end. It took a bit of fiddling around to get them and then the rail ends to the correct height and alignment with the existing rails.
Once the tracks were done, I cut some MDF to form the airfield surface and glued in in place, along with some supports underneath.
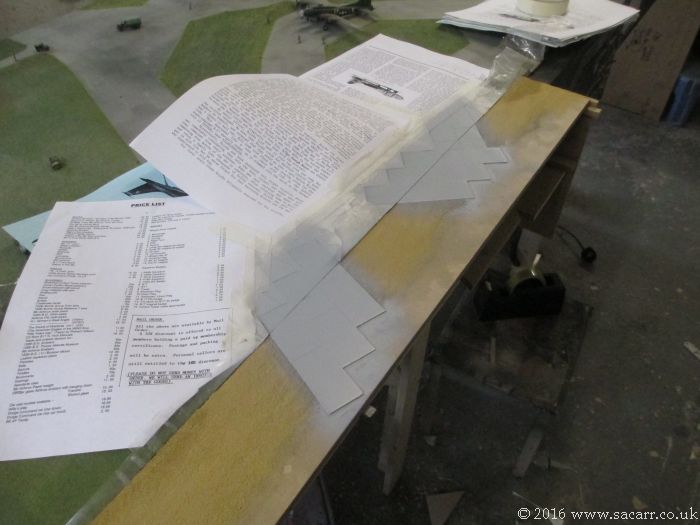
The new parts of the airfield's perimeter track were cut from plasticard, and glued in place. Once dry and lightly rubbed down, sand was glued down for the grass surface with dilute PVA glue.
It took about three applications of sand and glue to build up the sand level to match the existing, and to have enough dilute glue applied to glue it firmly.
Once everything was properly dry, the concrete areas were sprayed in grey primer.
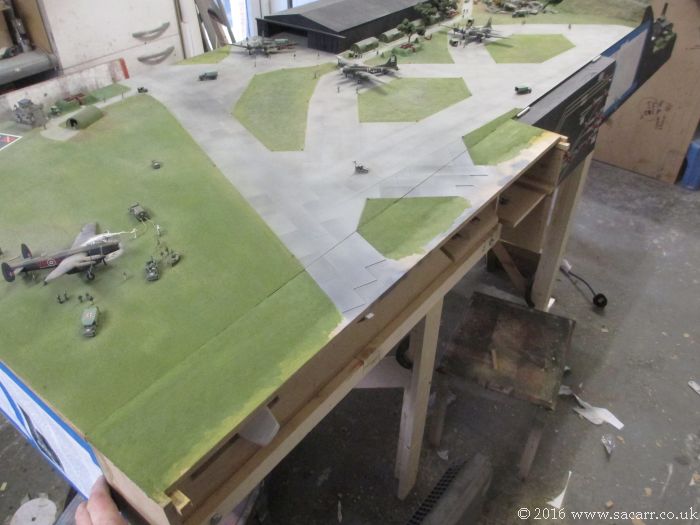
It took a little white of masking and spraying to blend the concrete slabs between the two sections. There will always be the diagonal join visible, but overall, the joint between the sections is pretty good.
With the concrete painted, the grass came next. After mixing up something that looked close, the sand was brush painted. When that was done, the same mix was added to my airbrush and the colour carried across onto the original airfield section. As it dried, the colour match was virtually identical and it blended well between the two sections. The last picture shows the grass as it was still drying.
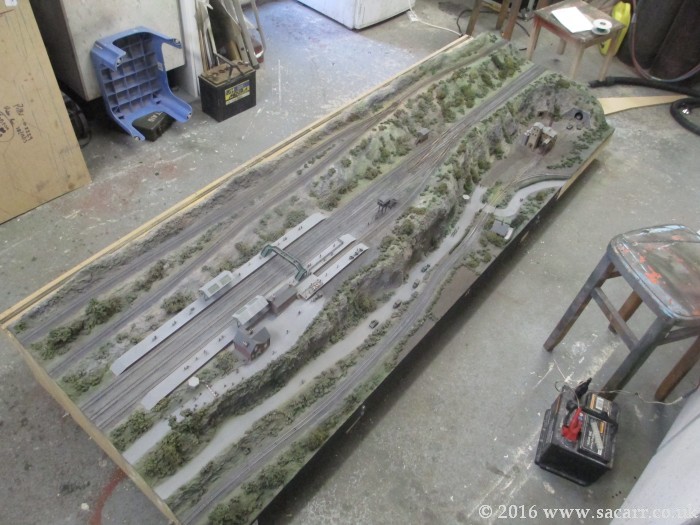
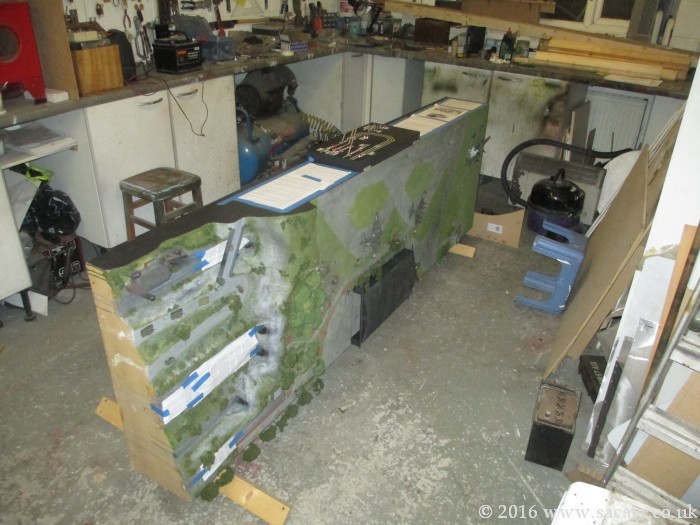
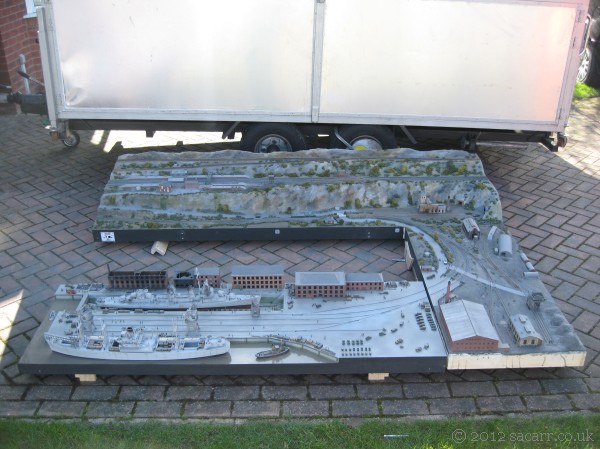
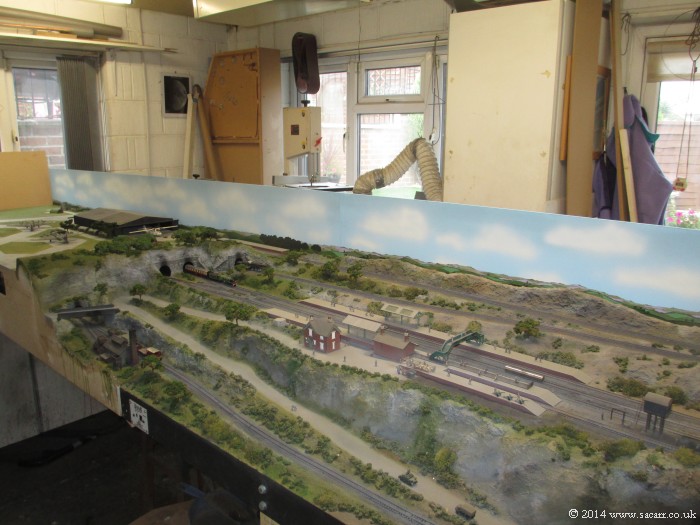
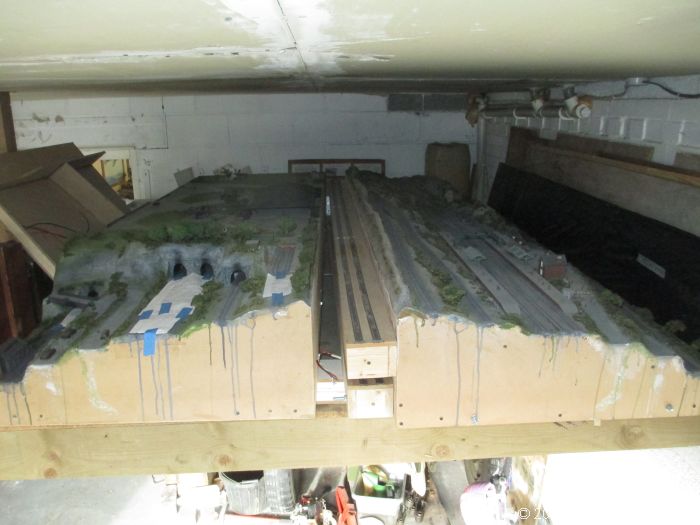
All change again this weekend as the Airfield joined the Station in the garage, and the Quayside and Yard returned to the workshop.
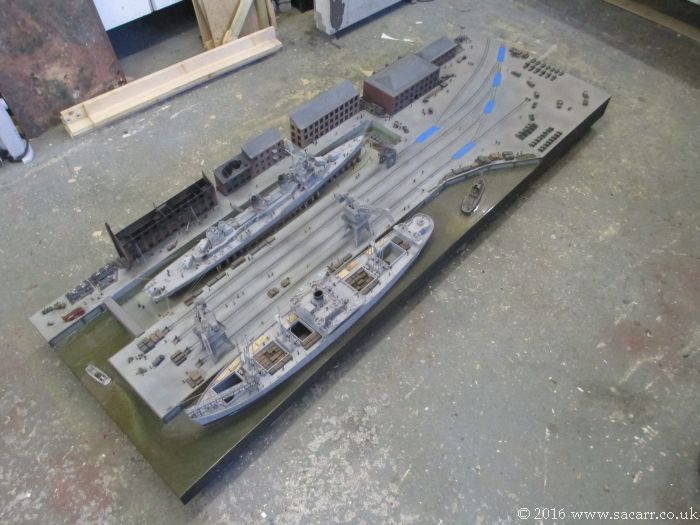
The quayside back in the workshop, five years after it was started!
Both sections will be cleaned and checked over again. The quayside needs the legs fitting properly. Originally when built, they were glued on, and later trimmed leaving a few inches sticking out of the bottom of the section. This gave clearance for power packs and other equipment that hung below the frame while the section sat in storage. The main length of the legs now need attaching so they can be removed and refitted.
I think I also need to do some reprogramming of a couple of 'Routes', as two points on the airfield section ended up being different decoder addresses to that which was originally planned.
You are building this for someone? They better have DEEP pockets! You do priceless work! Amazing!

Affiliate Disclosure: We may receive a commision from some of the links and ads shown on this website
(Learn More Here)