ModelRailroadForums.com is a free
Model Railroad Discussion Forum and
photo gallery. We cover all scales and sizes of model railroads. Online since 2002, it's one of the oldest and largest model railroad forums on the web. Whether you're a master model railroader or just getting started, you'll find something of interest here.
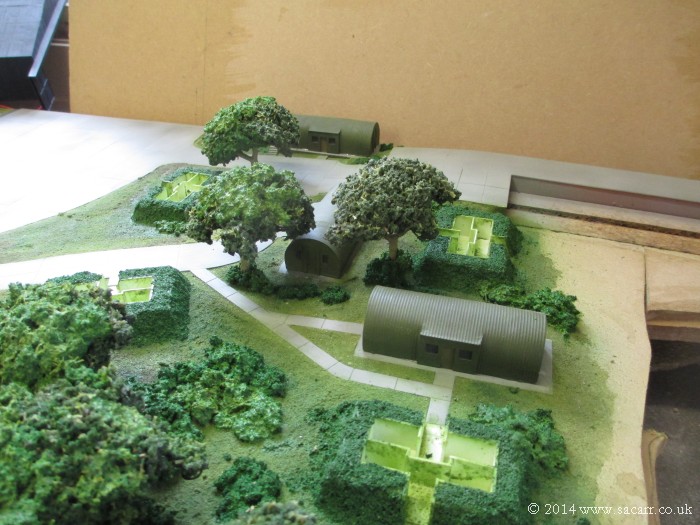
Three of the Nissen huts were also attached.
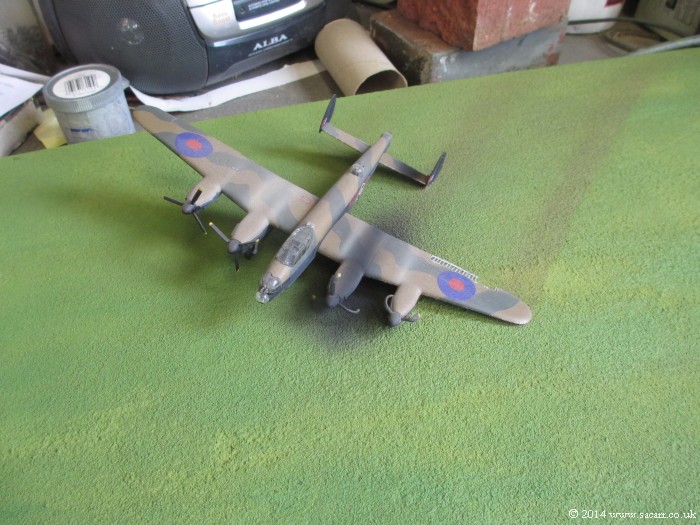
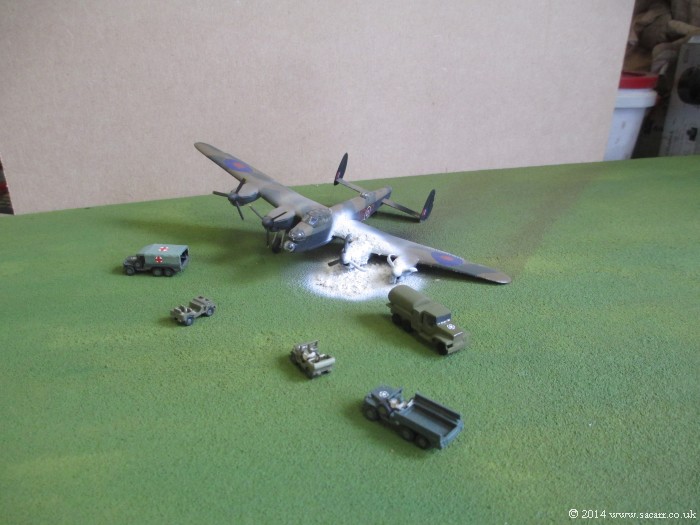
The Lancaster received a little more weathering and also marks on the grass where it has skidded to a stop and signs of the engine fire.
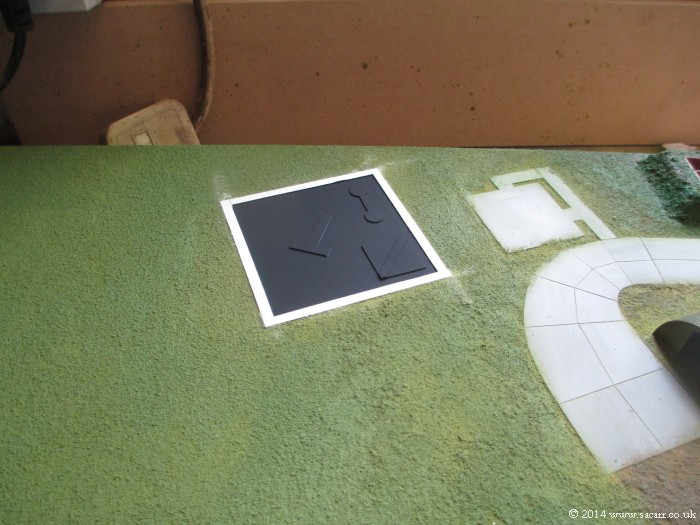
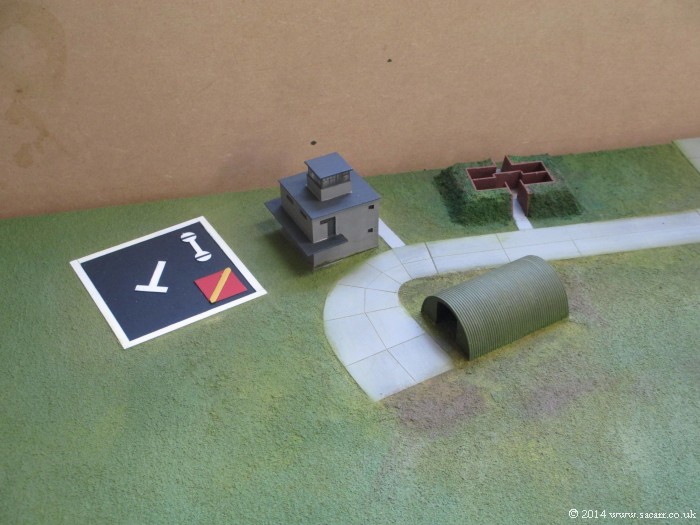
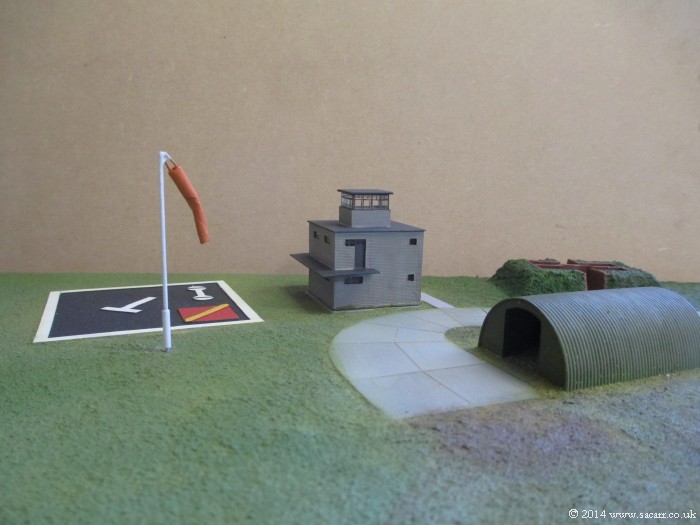
The edges of the signal square were cleaned up and the black background painted.
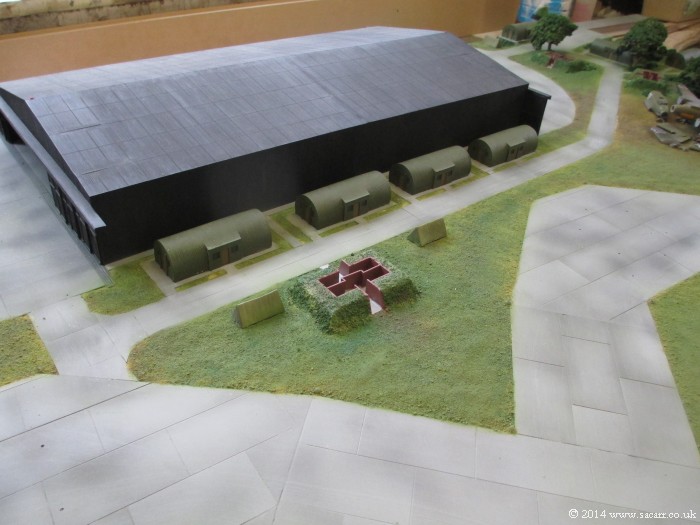
The brickwork in the blast shelters was painted, followed by the concrete floors ( not shown in this picture ).
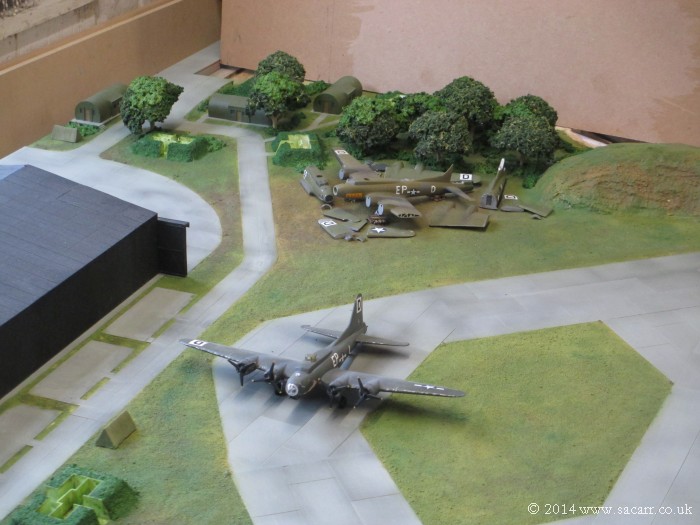
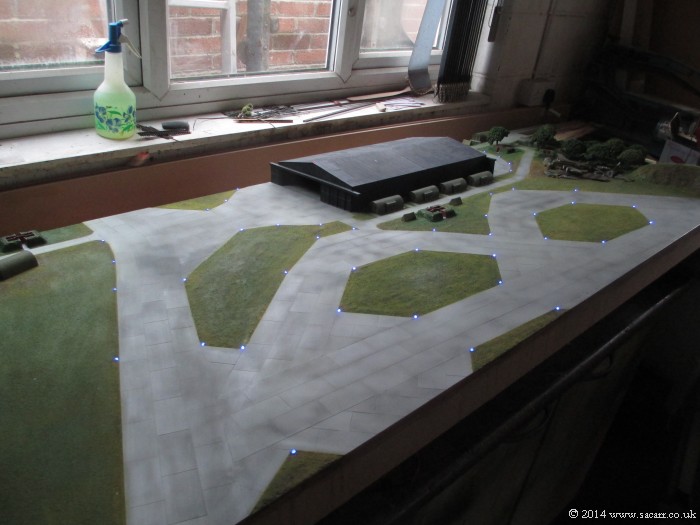
Nissen huts were glued to the bases beside the hangar, and the hangar had blocks fitted inside to allow it to be screwed to the base from below, as I figured it was better off removable. The red warning LED's were also connected up to the taxiway lighting.
Once the black was dry, the rest of the signal square was masked and sprayed. At present, the white dumbbell has black stripes. This signifies that landings and taking off must be done from the paved runways, but taxiing can be done on the grass. Being a bomber field, wet grass would probably allow a bomber to sink, so I may change it to a plain white dumbbell.
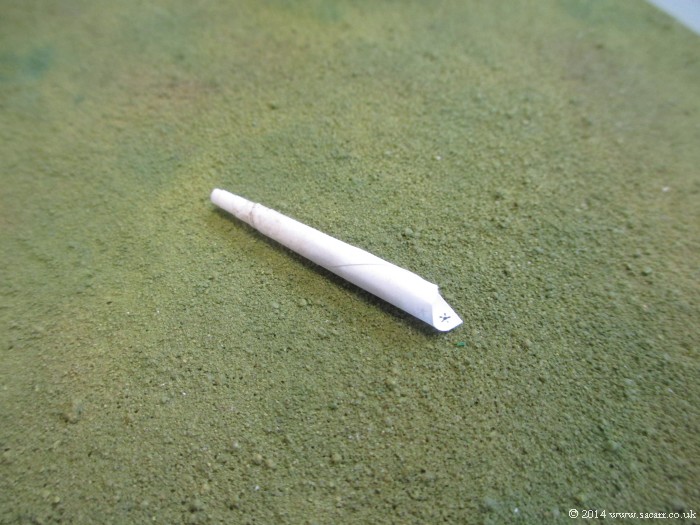
A small piece of paper was rolled around a tapered paint brush handle to produce a wind sock. It is about one inch long.
The wind sock was mounted on a piece of steel wire, with a small 'V' of copper wire joining the sock to the mast. It was painted the following day.
All painted and perimeter and dispersal lighting on for the first time with the colour applied.
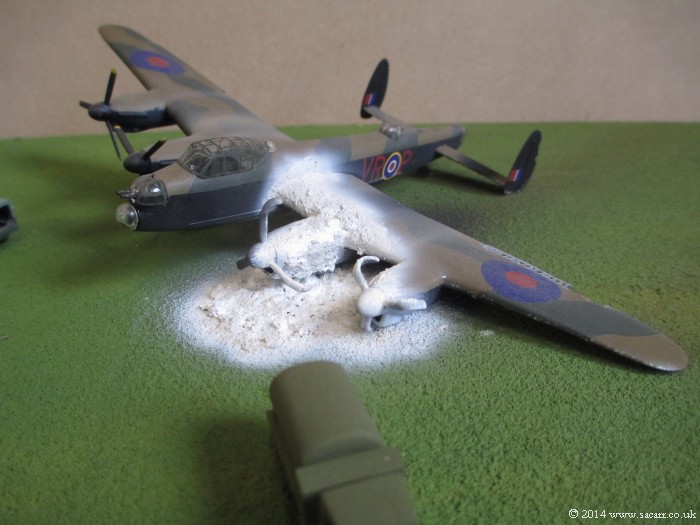
A mix of sand and very small pieces of foliage were mixed with white glue to simulate the foam from the fire truck. This was painted onto the ground and the Lancaster wing and port engine nacelles.
This close up picture shows the foam texture a bit more. When the mix was dry, it was painted with white enamel.
The windsock and mast painted, and temporarily fitted. It won't be attached until the final detailing to avoid accidental damage.
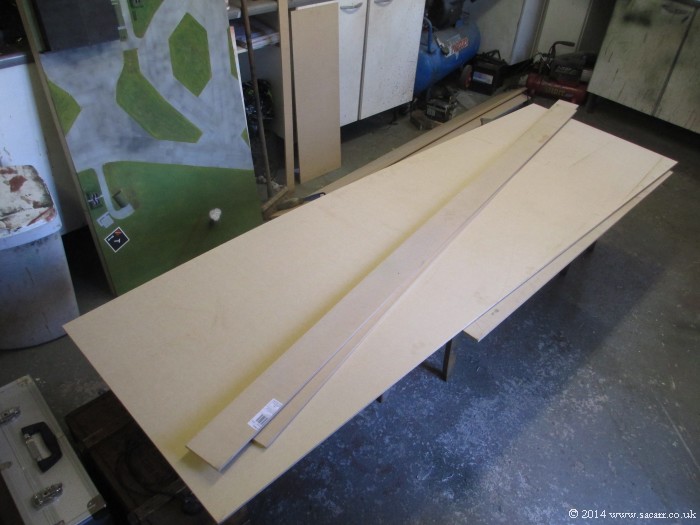
On Tuesday, I made another trip to the model shop to collect some previously ordered parts, and also to buy most of the points for this section. Some point motors and other small accessories were placed on order too. Later in the day, I went to B&Q and bought the main bulk of timber for the rest of the airfield section.
Wednesday began with us being locked in the house when the front door deadlock mechanism jammed. With anti-lift off hinges fitted, removing the hinge pins didn't help either. A locksmith finally forced the lock from the outside. The rest of the day was spent shopping for, and then fitting a new deadlock mechanism, which of course, didn't quite line up with the existing holes in the door frame, adding to the work.
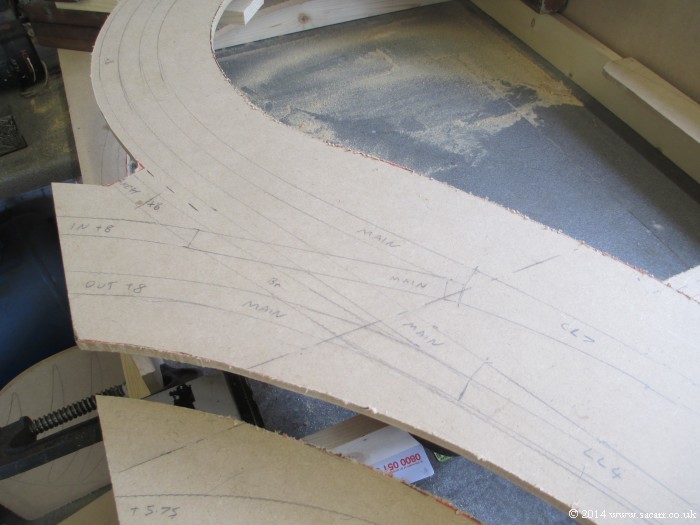
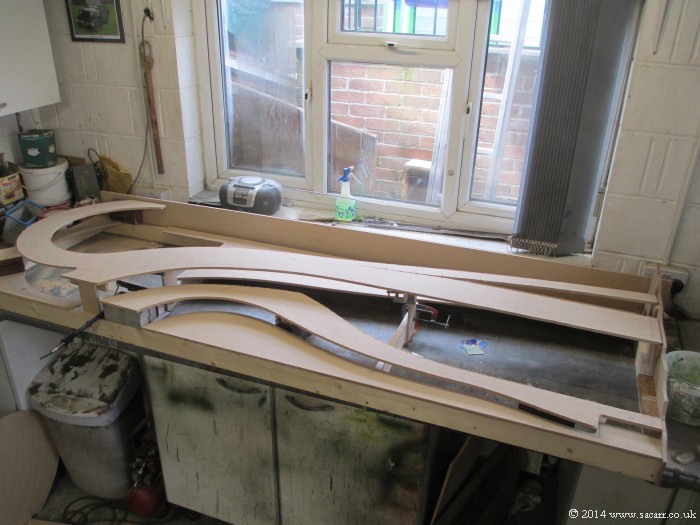
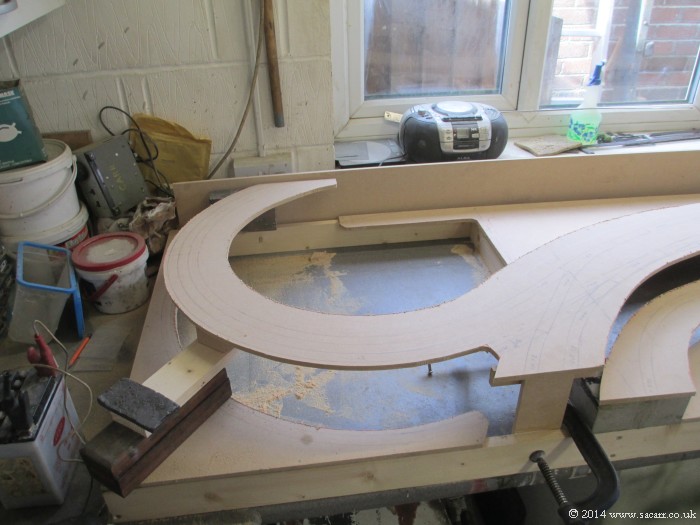
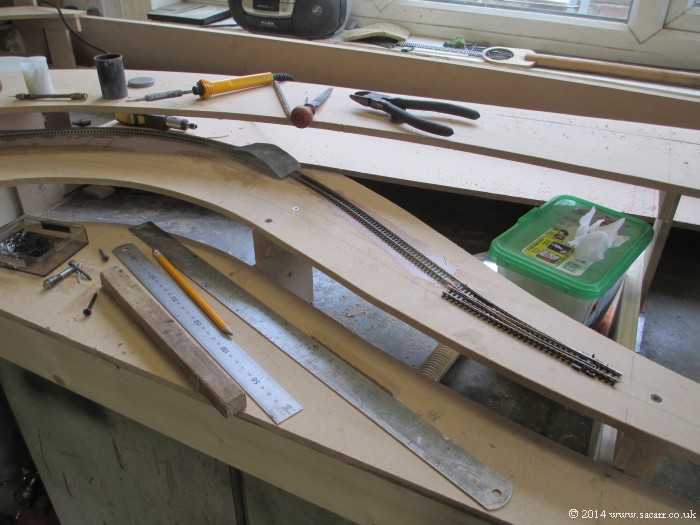
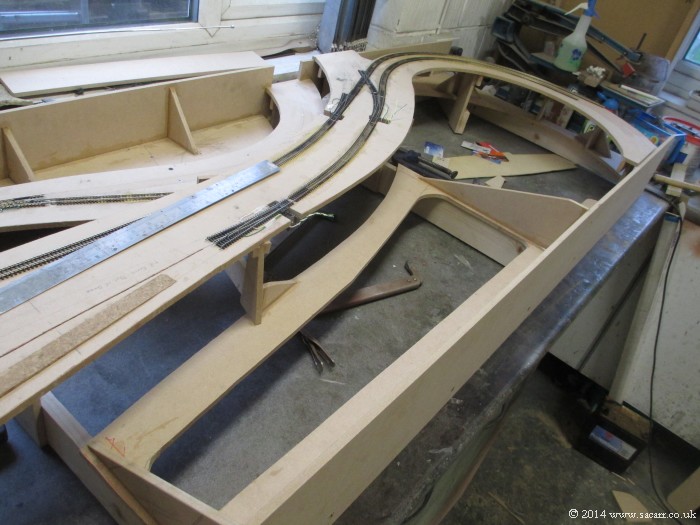
Today, I got back to the railway, marking out the trackwork on the 9mm MDF. Where elevated sections met the outer baseboard frame, the board was cut until the frame work was glued in place. The remaining cuts were then made, freeing these track beds from the outer frame work.
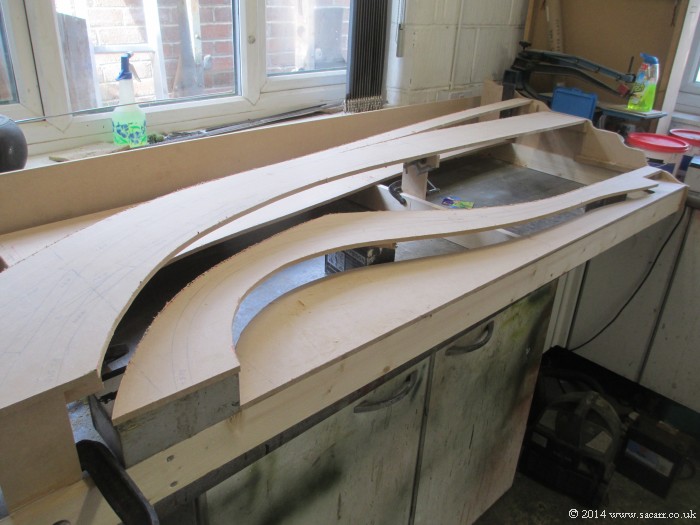
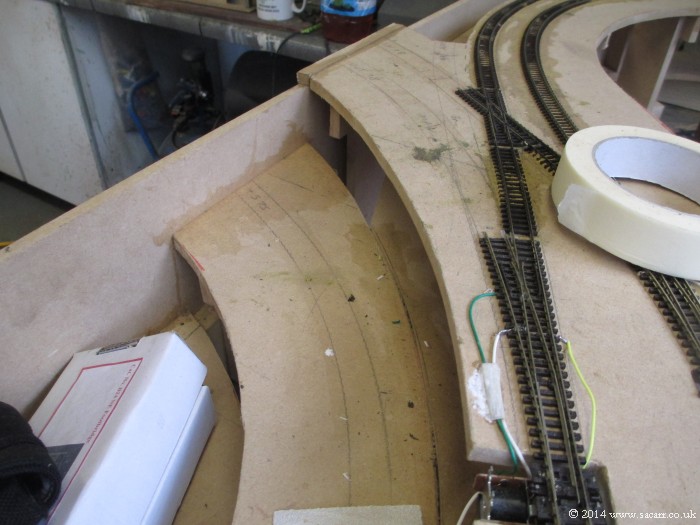
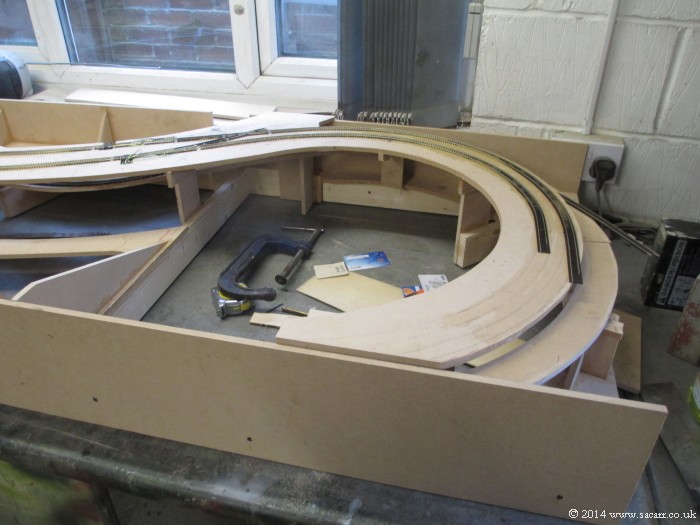
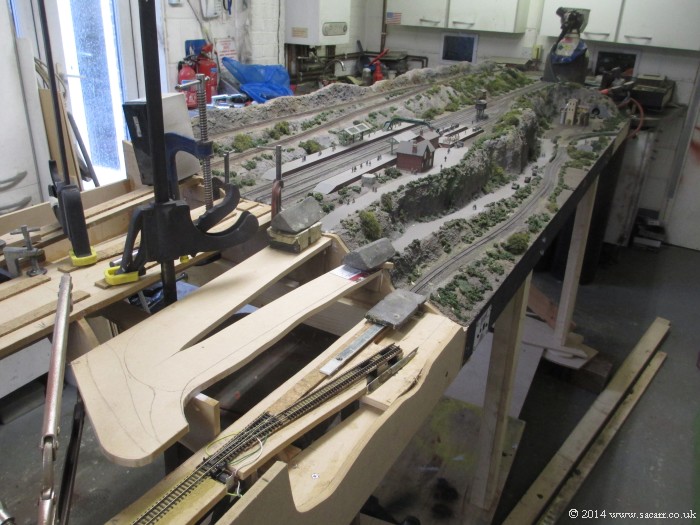
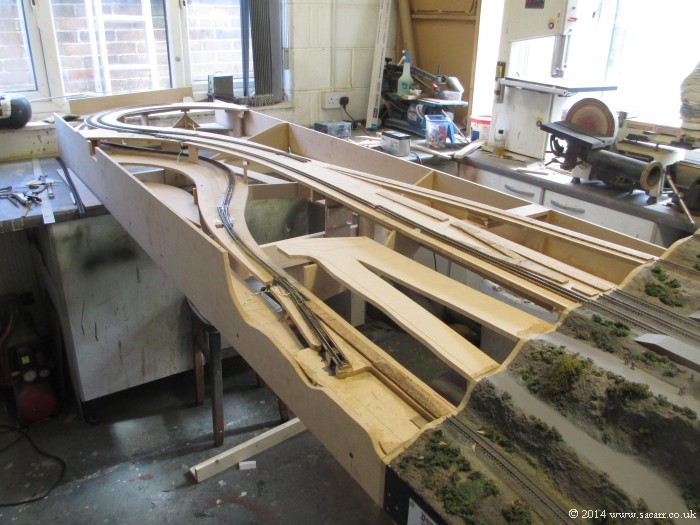
While not glued in this picture, the track beds for the branch line, main line and the track up to airfield height can be seen in place. A number of 'T' piece supports were made to hold these track beds.
The main lines curve left off the edge of of this board towards the next section, and swing back on them selves to the right to run down the back of the airfield and country station, and eventually loop around the mine, back to the station to allow continuous running on the existing part of the layout.
After the mine section is made, the layout will probably be shipped to the customer Small one feet long sections will be made to fit the airfield and mine, continuing the main lines along the original track plan design. This will allow further sections to be made to link up to the layout, without having to have access to it.
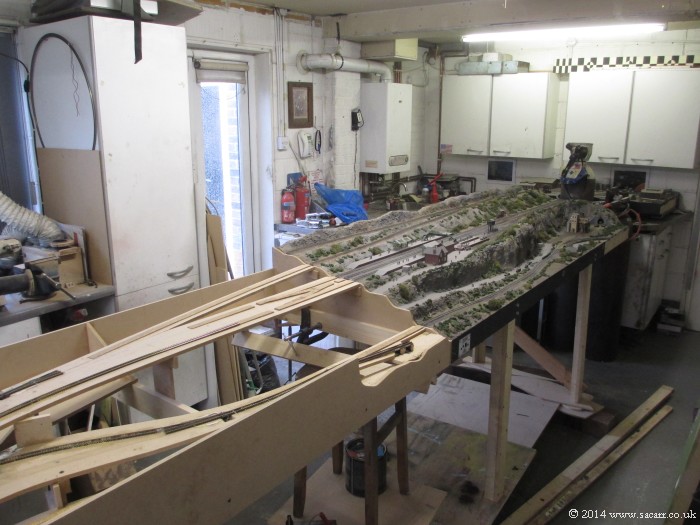
The opening at the right end, between the branch line and main lines will need a road adding to link up the road leading to the station. This road has to double back on itself, raising the road height to match the two humps in the end panel landscape profile. The road that it links up to on the station section, can be seen in the second picture below.
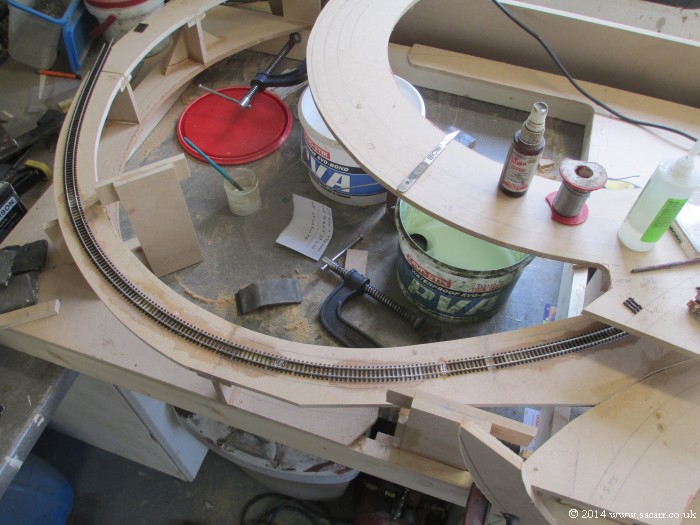
On May 20th, the first track was laid on this section; the branch line, because that runs under the main line. The track bed for the main line wouldn't be attached until the branch was down on the board.
The track was pinned in a few places, then a thin layer of ballast added and glued down to hold the track firmly.
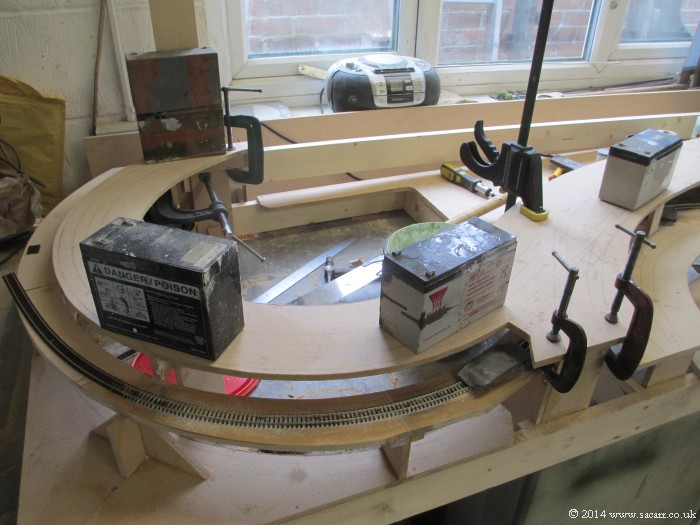
Once the branch was laid, at least where it passes under the main line, then the main line track bed was glued and clamped down.
Back to the points now. As with the other sections, these points have been DCC modified to improve reliability and electrical transmission, and reduce the chance of metal wheels shorting on the frog.
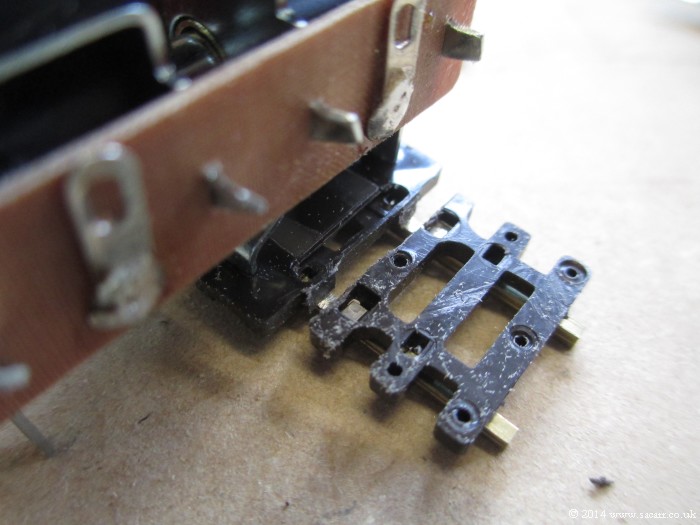
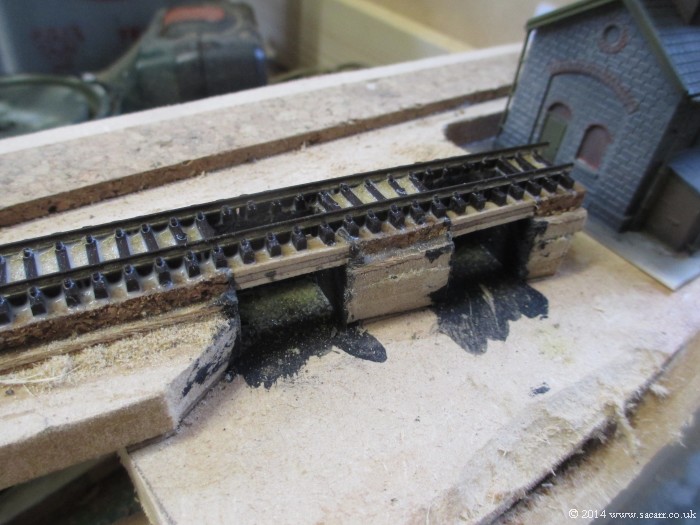
On the curved points, the spring that holds the rails one way or the other was rather tight. Once the point motor and accessory switch was added, it was a bit much for the motor to switch. To fix this, I cut the plastic between the spring plate and the end sleepers, allowing the spring holding plate to slide along the rails slightly, reducing the tension on the spring.
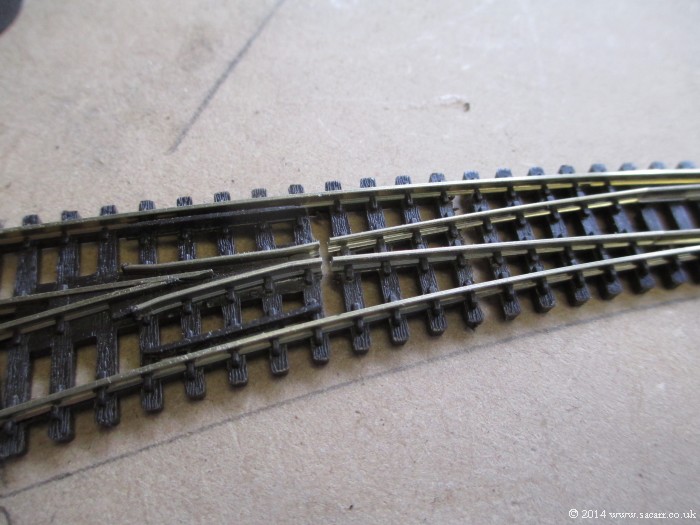
On the top side of the point, the rails were cut near the frog. The gap will be filled with some styrene, although it looks bigger than it is.
Accessory switch in place. This provides the correct polarity to the frog depending on which way the rails are switched.
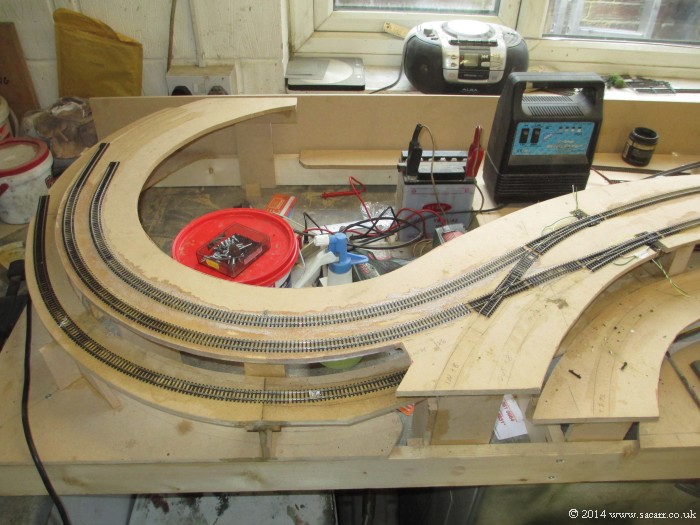
Main lines starting to be laid, showing the crossing where the main line loops back and also turns off the front of the board.
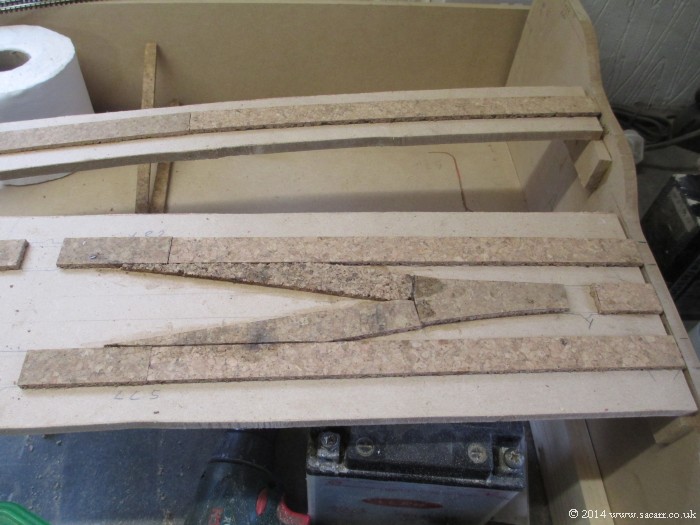
At the other end of the section, the cork track bed was glued down. These are the three tracks from the country station which reduce to the two main lines, and behind is the branch line leading to the upper level.
On the lower branch line, the pump house had an MDF base made to lift it to the correct height, and the siding had two coal drops added, giving a reason for the siding at the pump house!
The MDF front fascia was added at the same time as the pump house base. This would help to tie in the ends of the track beds where they exit the section as well as being the support for the board with the airfield surface.
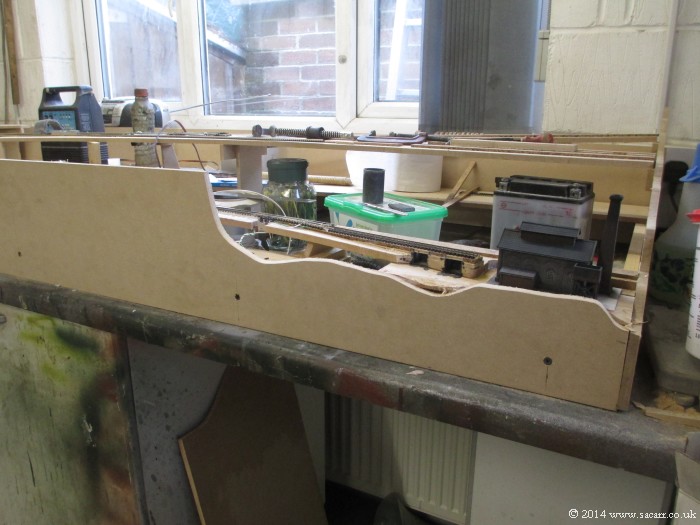
Today, the rear fascia was fitted and the base board had additional holes cut in to allow access from below to get at derailments. There will only be about two inches of height between the main line track bed and the bottom of the airfield surface.
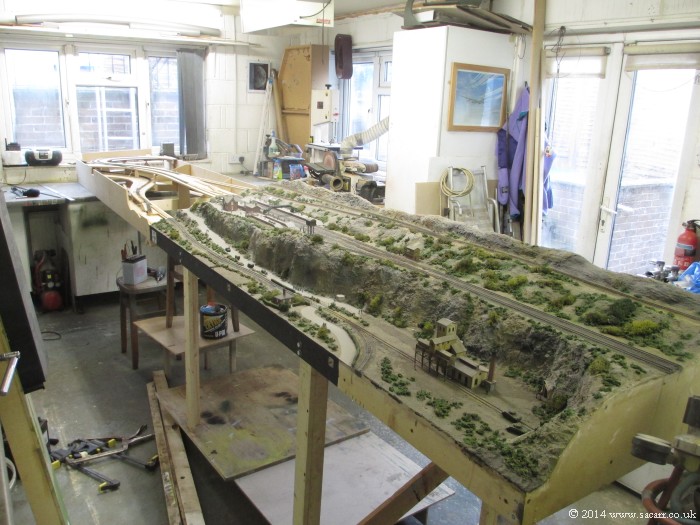
Today I got the country station section out from the garage and began the process of mating it to the airfield. After the legs were fitted, it was clamped to the airfield, and both sections were levelled. I needed to make some small adjustments to the end panel angle to get them to match, as it was leaning towards the station by a millimeter or two too much. At this stage, that end panel wasn't glued to the airfield. Once the angles were corrected, the sections were clamped together again, then drilled through and bolted to keep them tight together. The track beds were then aligned and glued. Any final adjustments to get the rails the same height, can be done by sanding the cork track bed.
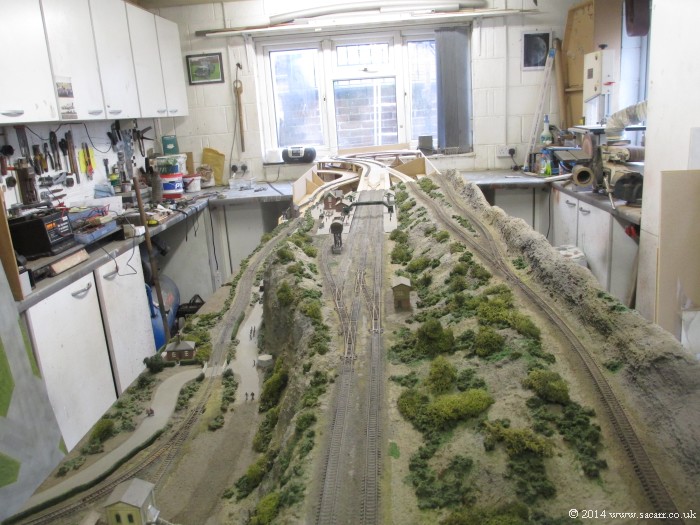
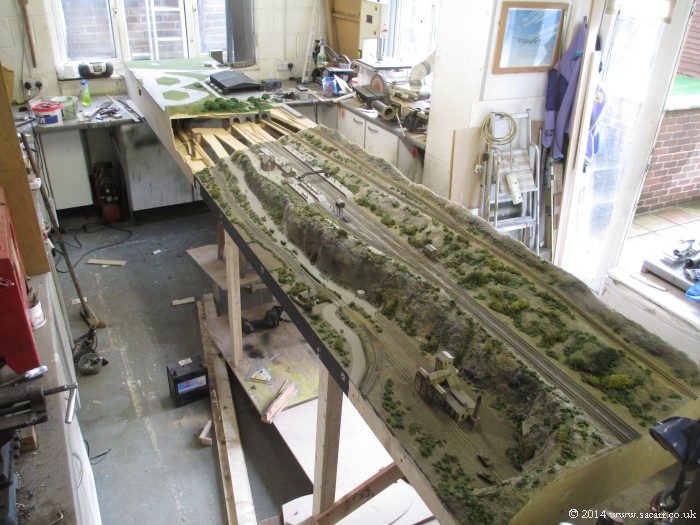
At about 16 feet long, the two sections are almost a scale half mile and fill most of the length of my workshop. If it were built yet, there may have been just enough room to fit the four feet long mine section on the other end of the station, but it would be close!
It looks very long, looking down the main line. Will be nice to see a long passenger train running along here before vanishing into the tunnel under the airfield.
Here's the MDF base for the road, linking up the two stretches of road climbing to the station. All the trackwork will need to be fitted and tested before the airfield can be added to the top.
This morning, I removed all the clamps and weights for a clear picture.
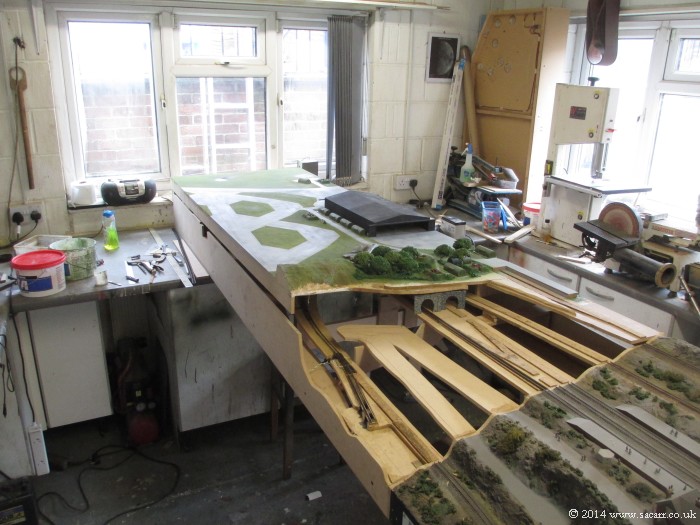
Next the airfield top was placed on top to see what adjustments were needed. Some of the supports under the dispersals needed cutting away to clear the tracks, the length was trimmed a little and the openings at the side cut where the track turns off this section.
This picture shows it before any trimming.
The hillside will be built up a little more above the tunnels.
It is starting to take shape now.

Affiliate Disclosure: We may receive a commision from some of the links and ads shown on this website
(Learn More Here)