ModelRailroadForums.com is a free
Model Railroad Discussion Forum and
photo gallery. We cover all scales and sizes of model railroads. Online since 2002, it's one of the oldest and largest model railroad forums on the web. Whether you're a master model railroader or just getting started, you'll find something of interest here.
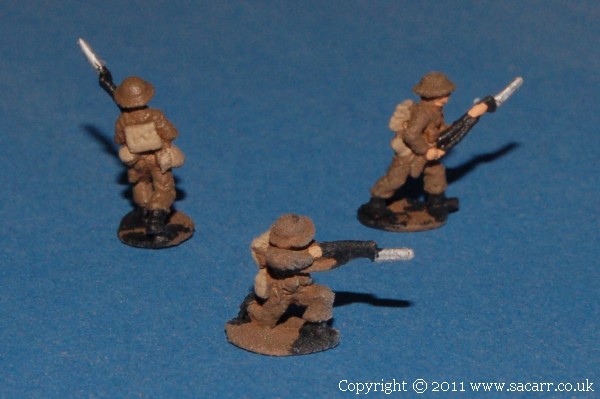
I wondered about how far to go on the painting of the troops. Since British uniforms are brown, and fairly uninteresting, I decided that a brown uniform, brown rifle, then hands and faces wouldn't look that good. I went for black for the rifles to make them stand out more, plus painted bayonets, boots, hands, faces and backpacks. The results really bring the figures to life and it didn't take much longer to do.
Here's a close up of three of the British soldiers showing the detail painting. As with the other figures, the bases will be trimmed down before they are glued to the layout.
Here's the welders in black overalls and brown leather gauntlets.
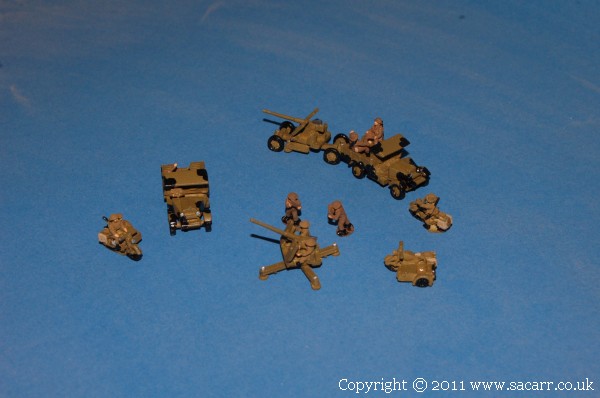
The Morris CS8 trucks were given the 'Mickey Mouse' style camouflage. The bikes had their engines, tyres, bags, crew and seats painted.
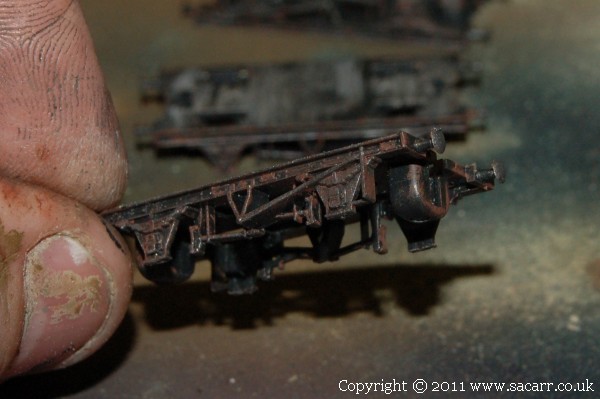
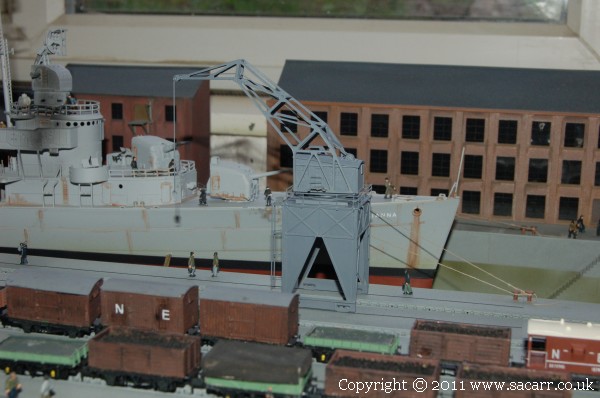
The wagon crane had the chassis weathered with a rust and a gunmetal colour.
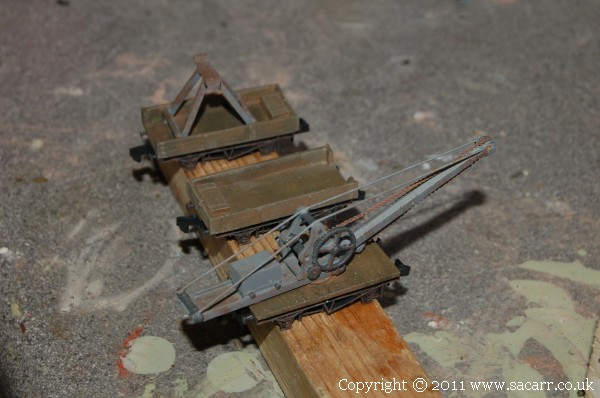
The rest of the crane was brush painted and then dry brushed, as were the wooden tops of the wagons. It is seen here just before the lifting chain was painted, followed by a matt coat.
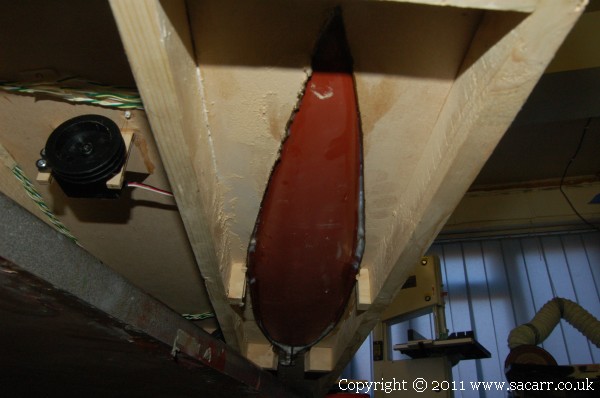
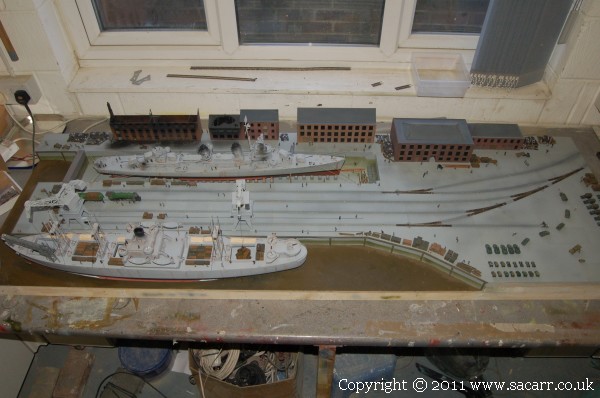
I had almost a full day planting people around the quayside, but the first job of the day was gluing the Liberty ship in place. The hull was tacked in a few places with cyano, and once held firm, the board was tipped up on edge and the gap around the hull and base board was filled with silicone. This will stop the resin/water from draining through the gaps.
The wagon crane castings were glued to the plastic chassis with 24 hour epoxy, being very careful not to get the epoxy into the coupler pockets.
So, starting at the left end of the quay, I started adding the remaining vehicles and people, lots of people! I hate to see big round plastic bases around the feet of people, so with a tight grip of the first person between my thumb and second finger, I used my 'Permagrit' file to slowly thin down the plastic or white metal base of the figures. Unfortunately my thumb tip also saw significant sanding. A little super glue on the end helped to toughen it up again.
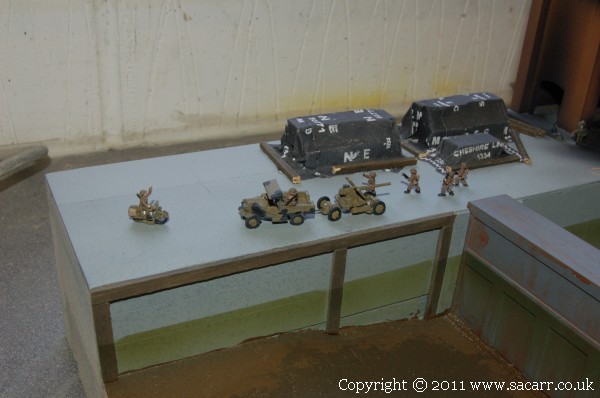
The first of the Bofors anti-aircraft guns was glued on, along with one of the Ebay military trucks, a few British infantry and one of the motorbikes and sidecars.
The second Bofors gun is being towed into place by the Morris truck while an MP on a bike shows where to stop and a number of troops on foot chase the truck down the quay. I'm guessing that's the sergeant made them run while he sits in the back of the truck!
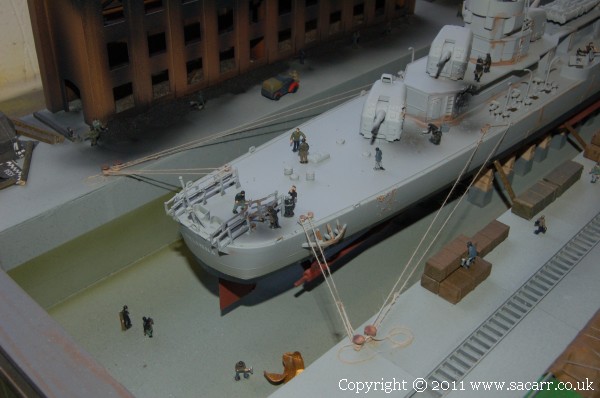
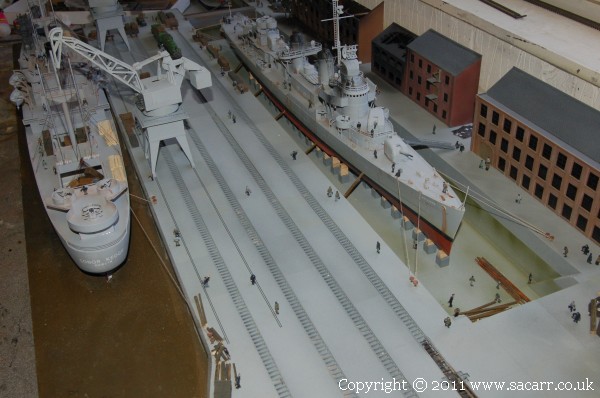
There are a number of welders and other workers on the destroyer, plus a few down in the bottom of the drydock. In the background, there's a number of guys shovelling roof tiles and other debris away from the quay edge.
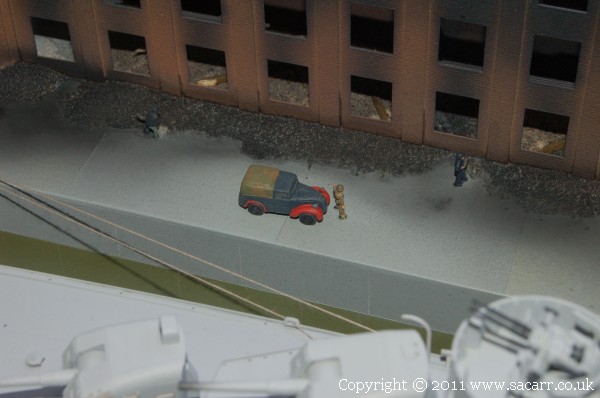
The white metal van was slightly modified with a canvas back added. The red wheel arches indicate the vehicle as a bomb disposal van. Here's a real Austin Tilly that I based the model on.
and the model....
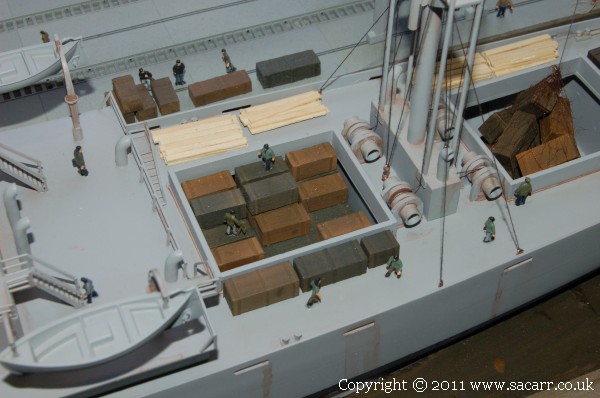
There's a lot of activity around the ships holds.
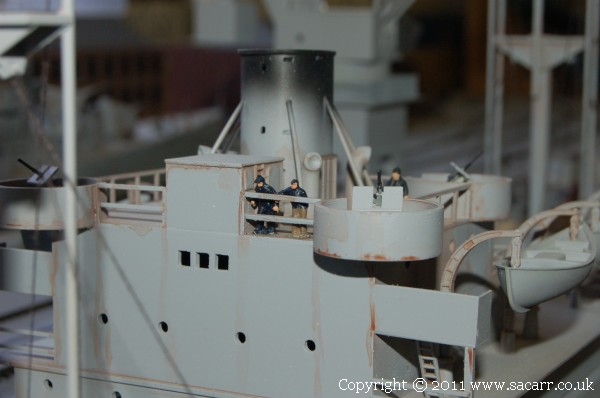
The captain and first officer watch the action from the top of the bridge.
At the front of the destroyer, there's a lot of activity both on the bow and in the bottom of the dry dock.
Enjoyed reading through this... can't wait to see more.

Oh, there's plenty more, and this is just the first section!
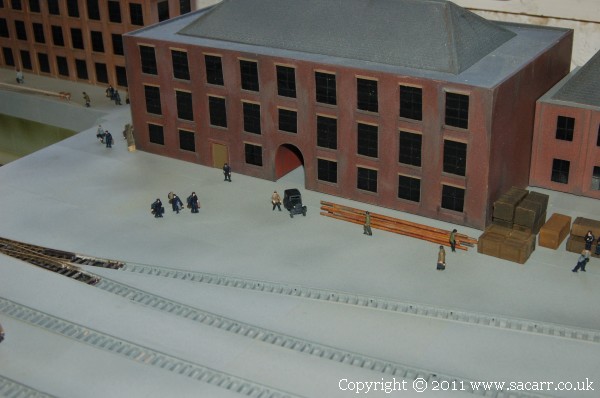
Over at warehouse number one, the Scammell is awaiting a load, but a couple of guys are sitting around, I guess having a cigarette break. I hope the foreman doesn't catch them.
People are coming and going outside of warehouse two. The Austin 7 is parked up outside. It probably belongs to the warehouse owner.
It's looking quite busy now.
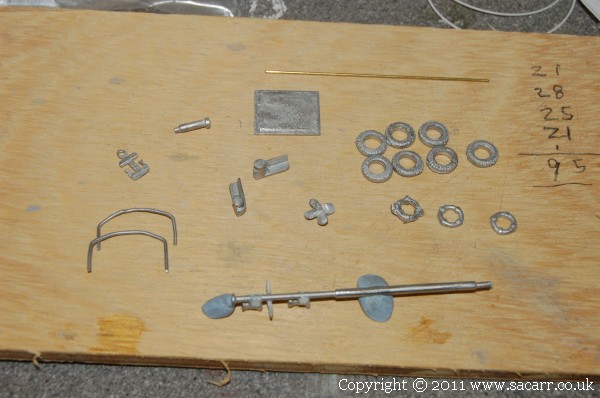
Last day in March, and the postman brought a tug and crane from Langley models. Two white metal trams, which were spotted on Ebay, also arrived and will go at the tram depot in the town. The resin castings look very nicely made, with the detail nice and fine. I haven't had a chance to look at the white metal details as they are all sealed in a bag and I don't want to open it until I need them.
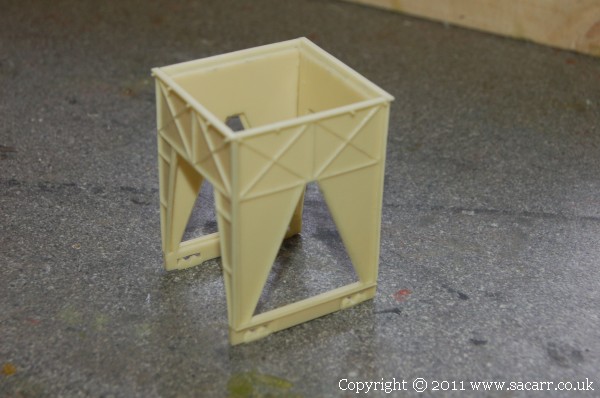
Into April now. Another busy day started off with the new crane kit, cleaning up the resin legs until they were a good fit. Once they were, I used thin cyano to wick into the joint.
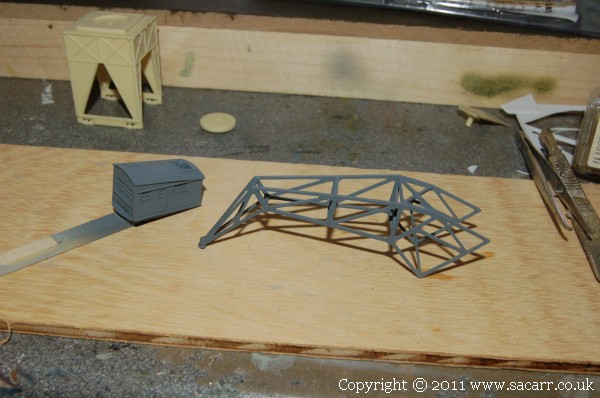
The jib was made from routed styrene, but it would have been so much nicer in etched brass. The routed plastic wasn't routed all the way through, so each scrap triangle needed to be very carefully trimmed out with a scalpel. This took ages as the plasic was very fragile.
The jib and hut were primed and painted before assembly because I didn't think the paint would get everywhere if assembled first.
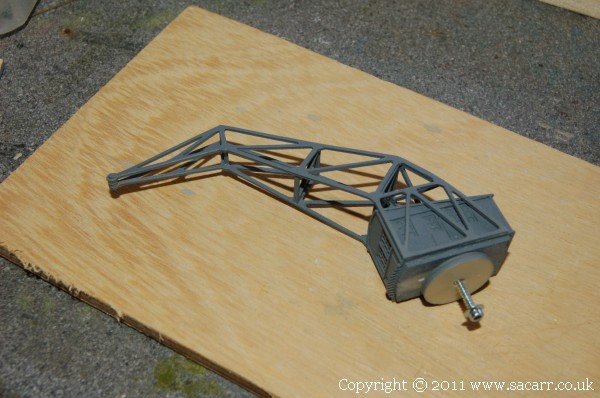
There was a resin washer to hold the top of the crane to the legs, allowing it to turn. Despite very careful application of thick cyano, it stuck and would turn. So the pivot was drilled out and replaced with a small screw which will be fitted before the crane is attached to the base.
Finished, but not weathered or attached.
The instructions said to wash the resin hull first, I presume to remove any traces of mould release agent and any chemicals sweated out of the resin during the cure. Overall the casting was quite nice, but there were a few air bubbles in the stern. These were filled with cyano before being sanded flush.
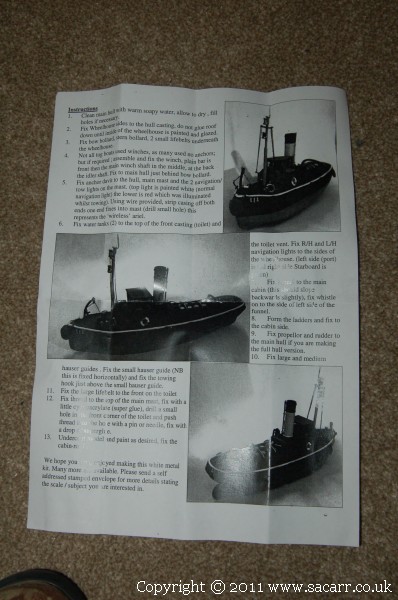
The kit parts were a very nice quality, however the instructions were very poor. The building sequence was fairly well described, and the parts numbered, with lines onto the photos showing locations, but the photos are almost entirely black, making parts identification impossible. The small colour picture on the packet was more use.
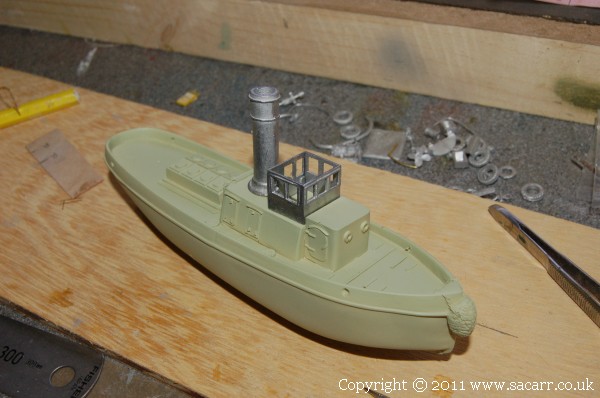
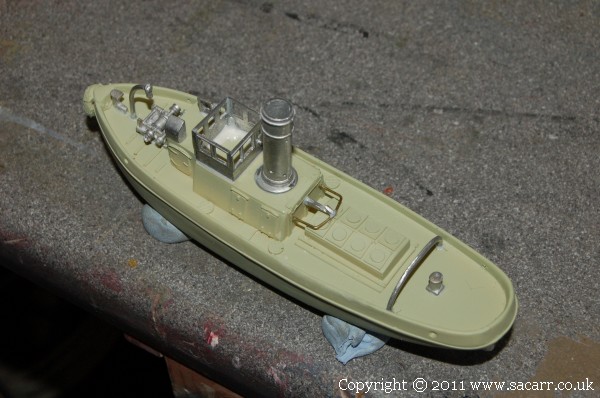
The bridge was glued together with cyano as a temporary measure and is seen here with the funnel placed on.
The bottom of the funnel and the place where it mounts were drilled with a few keying holes before it was glued in place with 24 hour epoxy. The other small castings were cleaned up ready for fitting and etch priming.
The bridge followed, with the inside corners of the bridge having a small fillet of epoxy. Other details were added after much head scratching as to their identity and location.
Only the parts that could be attached with the tug upright were glued, the others will have to be done after the first batch has cured. This is how the tug was left at the end of today.
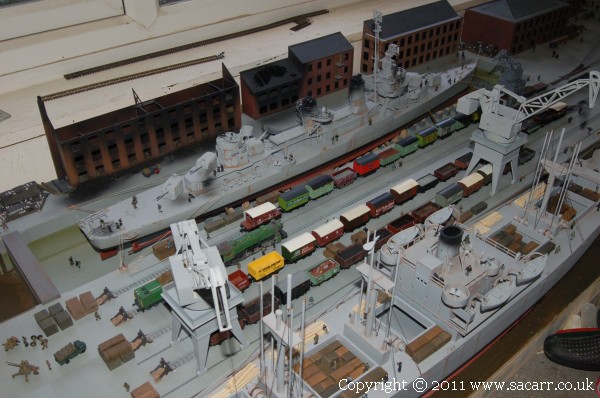
Dad came here for the weekend in early April, so I got him to bring a load of his British rolling stock. All of my stock is American. I wanted to see what the capacity of the yard was, and also to see how it looked with the yard full of wagons. The open spaces soon filled out, and it works out there's space for around 95 wagons of standard length.
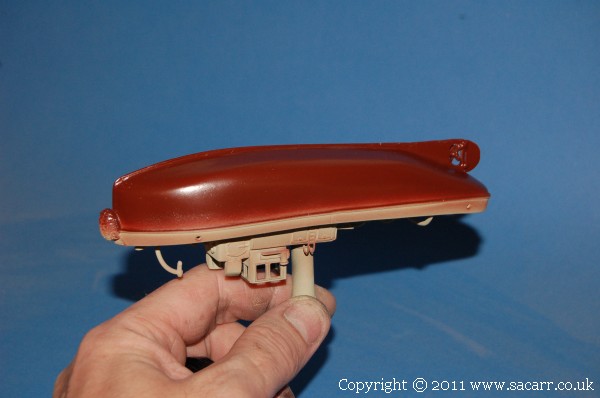
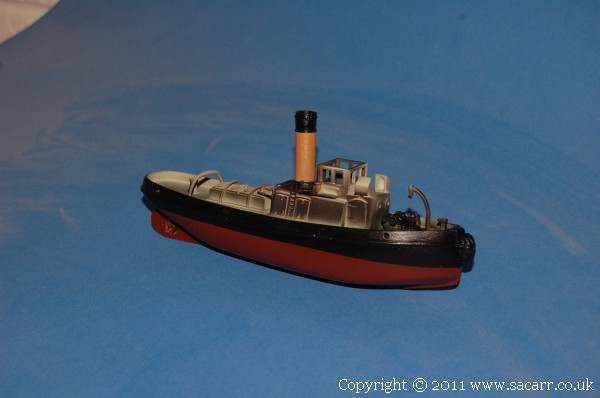
Most of the next day was spent painting the tug, either by airbrush or conventional brush. I started out with the anti-fouling paint. The waterbased paint I was using can be force dried with a hairdryer, so after propping the hull in front of the heat, by the time the airbrush was washed out, the red hull was ready to mask out for the black.
The cream funnel was next, after which that was masked out. While the cream was in the airbrush, the mast was also sprayed. The black upper hull followed after much wrestling with the masking tape trying to get an even shape around the stern of the tug. With black in the brush, the tyres for around the outside of the hull were painted.

Affiliate Disclosure: We may receive a commision from some of the links and ads shown on this website
(Learn More Here)