ModelRailroadForums.com is a free Model Railroad Discussion Forum and photo gallery. We cover all scales and sizes of model railroads. Online since 2002, it's one of the oldest and largest model railroad forums on the web. Whether you're a master model railroader or just getting started, you'll find something of interest here.
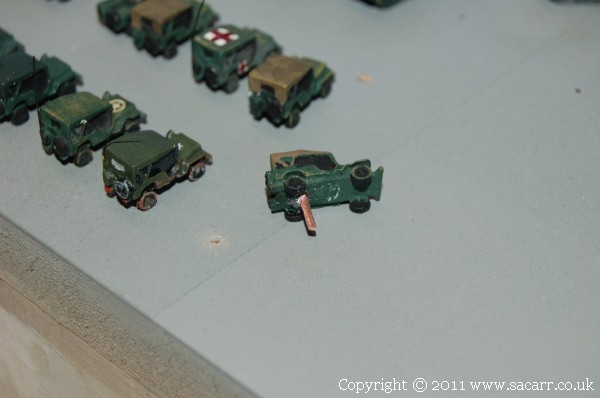
Attaching the vehicles came next. Each had a hole drilled in the bottom, and a short length of copper wire glued into the hole. A hole was then drilled into the quayside where the vehicle would be glued in place. This gives a much stronger joint to support the metal vehicles.
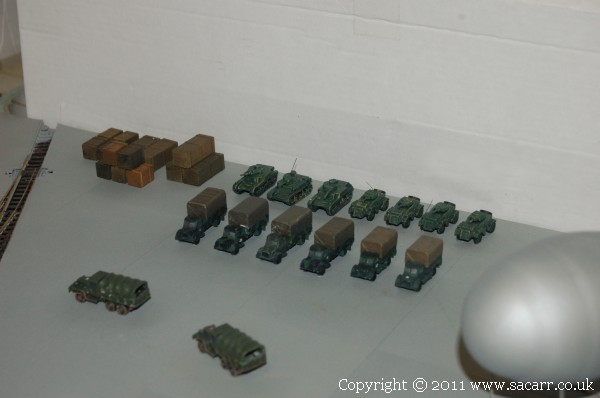
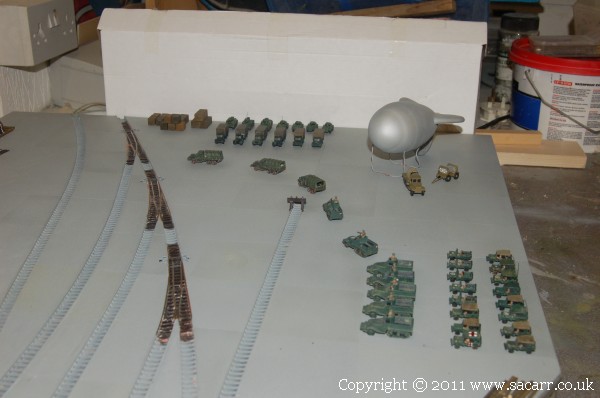
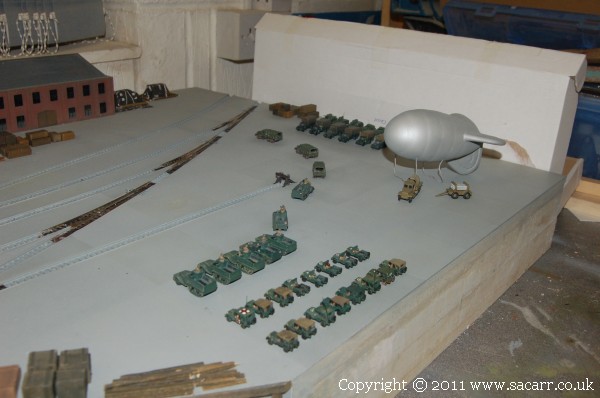
Since many of the vehicles have drivers in them, they couldn't just be parked up in storage, so the first few GMC trucks and halftracks are just driving out of the quayside, having been collected by the US Quartermaster Company. MP's will be directing the trucks and stopping them from crossing the yard tracks if there's a train coming.
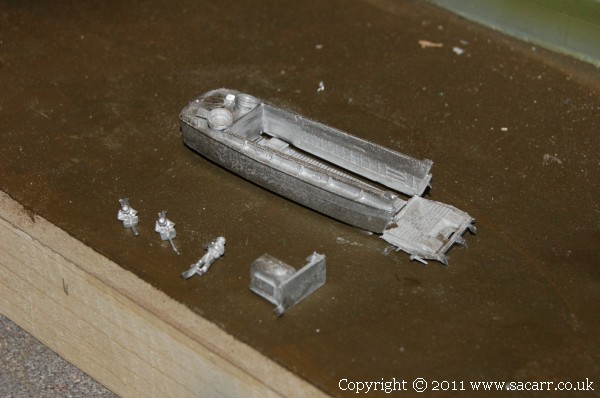
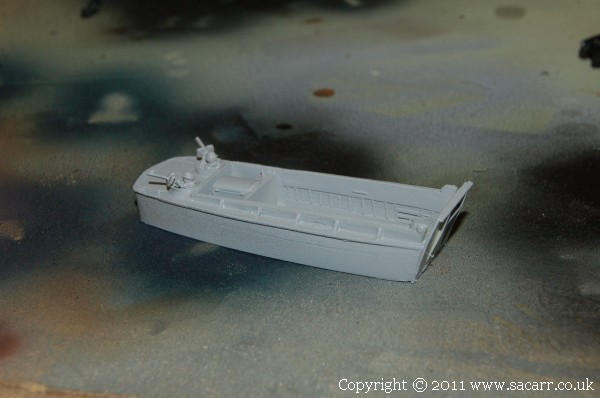
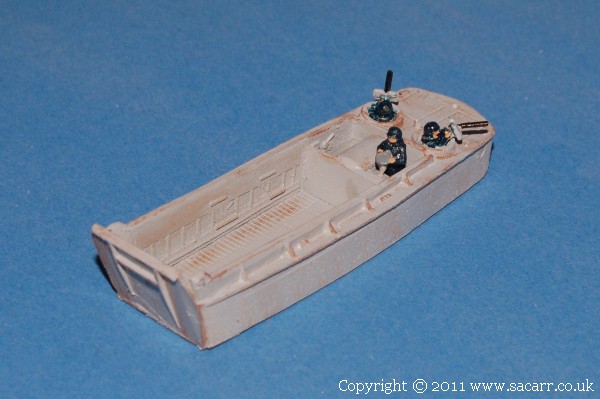
Not all the vehicles were second hand or scratch built. The postman brought some anti-aircraft guns, and a landing craft to give a bit more life in the water. I almost missed the postman as they seem incapable of using the doorbell, instead knocking on the door which I can't hear from the workshop. Fortunately I just happened to be on the way in the back door and heard the knock.
There are no instructions for the landing craft, so found photos of the real thing as reference to work out where the position the various parts.
Also purchased were a couple of British Morris trucks to go with the barrage balloon unit and Anti-aircraft gun, plus some British troops to watch over facilities.
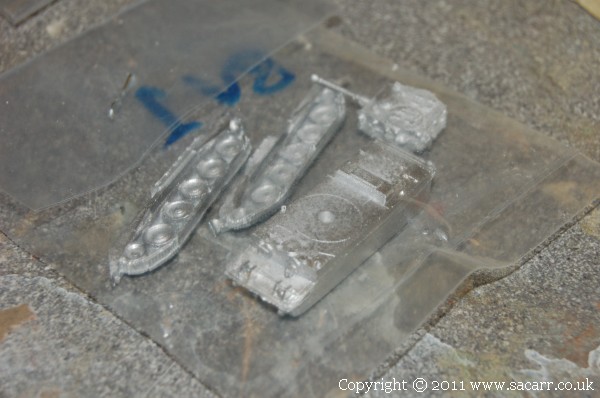
Last thing in the order was a Cromwell tank. Eventually there will be one or two trains of tanks. I wanted one to start with, to see how heavy they were. I needed to know if their weight was ok as they come, or whether they need to be or can be lightened. In the past, my trains full of military vehicles have all been resin cast, and so much lighter. If the weight of a train load will be excessive, I may have to make some resin versions.
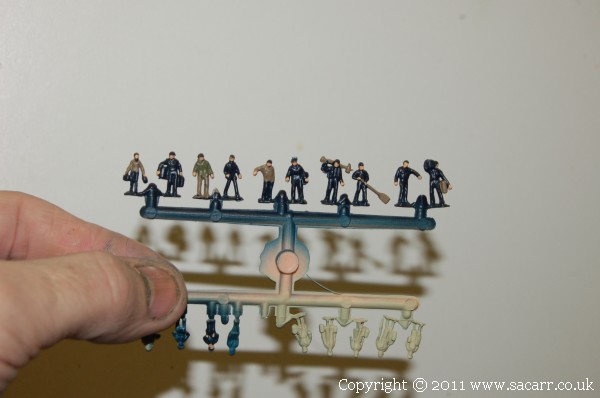
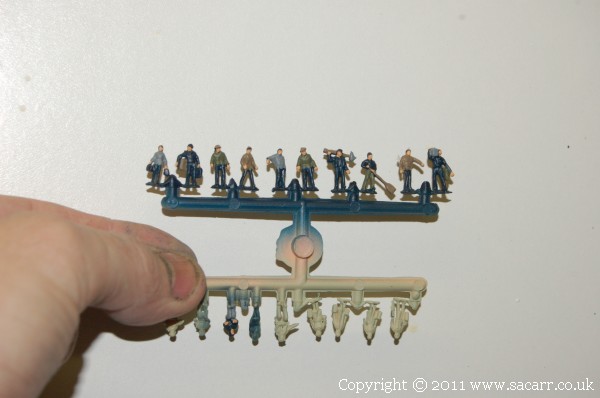
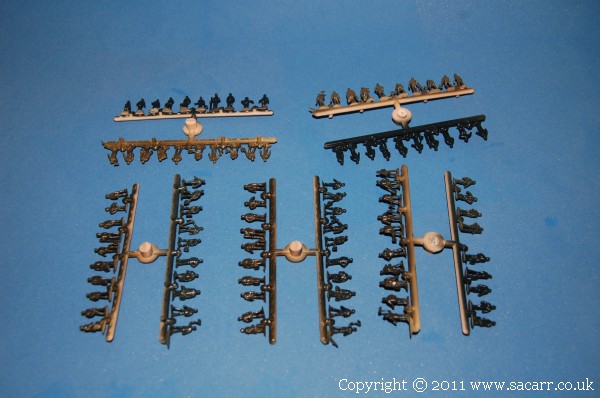
It took a few hours to paint the figures, but I've found that painting them in batches is the fastest way. In these sets of figures, I can only use 10 from each set in the quayside, as the other figures are sitting or female. The 'A' sets which are on order, feature all 20 figures standing. These additional figures should give me around 150 people to fill out the quayside, but it may require more. The final number would be dictated by what looks right.
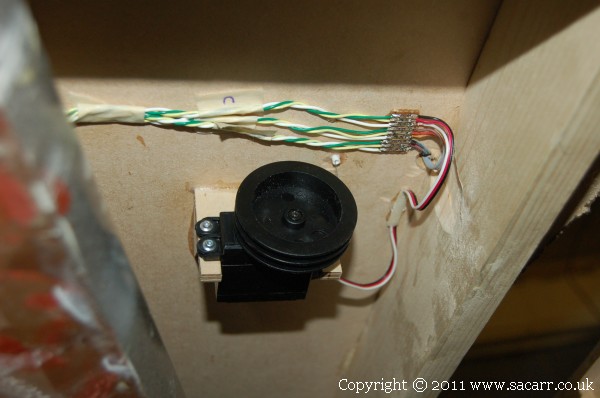
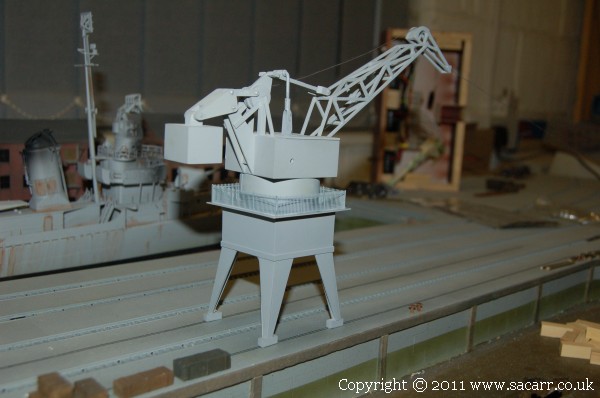
Finally, the end of the crane project was close. They went way over the planned time I'd allocated, as I just didn't realise how much work it would take to make the mechanism work at such a small scale. We do however have two working cranes now! Today's first job was to solder in the wiring from the crane control panel to the cranes. By the time I'd done that, the post arrived, bringing the two sail winch servos that would be used to wind up the cargo. 1/4 inch plywood mounts were made to screw the servos to, and they were glued to the underside of the quayside. The servo was then soldered to the power and signal wires.
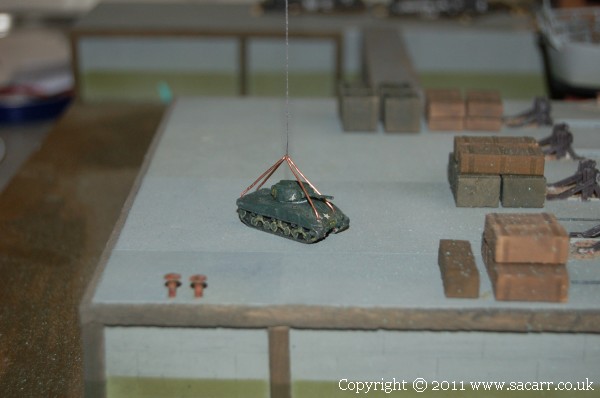
Because the lifting cable wouldn't decend under its own weight, each crane needs a load permanently attached. One crane would be loaded with a Sherman tank. The white metal casting was quite heavy, so the inside of the tank was slowly machined out to reduce the weight. Copper wire 'chains' were glued to the tank ( yet to be painted ), and the cranes lifting cable attached to the copper.
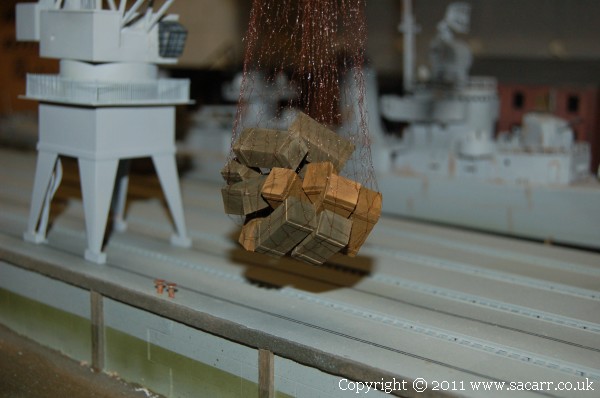
The second crane was to have a cargo net full of crates. The cargo net was a womans hair net. It is not yet fitted to the crane, but is shown here loaded with yet more crates. These crates are a little different, some having been hollowed out and a small piece of lead glued in the centre. A 1/64 ply end covered up the hole before painting. The weighted crates were needed as the wood only crates didn't have enough weight to pull the lifting cable back down.
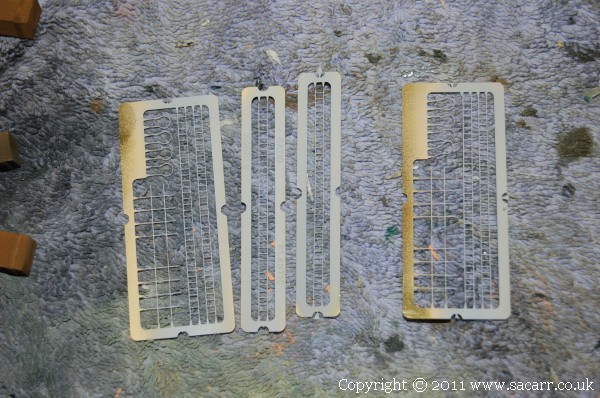
A call from the model shop let me know the five packs of people were in, so while there, I picked up some railings for around the walkway on the cranes.
Also picked up at the model shop were some brass ladders. There will be a fire crew checking over and making safe the burned out building, and they need ladders. They have been etch primed and are awaiting top coats.
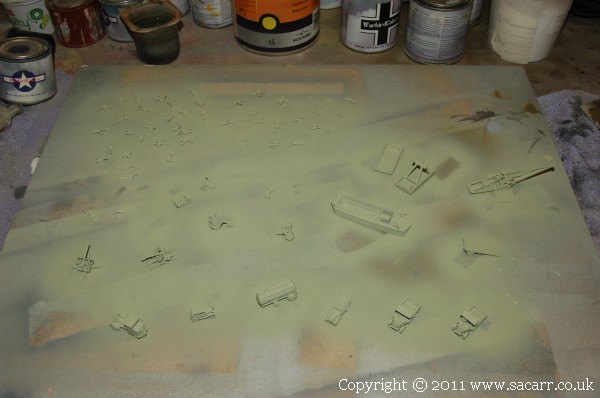
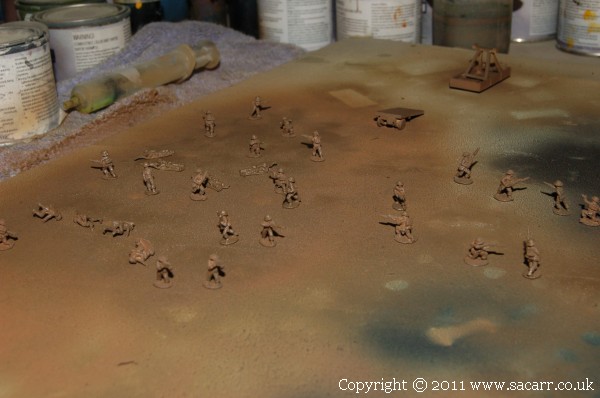
Here's the other 100 people, after etch priming and the base colour coats. They now need detail painting, ie. changing the colour of odd jackets and trousers, plus hands, faces and tools painting.
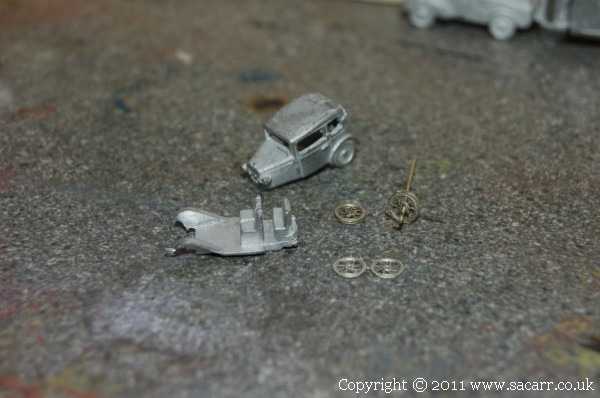
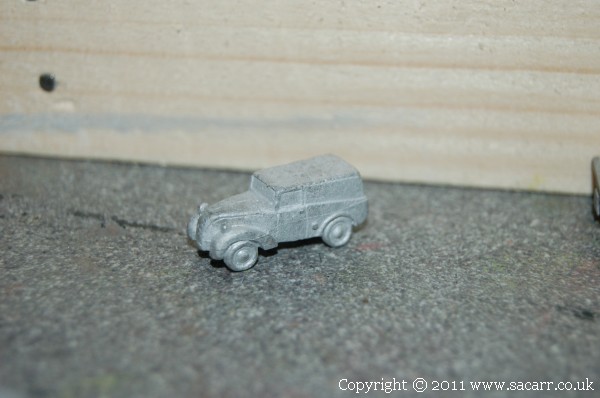
The rest of the day was spent working on the white metal vehicles and figures. One of the first was an Austin 7. This required the etched brass wheels to be assembled and fitted, including the spare on the back. These wheels were tiny, measuring only about 3/16 inch diameter.
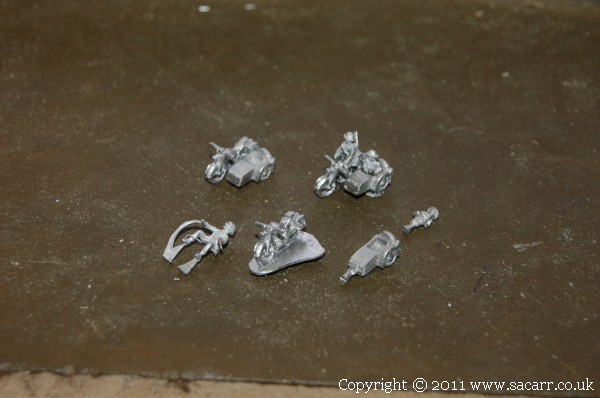
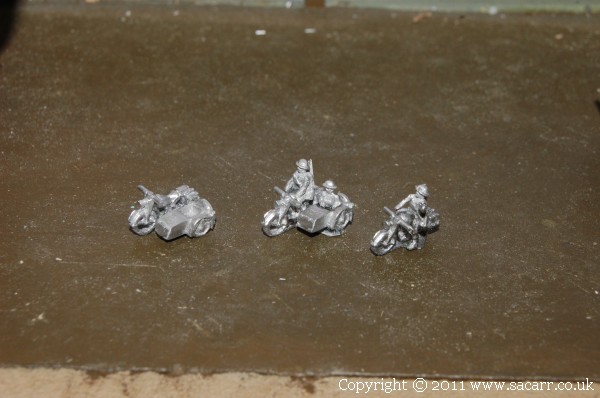
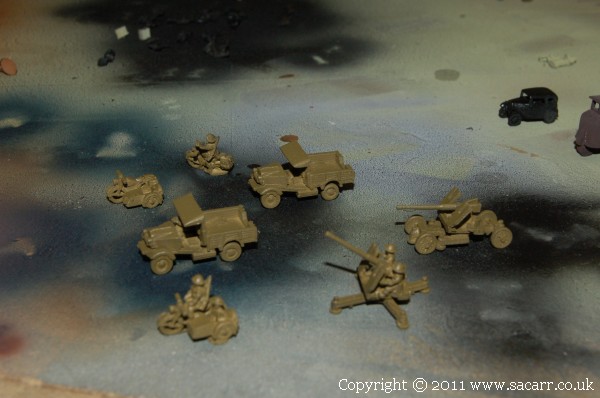
One of the sets were motorbikes and sidecars. The first bike was cut completely from its base before the side car was attached. While this worked, the front wheel and handlebars were pretty fragile due to such a small web of metal holding them to the rest of the bike.
The second bike had most of the base cut away, but I left a small lug extending to where the sidecar wheel would be. A also left a small web between the bike's front and rear wheel.
The first picture shows the first and second bikes, and the untouched parts for the third.
The last bike and figure were modified and built without the sidecar. The rider had his arms moved, and his leg straightened to support the bike while parked. Not easy at N scale.
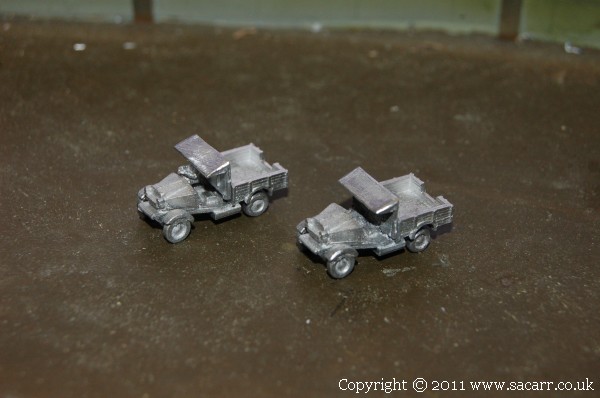
The next two vehicles were a pair of Morris CS8 light trucks.
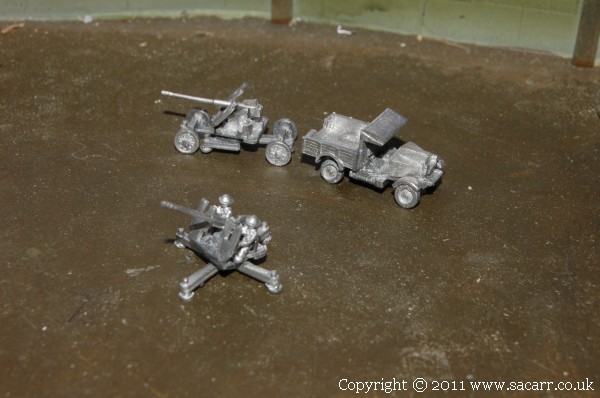
The Bofors anti-aircraft guns were built next. One was built set up ready to fire, the other was modified to have its transport dollies fitted, so the model can be set up as if it was being towed into position by one of the trucks.
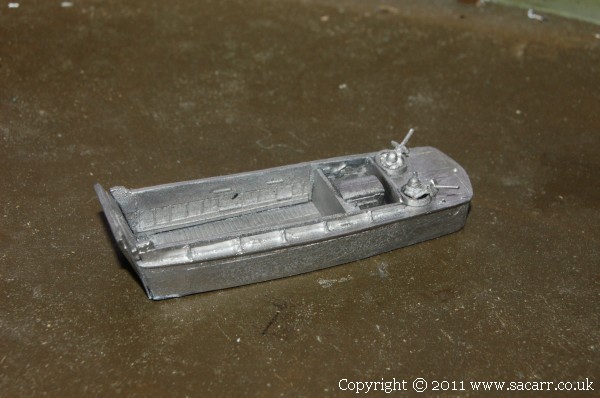
You might recall that I mentioned there were no instructions for the landing craft. I found a picture of a real LCVP which showed the unidentified parts as a bulkhead and the engine. Assembled, with its two gunners, but still awaiting the sailor at the wheel....
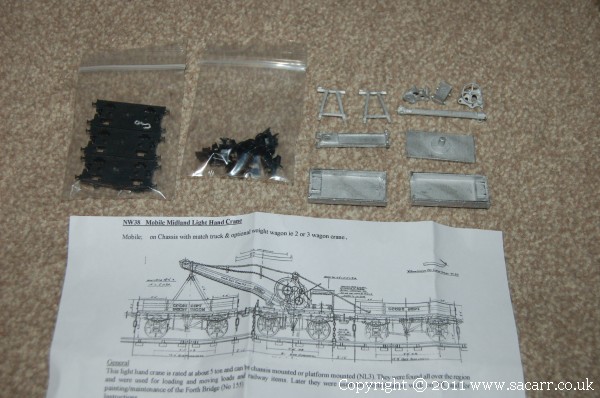
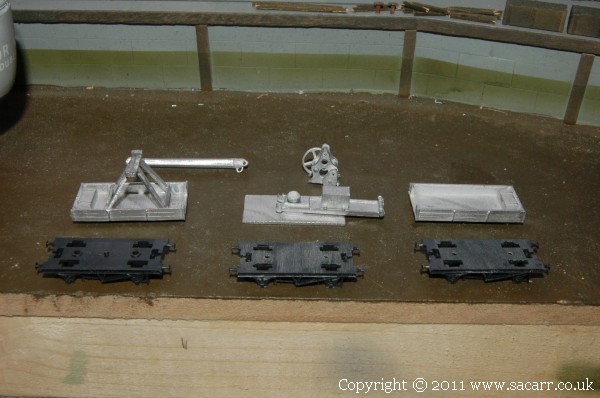
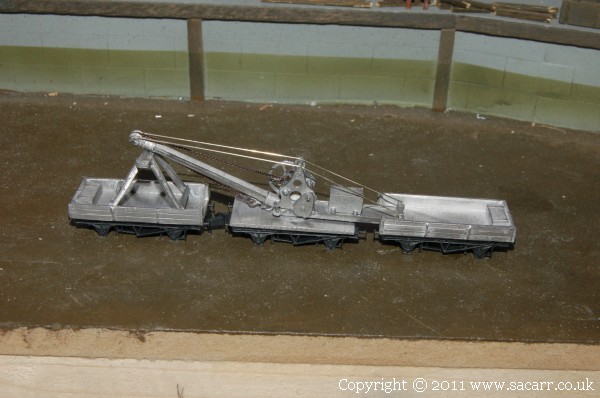
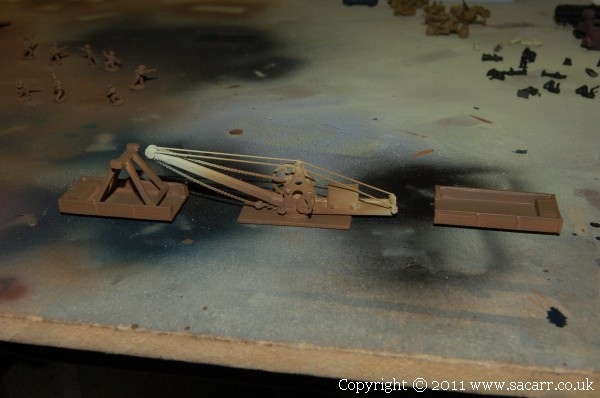
The assembly pretty much completed. They won't be glued to the chassis until after painting. The instructions were pretty lacking. There was a side view which appeared to be a scale drawing of the real crane, and some vaguely written directions of where the parts go. I worked it out however, and it looks quite nice.
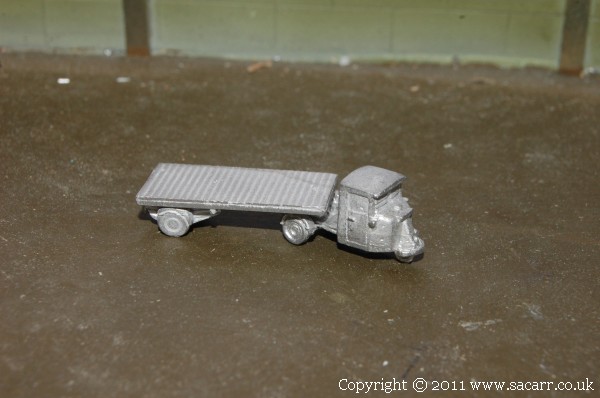
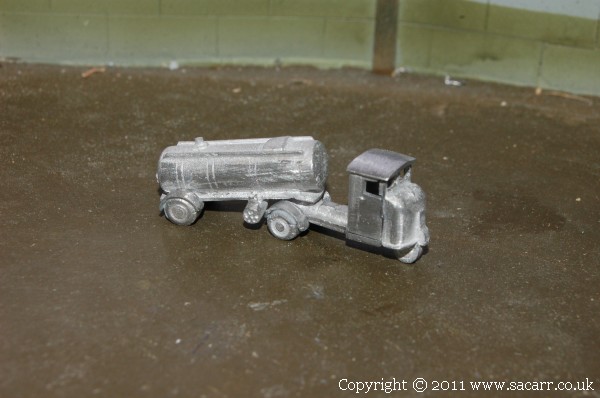
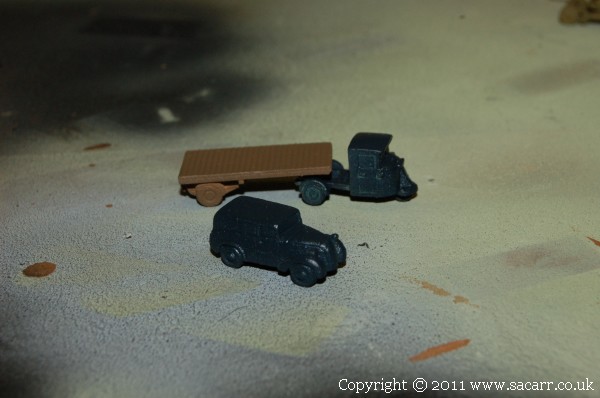
The tanker, Austin 7 and a number of British troops. Also cleaned up and painted, but not shown, were several figures welding.
Everything needs the detail painting done next, then a matt coat. With 150 figures completed, but hundreds still to go on the layout, there's a good chance I will be completely blind by the time they all have hands and faces painted!