ModelRailroadForums.com is a free Model Railroad Discussion Forum and photo gallery. We cover all scales and sizes of model railroads. Online since 2002, it's one of the oldest and largest model railroad forums on the web. Whether you're a master model railroader or just getting started, you'll find something of interest here.
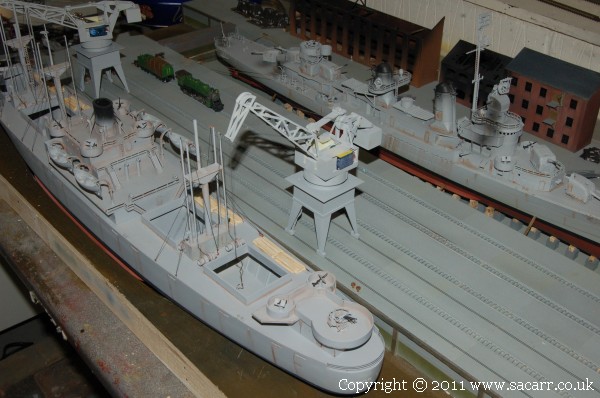
The cranes saw some attention next. The legs were sanded level and the bogies for the wheels glued on, one of which is drilled for the cranes lifting cable which passes down through the crane to the winch servo under the base.
The balance weight was assembled next and the hinge pins glued in.
The cable to hold the end of the jib level was also fitted. This cable forms a parallelogram with the main part of the jib which keeps the end of the jib level as the jib lifts and lowers.
We're now at March 11th in the story - An Ebay purchase of an American loco turned up. This was a resin cast, 'Del Prado' static display loco. We are using it as a freshly imported US loco. During the war, several hundred US locos plus around 60,000 pieces of rolling stock, were imported for use on the continent after the invasion, but a number of locos were used in the UK to assist the over burdened UK rail system. As bought, the model was a bit too bright and toy like.
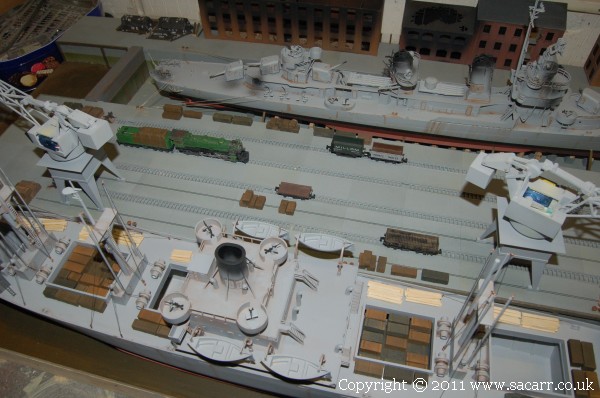
Here it is after a bit of weathering and a tarpaulin added over the coal bunker. Since the model has coal, but a freshly imported loco would be empty, a tarp seemed the easiest way to hide the coal. At the end of the sidings you can also now see buffers installed.
The tarpaulin was made from a piece of plain white paper. It was rolled in my fingers in several different directions until the whole sheet was full of micro creases. This gave a more scale like appearance, but also softened the paper allowing it to form over the tender more easily. It was then given a coat of a water based emulsion paint, thinned slightly to give a more streaky appearance to the tarp.
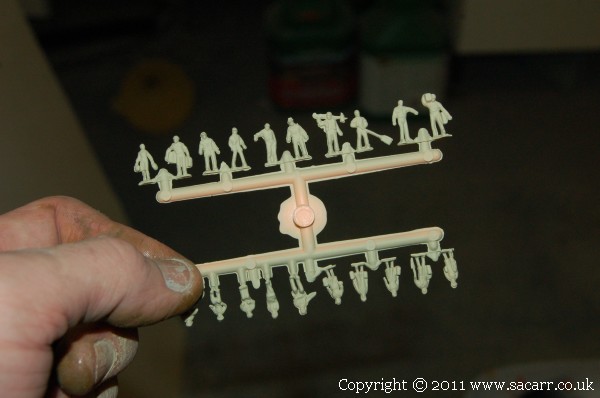
Five packs of Model Scene Set B figures were bought from the model shop, with another five packs of set A on order. They were etch primed mid afternoon as seen here, and given a top coat last thing. Once fully dry, they can have their detail painting done. The quayside was going to need quite a lot of figures to look busy.
The buildings were all weathered by brush and then fitted to the layout. The two burned out buildings and the next one were all glued on. The other two are screwed on due to needing to access electronics inside.
The large burned out building also had timbers and rubble added to the inside where the roof has collapsed. This needs some painting once the glue holding the sand together has fully dried.
A small fence was made between two of the buildings.
My attempts at rusting the dockside bollards was successful. The rusted bollards were given a thick layer of matt clear coat sprayed on, and were then glued into the quay wall.
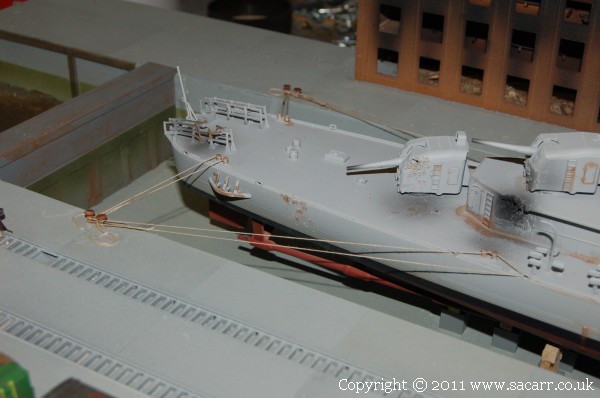
The Destroyer hull and deck were drilled with a small 1.5mm hole to allow a fibre optic cable to pass up from below. After passing the fibre optic through the deck, it took a bit of jiggling to get it to pass through the hole in the keel. The rear block that supports the ship was also drilled so that the cable can pass right through the bottom of the dry dock.
This fibre optic will be routed to warehouse 1 where there will be a welding flash simulator. The windows on the ground floor of this building are clear so the flash can be seen inside, with the fibre optic cable creating another flash on the deck of the ship where a work crew will be making repairs. The tip of the cable is in the centre of the circle.
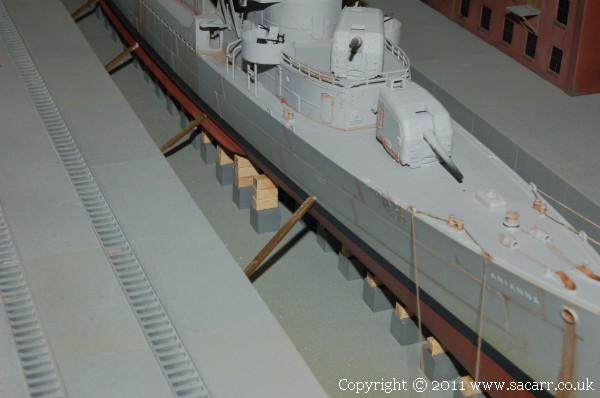
Some scrap timbers were glued into the bottom of the dry dock, while the rest of the strip was cut to form the hull braces to the side of the dry dock.
Mid March - Jumping back to the cranes, the operators cab glazing was made from blocks of clear cast acrylic sheet, cut on the bandsaw, sanded, and then polished with T-Cut paint restorer to get it back to clear again. The framing was done with the same 1/64 tape used on the buildings, then the whole assembly was coated in 'Future' to help seal in the frames and assist with the clear finish.
The lower parts of the cranes were rubbed down, some additional structure added, holes cut for the servo wires, then were primed.
This is where the glazing was to be fitted. The back of the clear glazing was painted dark grey, both to hide the glue from view and to create the impression that the area behind the glazing is open to the inside of the crane.
The bottoms of the legs were drilled for a small wire to give additional strength between the crane and the quayside. A hole was drilled down through the quay for the lifting cable which passes down one leg to a winch servo under the quay.
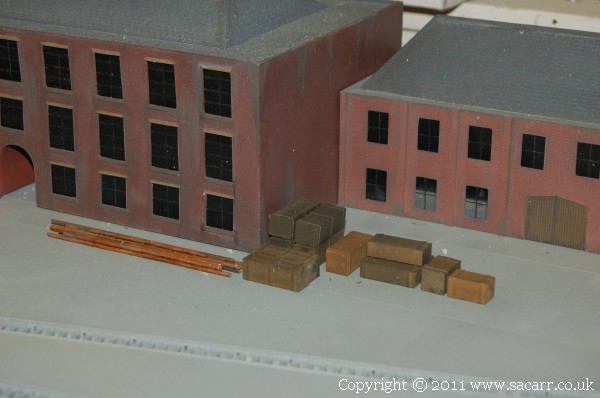
Since the quayside is so large, even with everything that is going on in this diorama, a number of spaces will need filling with something. Having looked at a number of period pictures, the dockside was full of shipping crates, tarpaulins, scrap timber and junk. I made a small number of 'test crates' to start with to see how the technique looked and how the wood reacted to different paint.
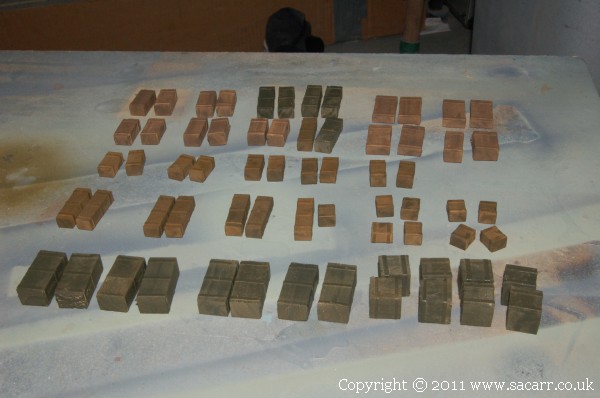
The crates themselves were made from wood, cut on the bandsaw, and then sanded by hand to remove the fluffy edges. To make the reinforcing battens around the boxes, I cut some thin strips of masking tape which was then wrapped around the crate twice to give the desired thickness. It was a fiddly time taking job, but gave a good result. I used a couple of different types of water based paint sprayed on, which was partially absorbed by the wood, giving a handled, but not overly weathered finish.
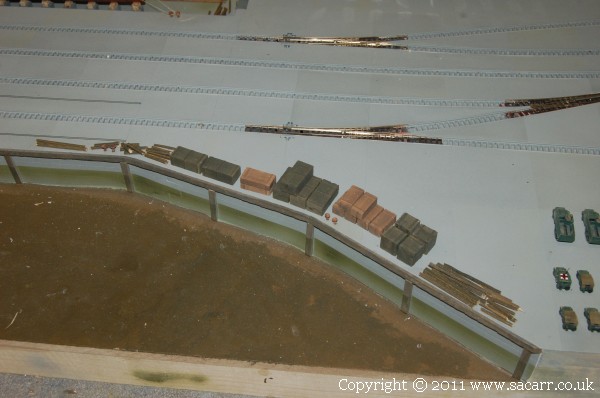
After the initial batch worked, I set about making a larger number to see how far they would spread out around the quayside. Here's the first batch of sixty six, including the first few.
The crates were then tried in a number of locations to see how far they would go, and to work out how many more would be needed to fill the various areas without looking over crowded.
Two gangways were made from styrene sheet and some old brass etched handrails. In the background, between the two buildings are a number of folded railway company tarpaulins. These were printed on the computer, and creased up the same way the brown tarp was on the loco.
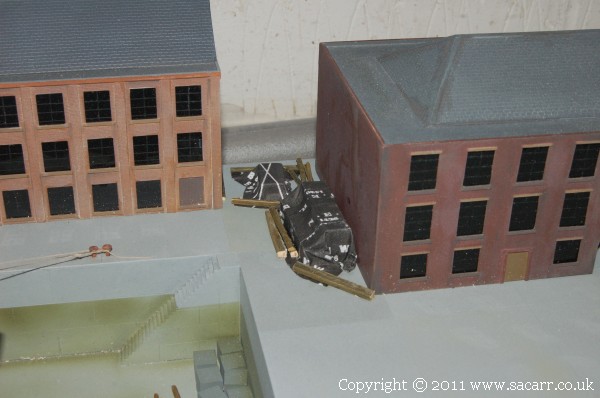
Other crates are stored near the burned out buildings, also covered by railway company tarpaulins, weighed down with large sections of timber to stop them blowing away.
Further crates covered in tarpaulins are scattered around the buildings. With so many goods being shipped in from the USA, storage space on this little island is becoming tight. Perhaps some of the equipment normally in the warehouses has been stored outside under canvas to make space for more important goods.
Here's the tarpaulin printouts, found on the net. The images were scalled to fit rail wagons, and printed on the thinnest paper I could find.
Each one was cut out.....
.....and then rolled around a piece of 1/16 square section brass tube in a number of directions to weaken the paper fibres, soften the paper, and also give a worn look. The back was then covered in a thin layer of PVA woodworking glue, and they were pressed down over roughly cut blocks of wood to represent the crates. There was no point in spending time making proper crates just to hide them under the tarpaulin.
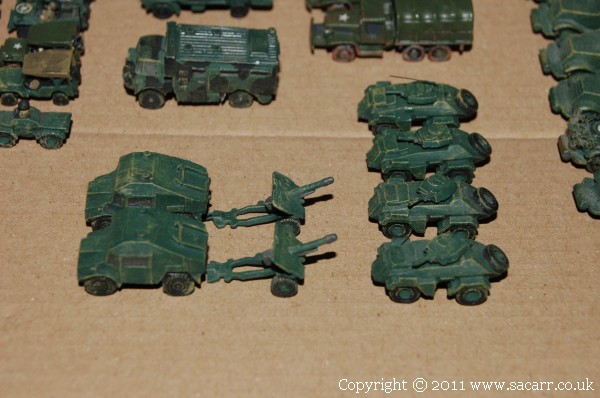
Here's a few photos of some vehicles purchased off Ebay. Many of these will be parked up on the quayside having just been unloaded from the Liberty Ship. They are white metal vehicles for wargaming, but are near enough the right scale for the railway.
A load of Willys MB's or Ford GPW's, more commonly know these days as a Jeep, but known during the war as the Willys 4x4 1/4 ton truck.
A couple of Morris Quad's and field guns, and armoured cars.
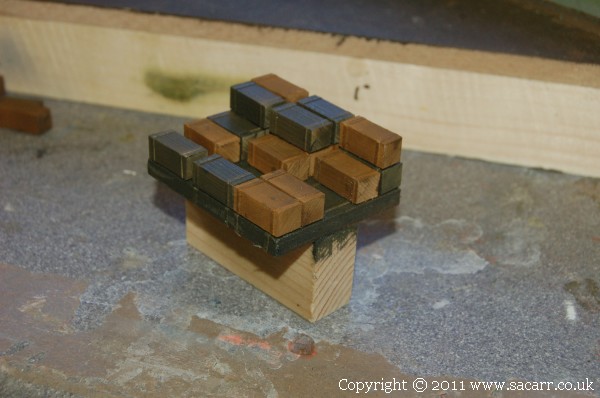
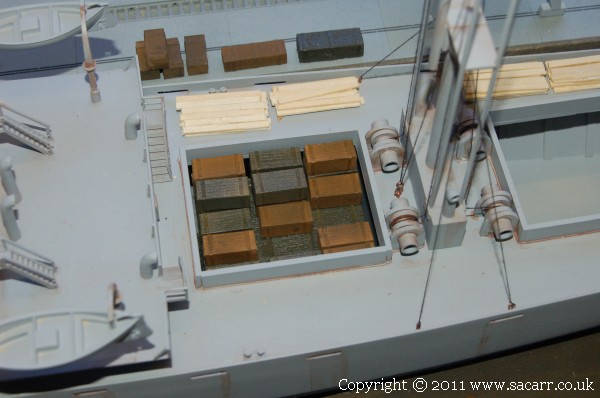
I decided that the ships holds could do with filling to some degree. To fill out all of the holds would take forever, but a full hold would look better. The solution was to make a false floor just below the hatch level, and put one layer of crates on top of this. Here's the first assembly with the crates glued on, but not yet given a matt coat.