ModelRailroadForums.com is a free
Model Railroad Discussion Forum and
photo gallery. We cover all scales and sizes of model railroads. Online since 2002, it's one of the oldest and largest model railroad forums on the web. Whether you're a master model railroader or just getting started, you'll find something of interest here.
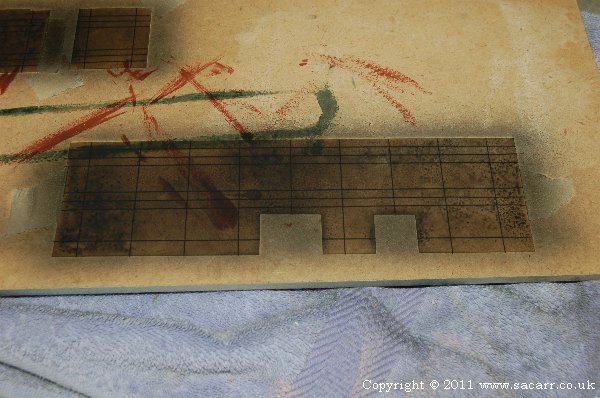
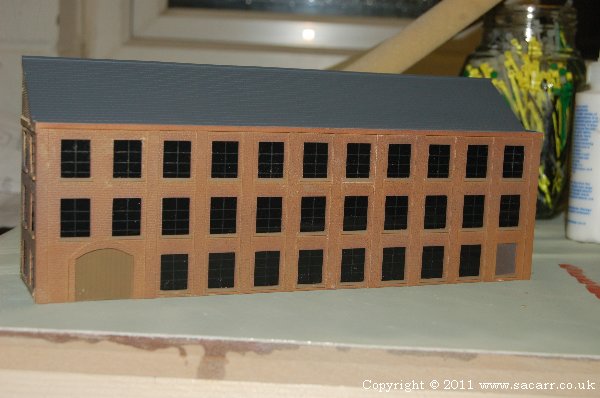
On the last day of February, I started the glazing and window frames. The clear acetate was cut to size, and the window openings marked. Thin tape, 1/64 inch wide, was then stuck down across the windows to represent the framing between the panes. I forgot to take a picture with just tha tapes on, so here's one after I started spraying the black out paint on the reverse side of the acetate.
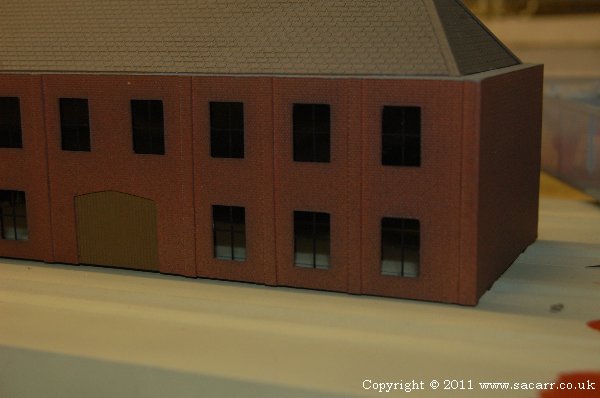
While the tapes are black and the paint on the back of the windows is also black, they can still be seen against the reflective glazing.
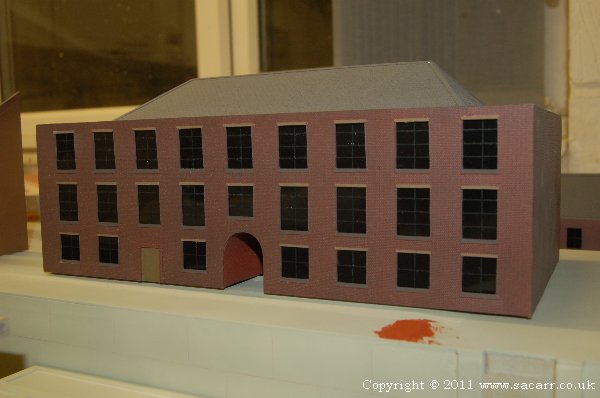
Here's the other two buildings. The completely burned out building has no windows, and the building with one half burned has no glazing in that side.
The long lighter coloured stone building in the previous post had to have its roof replaced. It was annoying, but I'd laminated two pieces of styrene for the roof as the tile effect piece was very thin and sagged without support. Over the last couple of days with temperature changes, the roof formed bubbles between the layers which looked terrible. A new roof was added and repainted.
March 4th - Some days, I don't know how I drag myself out of bed in the morning, just to build models all day.
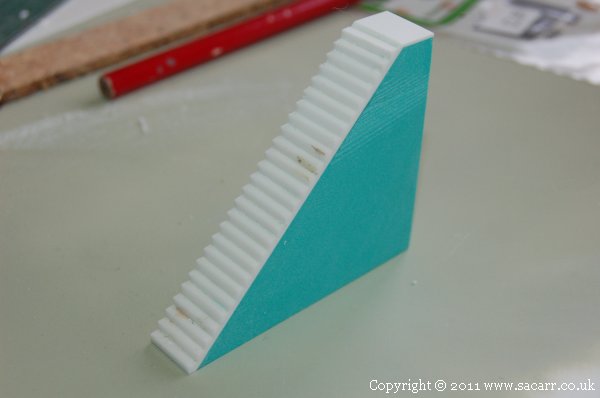
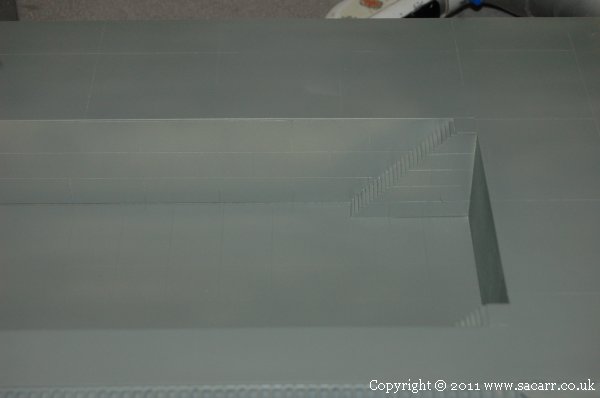
Anyway, the quayside got another rub down over the joints and filler ready for a prime again later in the day. I built some steps down to the bottom of the dry dock, a set each side using a piece of 'Chemiwood' as a core, and skinned in styrene. The steps were made from some quarter round styrene strip I bought the other day. I scraped the quarter round side until flat; it was then cut to length and the flat side glued to the 45 degree slope on the chemiwood. It's surprising how far it didn't go, taking two and a half strips of the 'Evergreen' styrene strip to do all the steps.
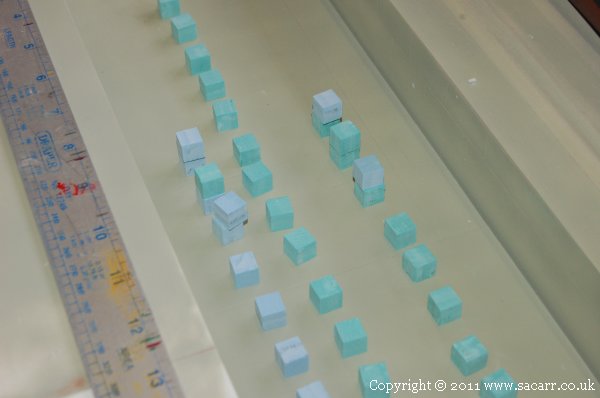
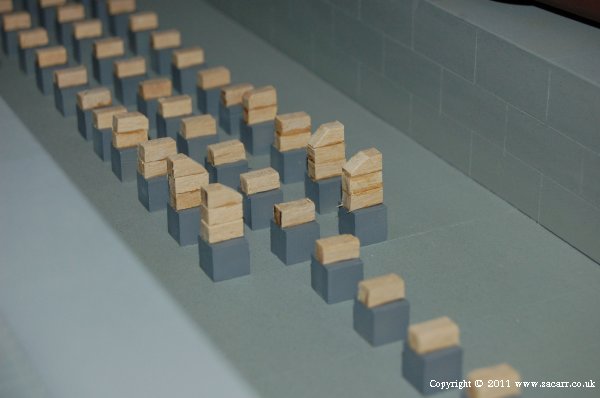
While chopping up 'Chemiwood', I cut a large number of cubes to represent the concrete blocks that are used to support a ship while in dry dock. The concrete cubes have wooden wedges stapled onto them with large metal straps, and these wooden wedges are cut to match the shape of the ships hull.
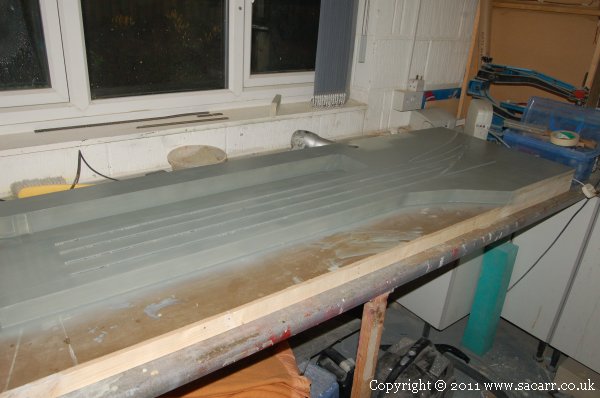
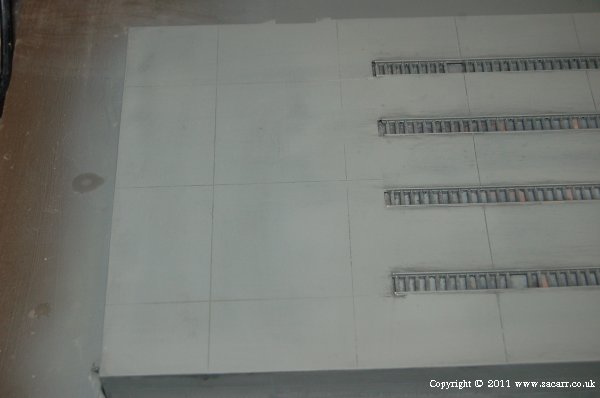
The primed quayside was given a light rub over with a flatting pad and then sprayed with a yellow/grey concrete mix of water based paint. The whole area was given a light coat and force dried with a hairdryer. A second heavier coat followed, and this was left to harden over night.
The quirky thing about the water based paint that I was using, is that it gets darker when it dries, unlike most paint that goes lighter. A quick look at the quayside this morning showed it to be too dark, so it was given a light rub back with a flatting pad and re-sprayed in a lighter concrete mix.
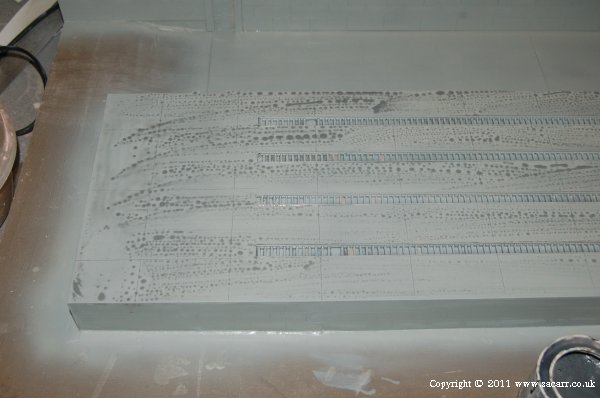
Later in the day, after the paint had hardened off a bit, I began a wash technique I frequently use on R/C aircraft. Using the water based paint, I mixed up a tin of what looks like dirty brush water, about 80-90% water/screen wash mix with the remaining percentage being a dark colour of paint, in this case, a dark grey. This wash was brushed onto the quayside and force dried with a hair dryer.
The mix of screen wash in the paint helps the liquid to evaporate away more quickly. Just as it gets to the point where it is dry, I take a wet flatting pad and scrub the wash away again. The wash stays in all the joints between the concrete slabs and is scrubbed away elsewhere depending on how hard the pad is rubbed. On the smooth styrene, slight uneven pressure leaves a slightly different colour, helping to remove the uniform finish.
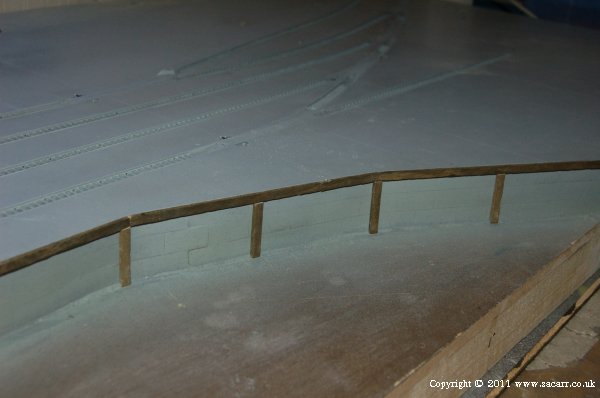
The edge of the quayside was given a fender of stained hardwood. This was glued with cyano around the edge, with additional supports vertically down into the water.
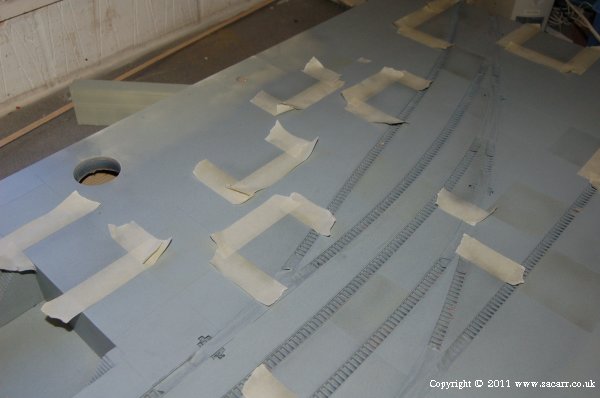
After that, I started masking off random concrete slabs on the quayside to be sprayed slightly different shades. The original speckled grey was still a little too even for my liking, so odd slabs were speckled with lighter and darker shades.
Upon completion, some squares looked a little too bold, so a quick dusting over with the base colour again, toned them down nicely. Once the quay was covered with all the other details, it would be fine. You've got to be careful you don't look too critically at any one part of the model. You need to remember the big picture.
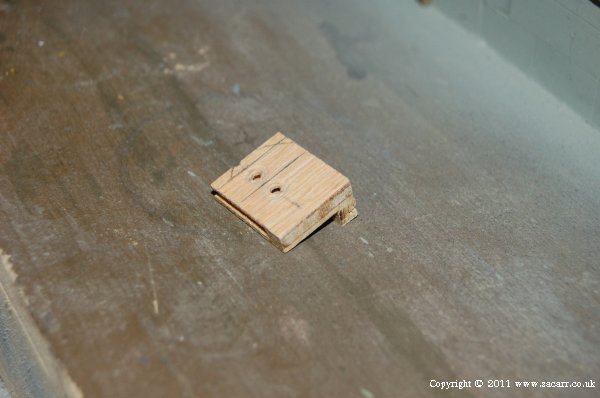
The mooring bollards around the quay are made from nails. A little jig was made to drill the holes accurately and identically for each location.
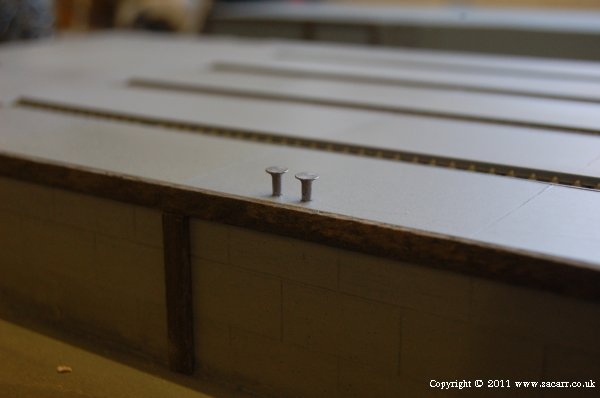
Here's a couple of nails fitted, but I also experimented with forcing them to rust using vinegar to give an aged appearance.
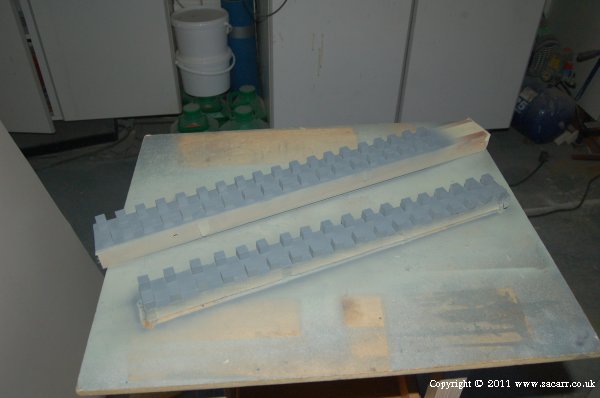
The chemiwood 'Concrete' keel blocks were primed and painted next, then left to dry.
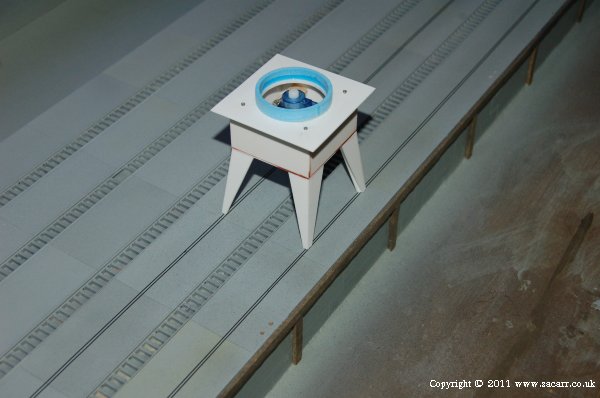
The tracks for the dockside cranes were added with the same 1/64 tape used on the building windows. The crane legs still need little bogies added to the bottom, that would run on these rails.
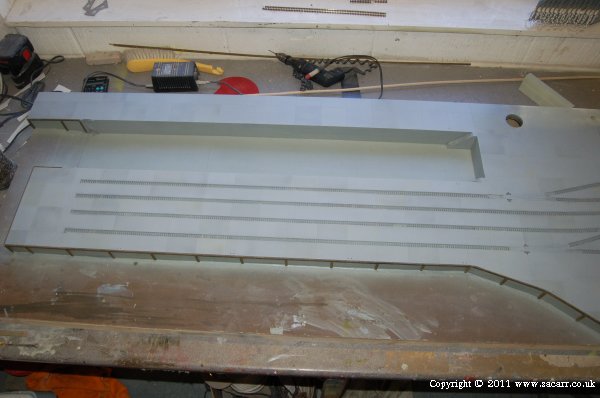
With pretty much all the painting done, the points were un-masked. The only concreting left to do now was between the tracks, but that would wait until the section was running so I can check wheel clearances with a loco running.
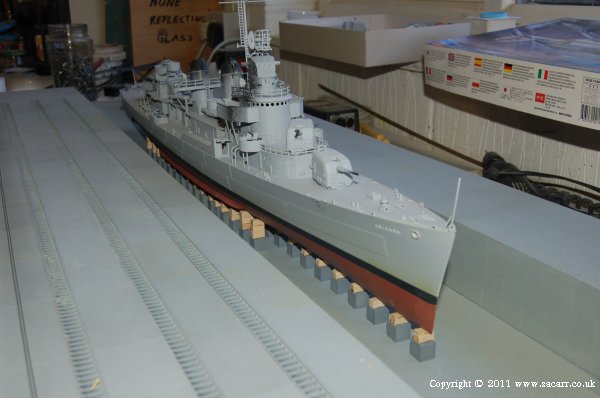
Back to the dry dock again, and the concrete blocks were planned out and then glued to the base, test fitting the ship to make sure the blocks were in the correct location.
Once the concrete blocks were glued, I cut around eighty 10mm lengths of wood to form the wooden chocks that are stapled to the concrete. Just like in a real dry dock, each one had to be trimmed to fit the shape of the hull.
and now with the Destroyer sitting on them.
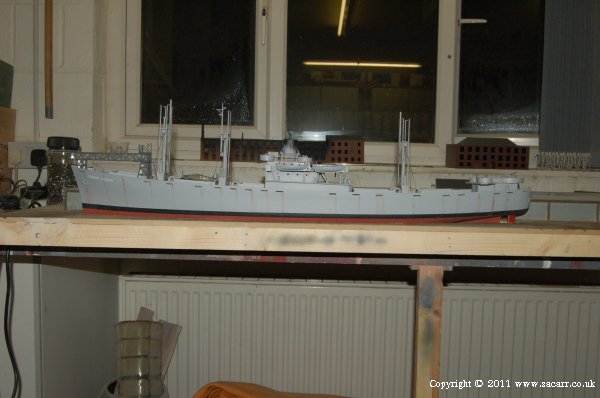
Early March, I did a bit of volume calculation for the amount of resin needed for the water. It was going to take a stupid amount at the original planned depth of 1 inch. If I could use half an inch deep, it would be much better, cheaper and faster to apply. To do that, the Liberty ship would need to sit lower on the base so the water came up to the water line.
The two ways to do this were a) cut the bottom off the ship, or b) cut a hole in the base and lower the ship. Cutting the ship risked too much damage, so the base was cut, and the ship sunk down into it by 1/2 inch.
The ship would be glued into the hole and any gaps sealed up with silicone so that once the resin is poured in, it woun't drain through any gaps.
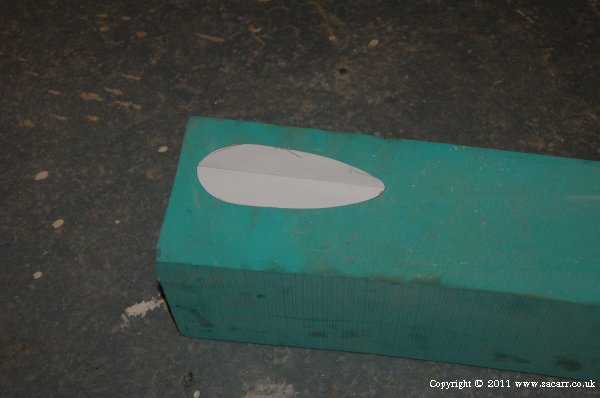
I spent a full day on the layout, although there's not much to show for it. This was the start of the barrage balloon that will protect the quayside. The balloon was made from a lump of 'Chemiwood'. I could have turned this on the lathe, but wanted a slightly uneven finish as the balloons weren't perfectly symmetrical.
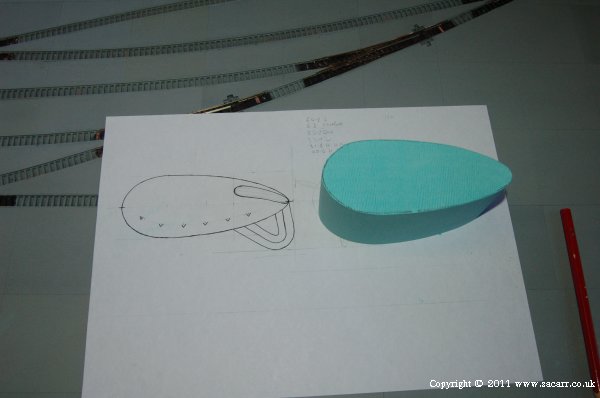
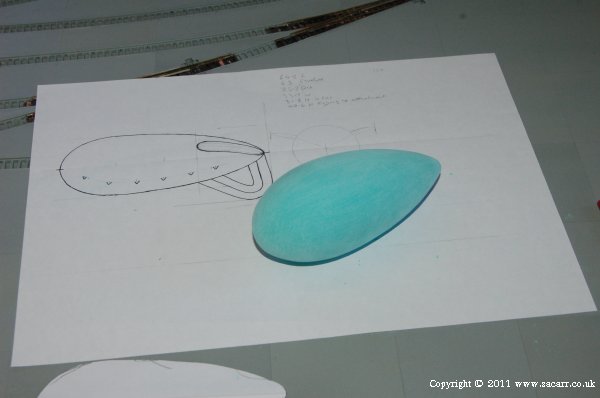
To start with, a paper template was cut and a rough 2 x 2 x 5 inch block of Chemiwood cut on the bandsaw.
The rough block was then cut to shape in plan view.
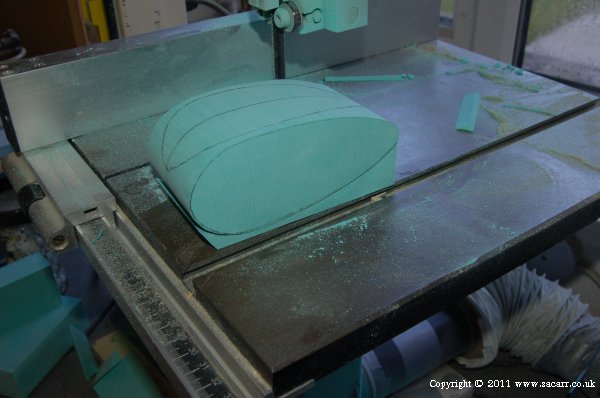
The side view was drawn on next, and the blank tack glued into one of the off cuts to make it easier to go through the bandsaw.
This left a square section balloon!
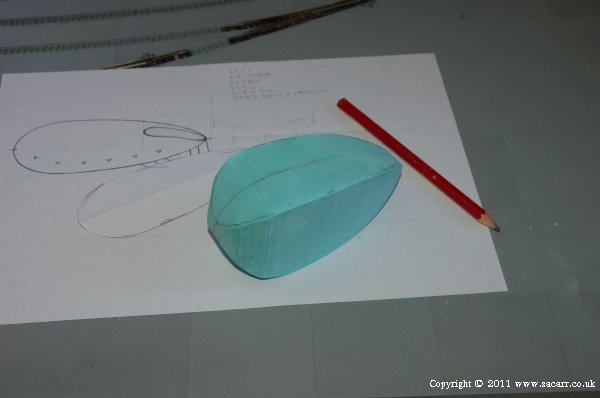
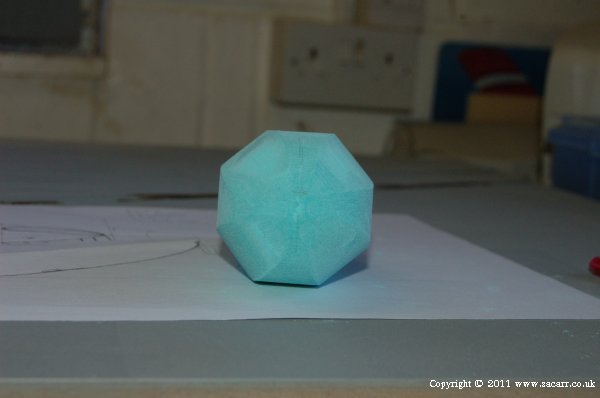
The corners were then sanded off to leave it an octagon section.
From there, the smaller corners were sanded off, and then the shape was getting close, only needing to be rounded off with some sand paper, followed by wet and dry paper used wet.
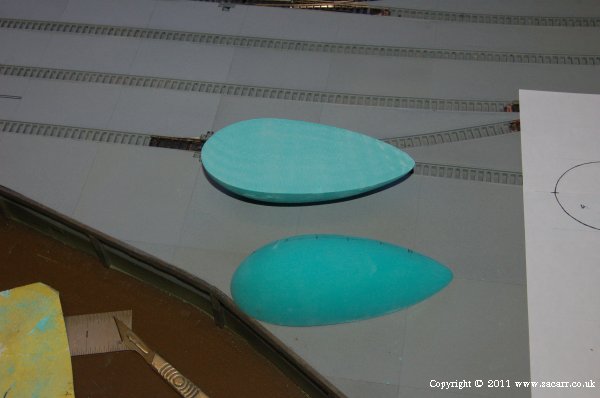
With the best will in the world, Chemiwood is never going to float effortlessly over the railway; it's just too heavy. So the balloon was cut in half, and hollowed out each side with a cutting wheel and sanding drum.
I forgot to take any pictures of that stage, but I left it with a wall thickness of around 1/8 inch. The two halves were cyanoed back together again, the seam filled and the balloon primed. Holes were also drilled for the tethering cables which will be brass wire on the model.
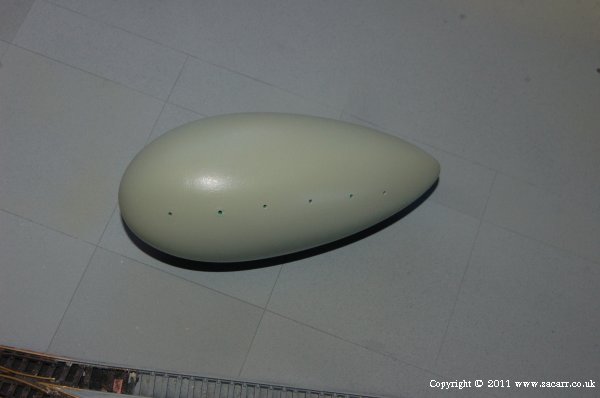
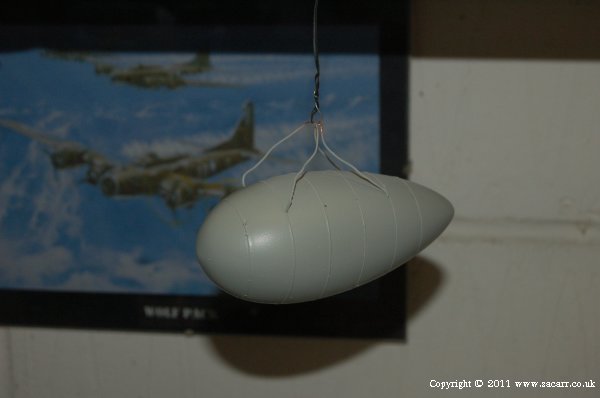
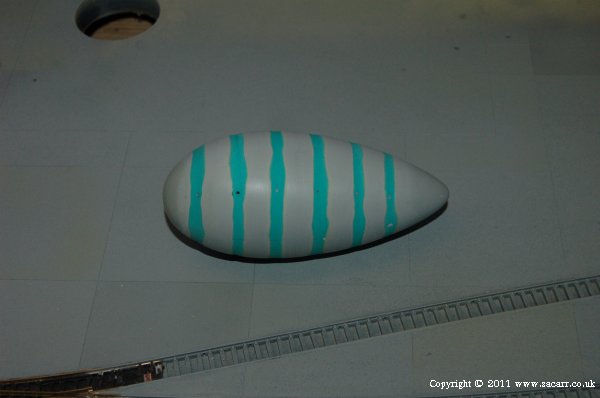
To help simulate the seams on the fabric, some of the 1/64 tape was wrapped around the balloon and it was given a number of coats of primer.
When the primer was dry, the sharp edged groove was blended into the rest of the balloon with wet and dry, leaving slight depression where the seam was.
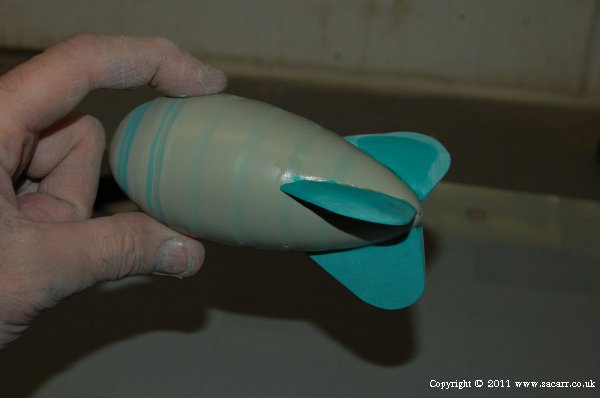
The fins were next to be made. The rough shapes were cut from Chemiwood which were then cyanoed to the balloon.
To make up the ribbed shape of the fins, the Chemiwood core was then covered in Milliput epoxy putty. Cyano was applied to the fins first to help the Milliput stick, and it was smoothed out with water before adding the grooves with the blunt end of a paint brush. This picture was taken with the balloon hanging from the ceiling in the workshop, and then rotated so it would appear the correct way up.
This was where the balloon was left for the day. Once the Milliput was hard, it could have a final sand to round off the leading and trailing edges properly and fill any surface imperfections. The tethering cables can then be glued in and the balloon painted.
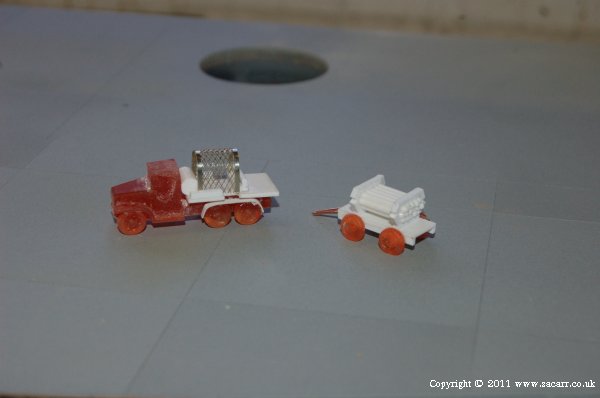
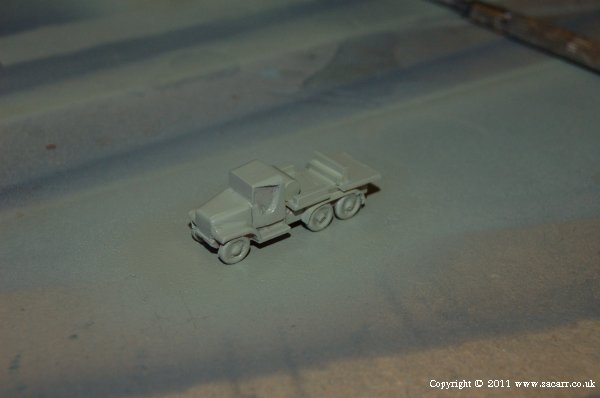
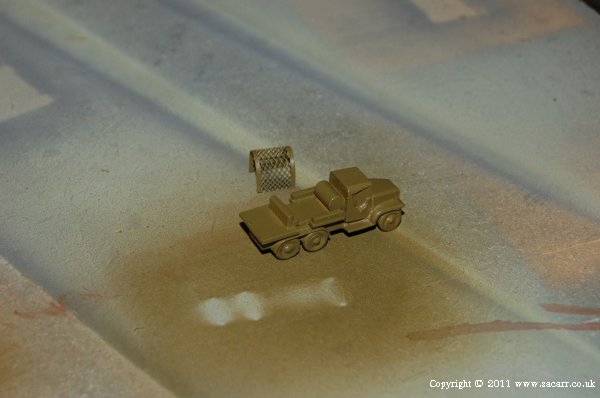
The balloon was only part of the scene. I also needed the winch truck and the trailer with all the hydrogen bottles to fill the balloon. For the truck, I cast the cab, chassis and wheels from one of the GMC trucks I made for a previous layout. The rear body was then scratch built from styrene and a bit of etched brass from the scrap box.
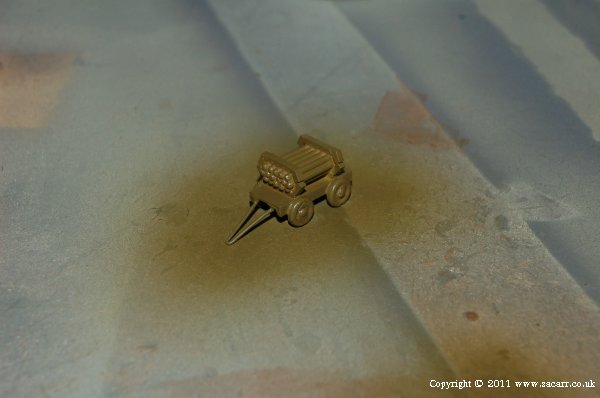
The trailer used more of the cast wheels while the rest was scratch built. Several lengths of styrene rod had their ends rounded off to represent the gas bottles.
The truck and trailer were then etch primed and left to dry.
Last job of the day was to give the truck and trailer a colour coat of green.
Detail painting of the windscreen, wheels and gas bottles is still to do.

Affiliate Disclosure: We may receive a commision from some of the links and ads shown on this website
(Learn More Here)