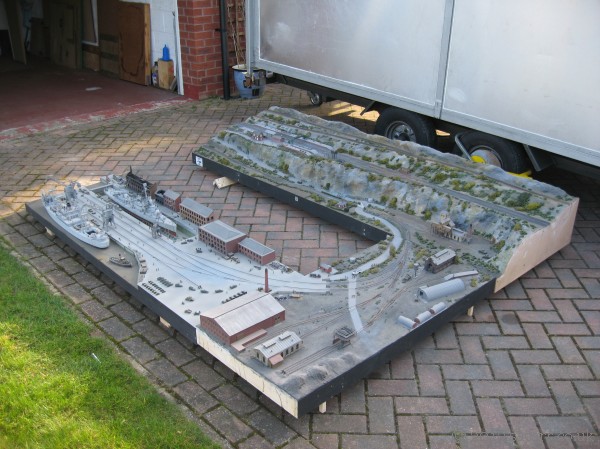
'1943, Somewhere in England', N scale Monster Layout

ModelRailroadForums.com is a free Model Railroad Discussion Forum and photo gallery. We cover all scales and sizes of model railroads. Online since 2002, it's one of the oldest and largest model railroad forums on the web. Whether you're a master model railroader or just getting started, you'll find something of interest here.


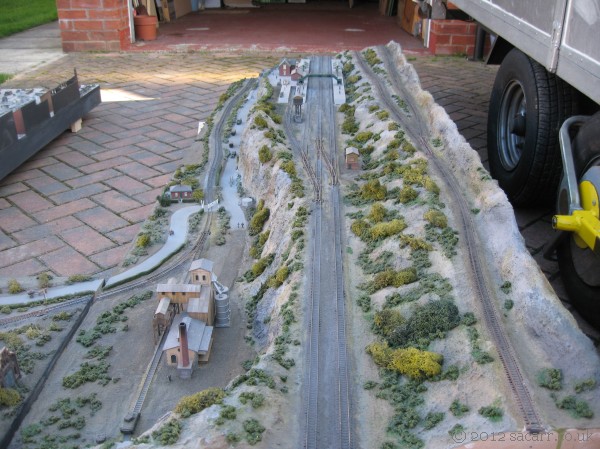
I particularly like the view down the main line.
transport6.jpg


transport7.jpg
 
Glad to hear it made the trip!
I like how the docks are seperate and can be displayed alone.
Good luck with the jeep!
 
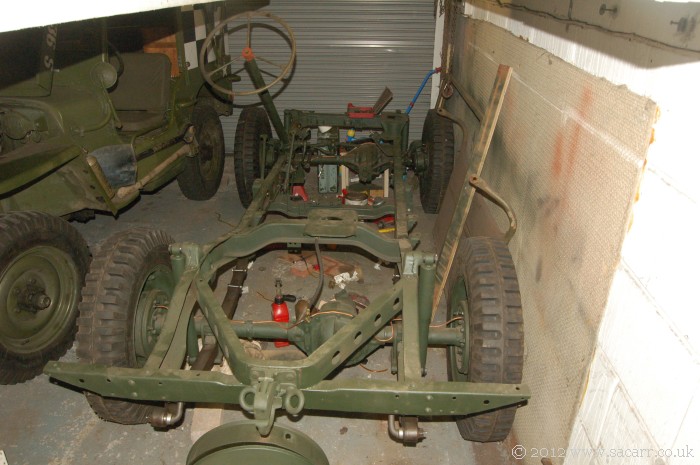
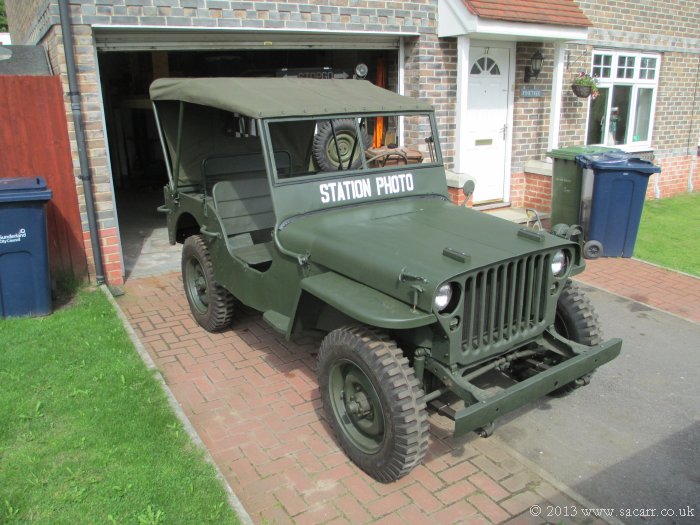
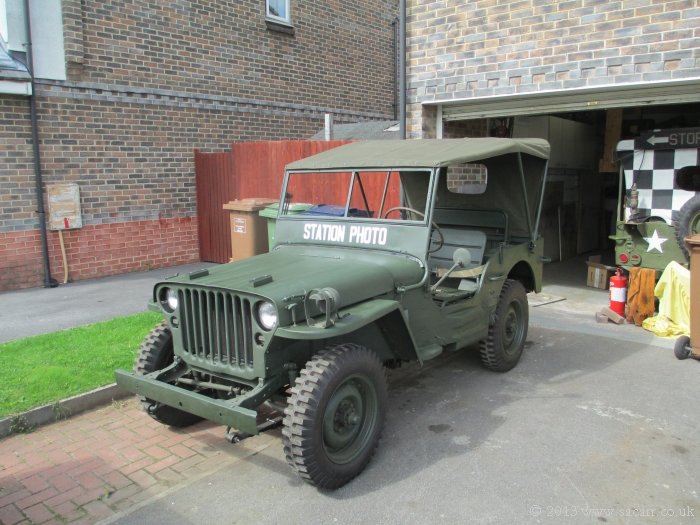
Just an update to let you all know the railway project is still on hold while the Jeep rebuild continues. The garage and workshop are still full of vehicle parts, so no space for railroading!

Completed chassis
0363.jpg


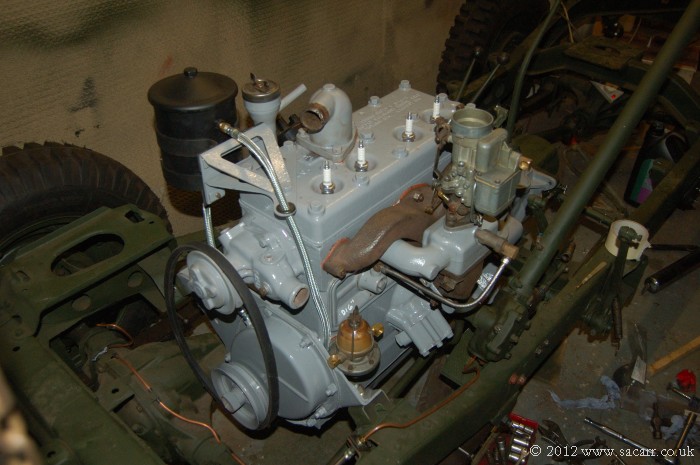
Rebuilt Engine
0401.jpg


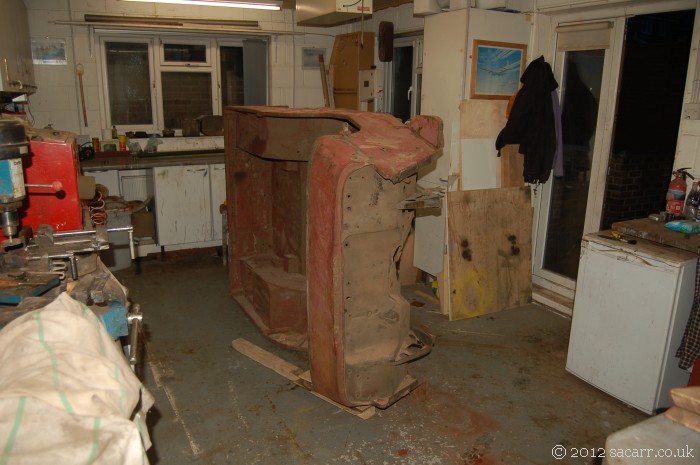
The tub is still filling my workshop
0327.jpg
 
Last edited by a moderator:


Still working on the Jeep, but hope to get back to the layout soon. The engine, accessories and chassis are all pretty much done, with the tub still needing work before it can be blasted, primed and refitted. The railroad was so much cleaner to work on!
 
Yes, the body repairs are all done and that is awaiting collection for blasting and priming. Once back, it can be painted and I can start installing the instruments, wiring, fuel lines etc, then it can be fitted to the chassis.
 
Just signed up to say your work on this layout is outstanding, some of the best I have seen, I really love it so far.

Look forward to seeing more :)
 
The Jeep is finally almost complete, with just a few small accessories to add and markings to finish. Now comes the long task of giving my workshop a top to toe wash down to remove all the welding and grinding dirt that has built up.

0688.jpg


0689.jpg


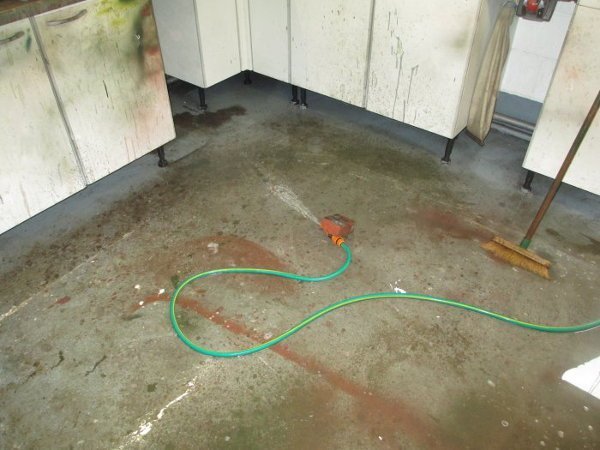
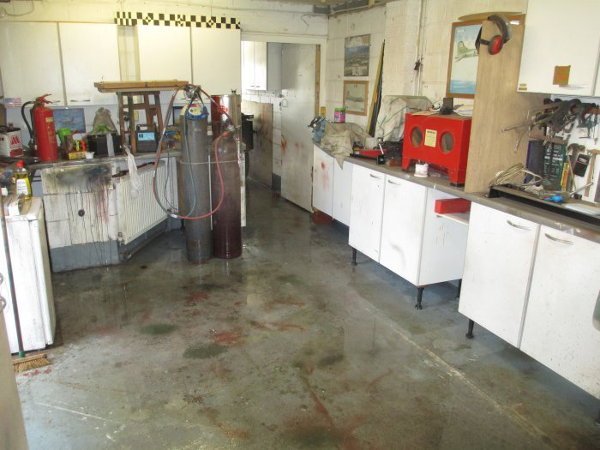
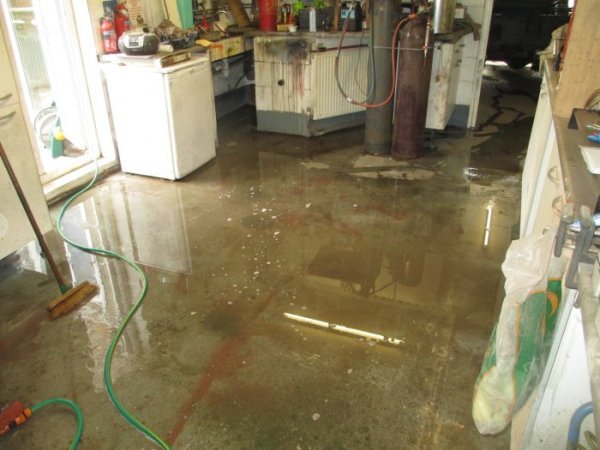
After three weeks of cleaning EVERYTHING, I finally got into the workshop with the hose pipe to wash down the floor. It's not often you get to use a hose indoors, but I was finally at the end of the job!

wsclean1.jpg


wsclean2.jpg
 
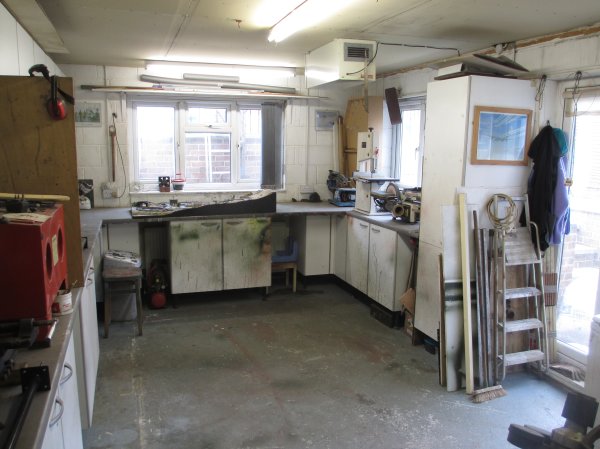
All done, dry and stuff put away. It was a good opportunity to have a chuck out of a load of junk I'd hoarded, but never needed. There's even another layout on the bench. It's a small layout built by dad and myself 30+ years ago, here for freshening it up and relaying the track as the foam track be has severely perished over three decades.

I'm collecting the wartime layout this weekend, so it hopefully won't be long before things are moving with it again.

wsclean3.jpg


wsclean4.jpg
 
Last edited by a moderator:
Picked up the layout this weekend from its hibernation in my dad's garage and it is now safely home and back in my workshop!
 
I'm expecting to start again around the beginning of March, as soon as I get the go ahead from the customer on the revisions to the next section.
 
This project has been on hold for some time now, but I've had word from the customer to commence again, so in a few days time, I'll begin work on the airfield section. I'll start with the aircraft, buildings and other small details to save space in the workshop, and once all of those are complete, I'll get to work on the benchwork for this new section.
 
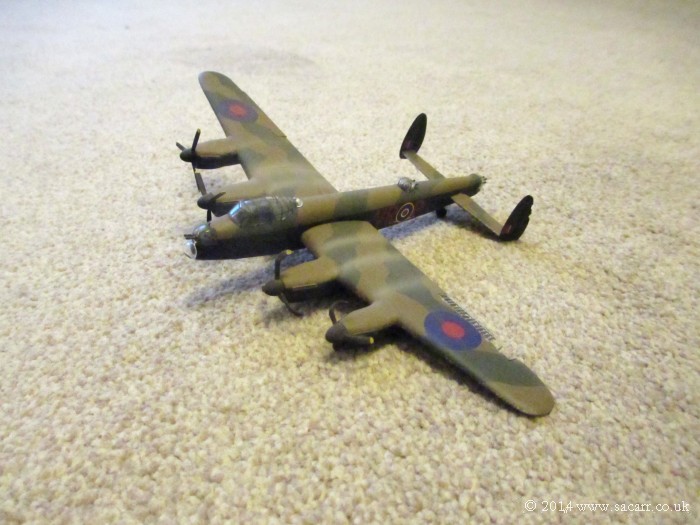
Here's a gentle re-introduction to the layout! The crash landed Lancaster was left awaiting its canopy. This has now been fitted.

airfield42.jpg


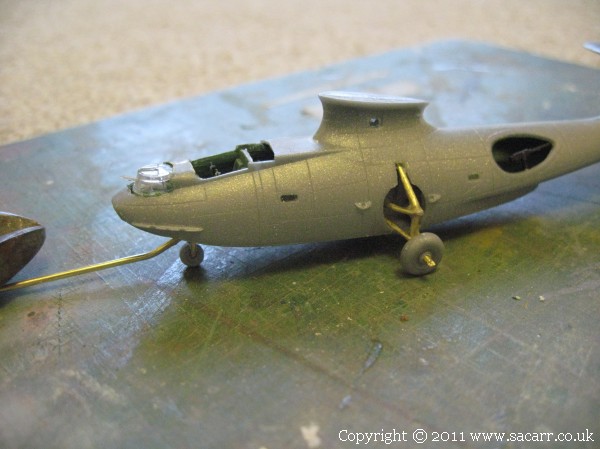
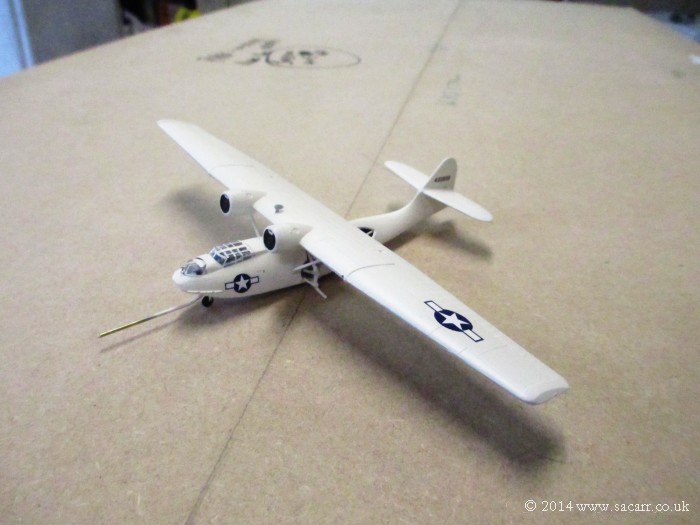
The PBY Catalina was last seen as a fuselage with wheels and a separate wing, as shown below.
airfield41.jpg


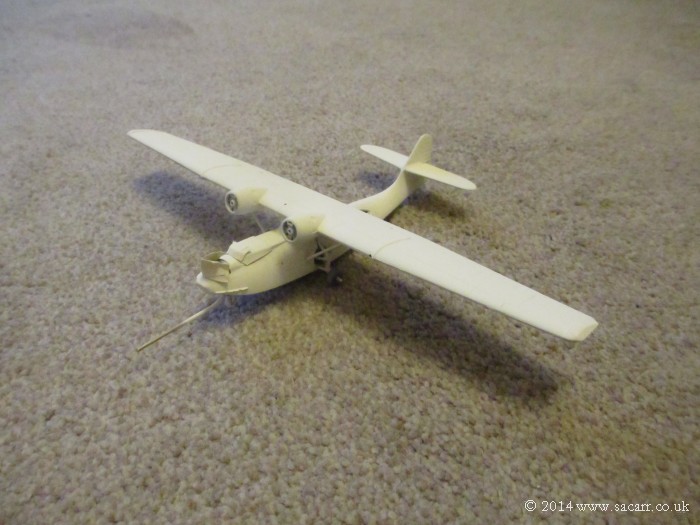
This picture now shows it with the wing and struts attached, and in its white top coat, canopy still masked.

airfield43.jpg


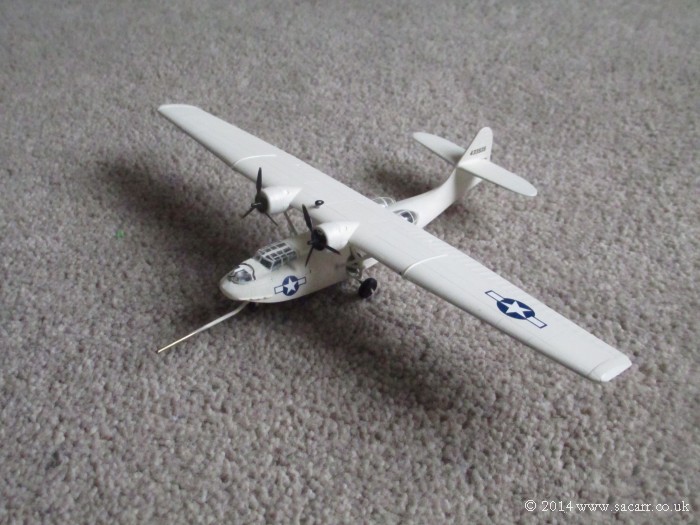
The next step was to spray the gloss coat ready for decal application, then apply the decals and remaining small details.

airfield44.jpg


The model was then sprayed in a matt coat before fitting the rear fuselage glazed blisters, wheels and propellers.

airfield45.jpg


Affiliate Disclosure: We may receive a commision from some of the links and ads shown on this website (Learn More Here)

Back
Top