Helix from Trackside Scenery


DJ_N_Scaler

New Member
Hello to all,

I'm new here, so hopefully, I'm in the right section!
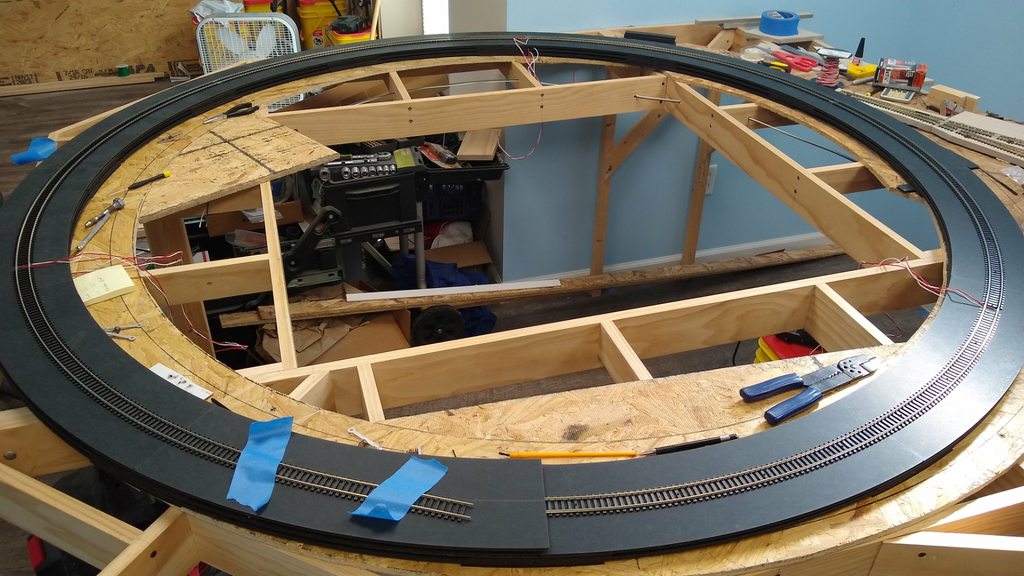
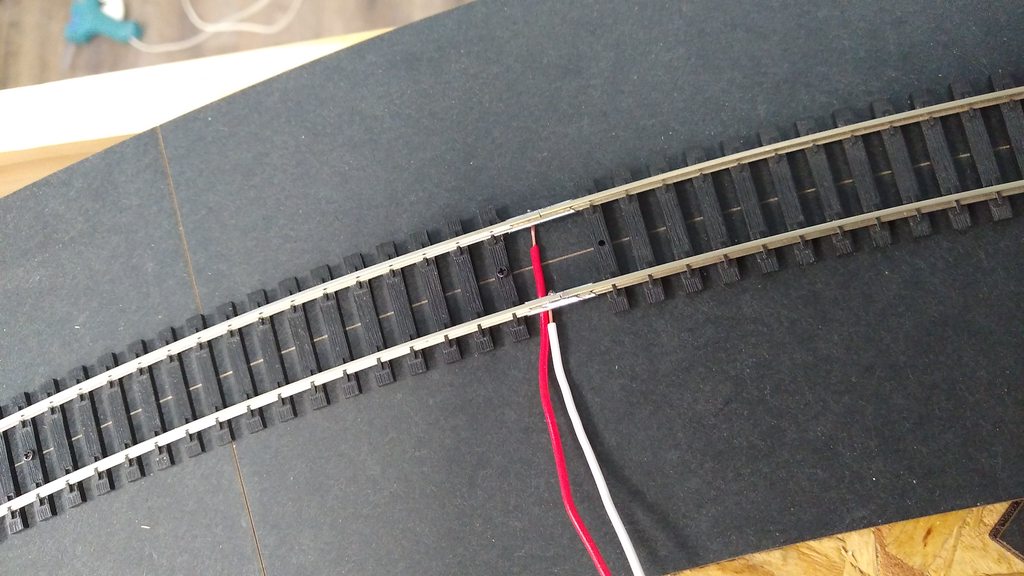
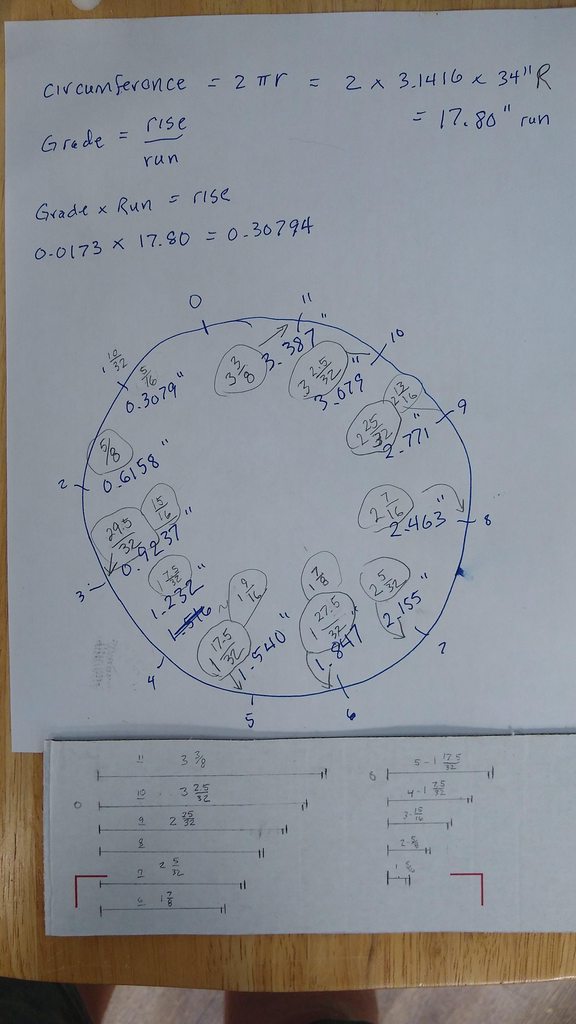
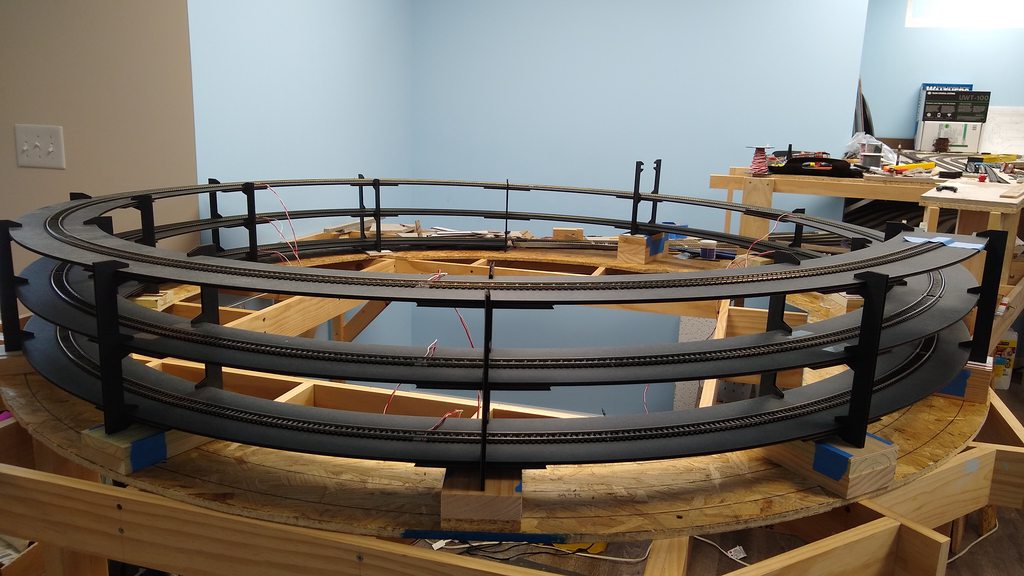
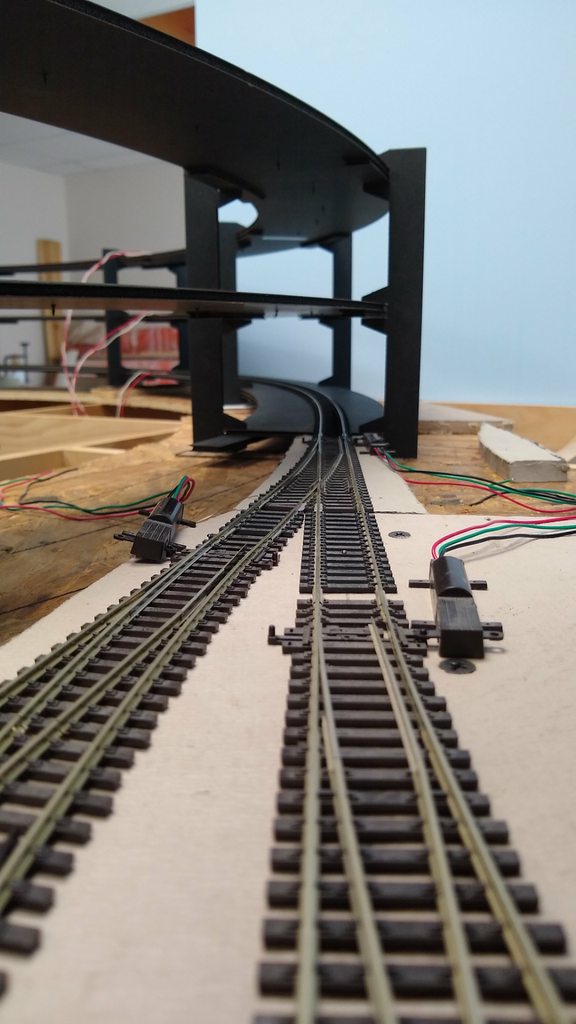
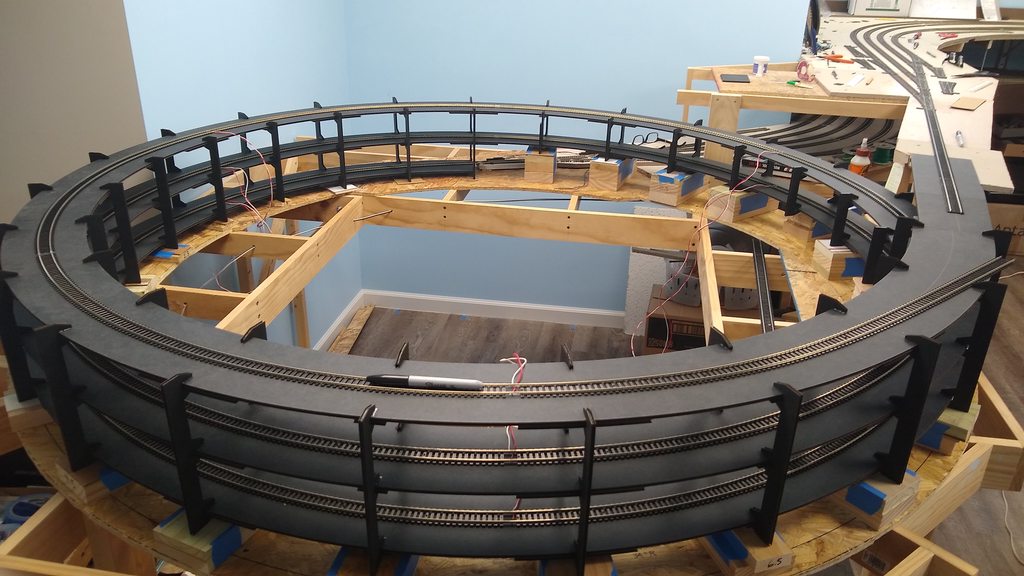
Does anyone have any thoughts on the helix kits from trackside scenery.
I'm having trouble understanding how fixed spaced risers can effectively create.
a Helix. It seems to me, for every level, there should be a smooth transition between the
notches that hold the base of the level. Their risers appear to be identical with no gradual.
incline per riser. I contacted the seller, but they kept explaining how a helix works, but the real question, above,
was not answered.


Appreciate your thoughts.
 
DJ_N - If you look close, you will see the 1st loop has incremental risers. Since the 1st loop sets the grade and level to level distance, the rest of the loops risers are the same length.

Later
 
I'm guessing DJ is wondering about why the risers don't go up a bit each time. Basically, the risers only separate the levels of the helix based on standard or extended (extended give a bit more head room if you use a base or subroadbed.

In my case I used 2 2/3 circles of Atlas code 100 flex track on Trackside Scenery helix and used tiny screws from the UK to secure it. Soldered all the joints and added feeders every other joint.

I chose a Trackside Scenery helix radius is 34 inches; the biggest Trackside Scenery makes is 36" radius and the smallest 22" R if I remember correctly.

pMULGZih.jpg


oiS3O3Jh.jpg


The next part may be part of DJ's question, which I'm guessing has to do with leveling it. I got no help from Tracksidescenery other than "you have to level the helix", so I had to figure it out for myself. Basically the bottom of each riser has to go up at the same grade has the helix is spec'd for. So I had to provide supports at a thickness to support each riser getting thicker as you go around.

The sheet shown is how I calculated the thickness of the level supports as they go around at the same grade as the helix 1.73%

StR2qQ9h.jpg


IsKQu5Mh.jpg


In the photo above you will see blocks of wood sandwiched to make the needed thickness getting thicker as you go around counter clockwise causing the bottom of each riser to go up at the increase of 1.73% grade.

Bottom track is now connected to the end of the staging yard.

d8GBxxZh.jpg


So after installing the helix and it being the 2nd to the largest offered, I felt it needed more vertical risers for better support so I ordered more so there are twice as many and it feels pretty solid. It's all leveled and connected to the top level now.

wADUgHRh.jpg
 
Great looking helix and the pictures and explanation tell it all. Thanks for this post. Unfortunately the OP has not been back on the forum since posting!
 
I'm guessing DJ is wondering about why the risers don't go up a bit each time. Basically, the risers only separate the levels of the helix based on standard or extended (extended give a bit more head room if you use a base or subroadbed.

In my case I used 2 2/3 circles of Atlas code 100 flex track on Trackside Scenery helix and used tiny screws from the UK to secure it. Soldered all the joints and added feeders every other joint.

I chose a Trackside Scenery helix radius is 34 inches; the biggest Trackside Scenery makes is 36" radius and the smallest 22" R if I remember correctly.

pMULGZih.jpg


oiS3O3Jh.jpg


The next part may be part of DJ's question, which I'm guessing has to do with leveling it. I got no help from Tracksidescenery other than "you have to level the helix", so I had to figure it out for myself. Basically the bottom of each riser has to go up at the same grade has the helix is spec'd for. So I had to provide supports at a thickness to support each riser getting thicker as you go around.

The sheet shown is how I calculated the thickness of the level supports as they go around at the same grade as the helix 1.73%

StR2qQ9h.jpg


IsKQu5Mh.jpg


In the photo above you will see blocks of wood sandwiched to make the needed thickness getting thicker as you go around counter clockwise causing the bottom of each riser to go up at the increase of 1.73% grade.

Bottom track is now connected to the end of the staging yard.

d8GBxxZh.jpg


So after installing the helix and it being the 2nd to the largest offered, I felt it needed more vertical risers for better support so I ordered more so there are twice as many and it feels pretty solid. It's all leveled and connected to the top level now.

wADUgHRh.jpg
Thank you! This is not only a great explanation, but also somthing tracksidescenery should use on their website. I thought nobody understood my question or I was wrong and just too stupid to get the "obvious."
 
When it came time to build it it made no sense that the risers all had the same base, that's when Joey said I needed to level it. I was able to figure it out but it might be confusing to some. I agree, it would be good if he could put a figure on the website showing the bottom of the risers and the spacers to go underneath to riser at the same rate as the track grade.

By the way, in my worksheet posted above, I skipped a step. The circumference = 2 x pi x radius. That is 2 x 3.1416 x 34 = 213.63 inches. Divide the circumference by 12 to get 17.80", the distance between each support. For change in elevation, multiply grade times the distance. For my helix the grade change to the next riser is 0.31 inches. So each support has to go up that much for each riser.
 
Last edited:
If I understand this correctly, the risers provided by tracksidescenery, are all the same height. What gets the rise, is the blocks of wood put underneath each riser on the first run, which I would need to figure out, is that correct?
 
That's it basically. If you build the helix and the put it on the floor it would lean like the leaning tower of Pizza. So you need to "level it" per Joey of Trackside Scenery. To level it, you need to put supports under each riser.

Basically you need a minimum of 11 supports, even though there are 12 risers (for the larger size helixes). I actually ended up using 24 risers to make my helix more ridged as I felt at that size, it felt a little flimsy. With 24 supports it feels pretty solid.

The smaller helixes had 8 risers if I recall have 8 sets of deck pieces and 8 sets of risers.

The first whole helix photo shows the helix with 12 risers. and 11 sets of blocks for supports.

You don't need a support for the first riser as it can rest on the benchwork. But it depends also on where the bottom level track is since you need to enter the helix at the same level. My track is actually on 1/2 inch Homasote so it was already a half inch elevation in relation to the plywood under the helix.

So the first support is under the 2nd riser, if you have 12 risers. You can see on my last photo there are 24 risers so I have 23 supports. I figured out the thickness of each support and used various pieces of wood and cardboard to sandwich them together to get the thickness I needed for each and then slide them under the risers.

So the blocks of wood are the supports under each riser in the photos. Each block gets thicker by 0.31 inches for each 17.8" distance between risers. Since I added a second set of risers, I had to do the same thing for those.
 
Last edited:

riogrande5761's explanation is GREAT. If you watch trackside Scenery's video, he does explain this as well at around 9:56 in the video, but without the explanation above, it might not make as much sense.


Back
Top