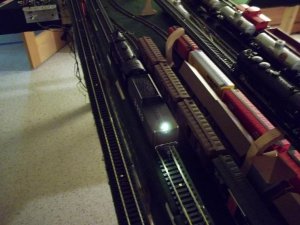
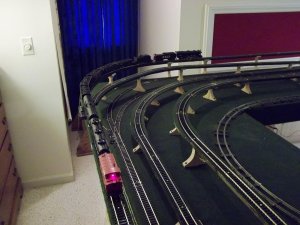
Rivarossi 4-6-2 Heavy Pacific conversion to DCC


Doc

Rivarossi Doc
Greetings All, This is the first in a fleet of old Rivarossi's that I hope to convert to DCC. I used a non sound Digitrax DH123D decoder as I wanted to test the waters on a simpler level than sound. It might be noted that I was installing a Digitrax SCFXD radio dcc starter set at the same time. Help here on the Forum said to make sure to Isolate the loco motor, add pickups for the loco and modify the tender for dual rail pickups as well. So here is the loco modifications.
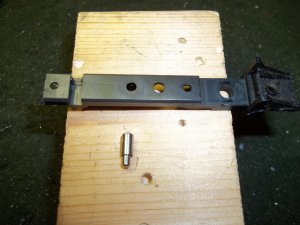
1a.jpg

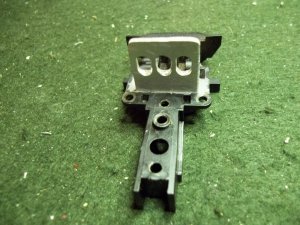
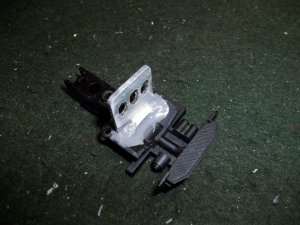
From some old Rivarossi parts I used a spring wiper and plastic mount frame.
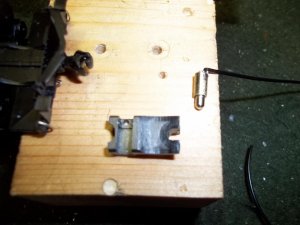
1b.jpg

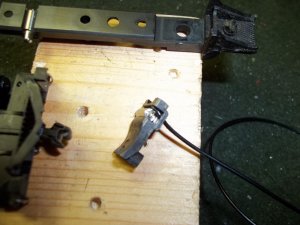
I cut and modified the mount frame to fit in the front of the loco and soldered a lead to the back of the spring housing.
1d.jpg

After drilling a hole for the lead I assembled the pickup.
2a.jpg

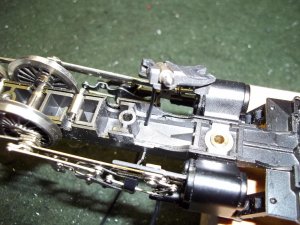
With the front drive wheel removed and some of the metal frame modified I was able to install the new pickup. An additional hole was required to feed the with through the metal frame. This now gave the loco a left rail pickup as all the original pickups ( 2 ) were on the right rail.

Next post the results.
 
Rivarossi 4-6-2 DCC conversion

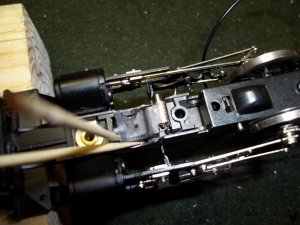
Here is the install of the new pick up.

2b.jpg

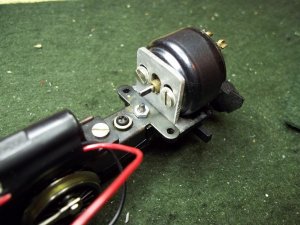
Here is the JB weld install of the pickup. the toothpicks make sure the wiper assembly is positioned so that the wiper does not touch the metal wheel frame.

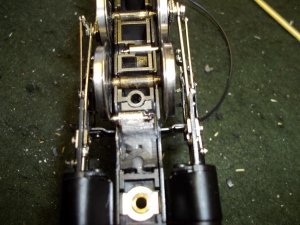
2c.jpg

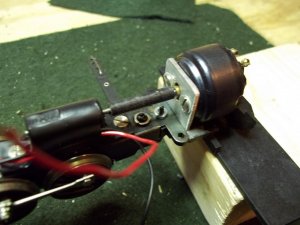
Here is with the drive wheel installed. Note that this wheel has ( 2 ) pickups on it. In addition the original wheel had a traction tire on it. I tested it with a all metal drive wheel and the results were not so good when pulling a grade. I then reinstalled the traction tire wheel turned 180 degrees which allowed the pickup to have clean rail contact as well as tire traction on the other rail.

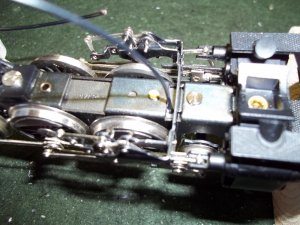
2d.jpg

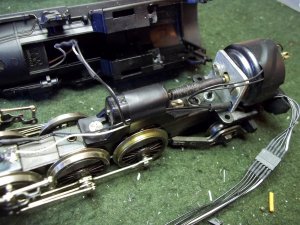
This shows the loco drivers assembled and the pick up lead which tucked up under the boiler. Again this is prior to the traction tire re-install.

The motor isolation and mounting came next. On this engine the plastic mount for the motor was broken on both of the screw holes which required a new motor mount. In addition this old motor has one of the brushed connected to the motor can which was grounded to the frame for the original left rail pickup. All of this had to go.

3a.jpg

After removing the rear underframe I cleaned all of the old plastic off and added the aluminum bracket with JB used once again. More pix to come.
Doc'
 
Rivarossi 4-6-2 DCC conversion

More of the motor work.

100_0382.jpg

Another view of the mount. care needs to be taken to ensure that the mount is square to the Underframe in all directions or the drive shaft will have issues. At some time a ball joint drive would be nice to have. Are there replacement that anyone know of ?

3b.jpg

Now the motor and Underframe were re-installed now with nuts and bolts no rivets.

3c.jpg

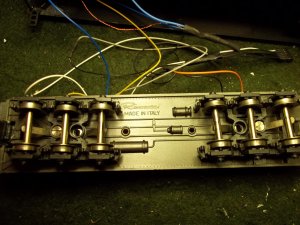
With the drive shaft installed and aligned. The red wire is connected to the now isolated metal frame and the black with is from the newly installed left rail pickup. The motor has been isolated at it's brushes, the frame strap was removed and both brushes were hard wired to the mini plug.

4a.jpg

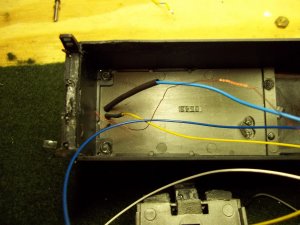
I changed the red wire out for a white wire which match the one on the mini plug which will connect to the tender. In addition I replaced the front bulb with an led whose wires run up through the boiler. The led, pickups and motor were then wired to the mini plug and routed for connection to the tender. The loco was then tested with no tender and ran well and it did even better when the drive wheel with the traction tire was re-installed although a 5 pole motor will be the next step when the sound is installed. Low speed is marginal at best.

Oppps it 8:00am and work calls. back soon. Thanks for taking the time to look and comment please as this is only the first one to be converted.
Doc' :cool:
 
Rivarossi 4-6-2 DCC conversion

Thank you Cjcrescent for the kind words.

The final step was with the tender. Modifying the rail pickups and adding some lighting.

Ta.jpg

The first step was to reverse the position of one of the truck wheels that would allow pickup from the left and right rails independly.

Tb.jpg

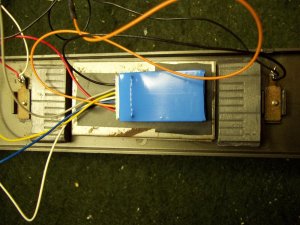
Then remove the original jumper from the front to rear truck pickups and connect the red and black power leads from the DH123D decoder.

Tc.jpg

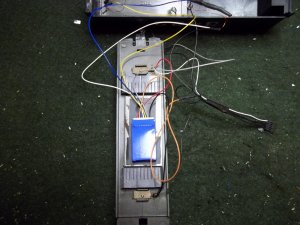
I then wired the decoder to the mini plug to mate with the engine. Note: I should have used the female end on the tender as it will have the decoder outputs live and a short will be a disaster. This will be modified when the sound is added.

Td.jpg

I then installed the led's for the back up light and red rear light which was wired to the engine front output as the decoder only had ( 2 ) functions available.

More in the next post, Doc'
 
Rivarossi 4-6-2 DCC conversion

Here is the assembled tender,

Tender Front.jpg

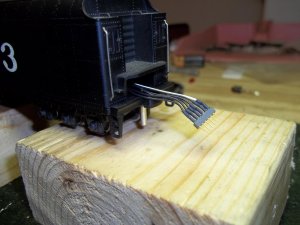
The front connection to the engine. The original hook up pin was disconnected from the front truck to keep it isolated from the engine. Again the mini lug will be changed to female when the sound decoder is installed.

Tender Rear.jpg

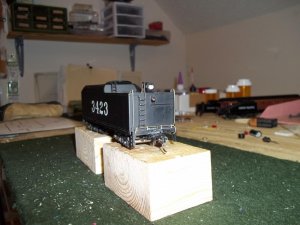
The rear view with the red led and backup led installed. All of the leds were resistor loaded to 10ma. This was just a little to much for the back up led which has been changed to reduce it brightness, it is now 7 ma.

E1.jpg

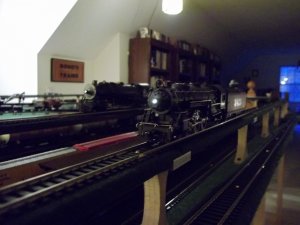
The engine front light powered up.

E2.jpg

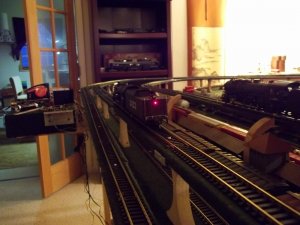
The tender rear red led powered up. This led is a surface one that was installed in the molded light on the tender. All of the led's and mini connectors were purchased from Ulrich Models web site.

Doc'
 
Rivarossi 4-6-2 DCC conversion

These are the last of the pix's and now I will move on to a Tsunami TSU-1000 sound decoder and speaker install.

E3.jpg

This picture is with the original resistor for the back up led which was a little to bright. That has now been corrected.

Completed Train.jpg

This is the completed train with the addition of a surface red led for the caboose. With the help of this Forum there is a circuit of a full wave bridge rectifier circuit that will allow additional car lighting. I have assembled the parts list and wiring with pictures that I will add to the next post. Once again many thanks to all on this Forum who help me to be successful with this conversion. I'm most happy that all the smoke stayed in. Thanks for the read and any comments that might help in the sound conversion project which will be next.
Regards
Doc' :eek:
 
At some time a ball joint drive would be nice to have. Are there replacement that anyone know of ?
I thought NWSL made a universal ball joint kit. But I have to a comment on that thought. I often remove ball joints and replace them with the flexible tubing. Less noise.
 
The only ball joint couplings that I ever really trusted were the heavy duty ones from Hobbytown of Boston. The NWSL ones are good, but the coupling between the balls are plastic, and I prefer metal, so I just use some model airplane fuel tubing in the smallest size available for the coupling. I also use aluminum window screen retaining tubing. It's neoprene tubing with ridges on the outside to hold it in place. It can be gotten from a big box home improvement store real cheap.
 
Greetings,
I checked with NWSL and they have a universal coupling set in plastic # 482-6, $ 4.95. I too like the idea of using flexible tubing and I just happen to have the correct size screen door on the porch, hummm the lady of the house will never know...................I hope. Thanks for the help and thinking out side the box.
Doc'


Back
Top