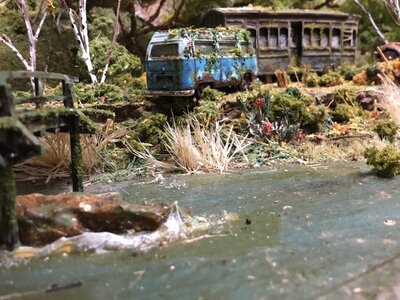
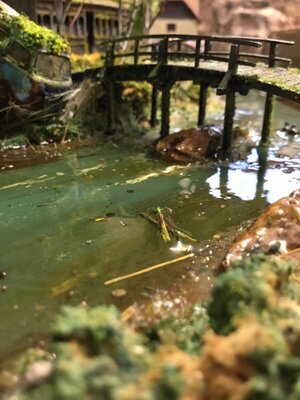
I'm day 3 into the final pour. Here are some pics of the progression:
This is immediately after the pour. It took me about a half an hour to pour this. Based on my math, I needed a half gallon of product to make a pour 1/8" thick.
I put 1.75 teaspoons of Woodland Scenic's raw umber colored liquid dye, to yield a 1:48 mix of dye to 48 parts gloss medium.
Again, the gloss medium is white until it cures clear. So it starts out very chalky looking,
Immediately after the pour (21:30 Monday) the white blob is a reflection.
View attachment 157401
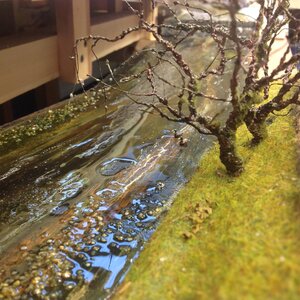
This next picture is 21:30 Tuedsay, so 24 hours into the cure and you can start to see the milky color fading away at the far end.
View attachment 157402
Above you can also begin to see fissures forming. I believe this is because the product wasn't thinned before using.
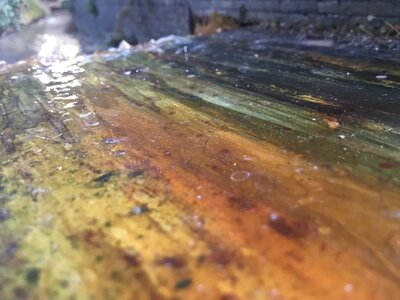
This next picture is 07:30 Wednesday, or 34 hours and the chalky appearance continues to fade as the product cures.
View attachment 157403
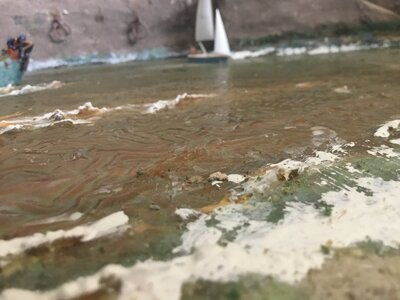
The next 2 pictures are from 72 hours (21:30 Wednesday)
You can see where I poured some left over mix into one of teh fissures, in an attempt to make it less "in your face."
More curing yet to go, but the color in the last picture is really good! You can tell I poured it thick right next to the pier in the last picture below as it is still a bit chalky looking.
View attachment 157404
View attachment 157405