New Layout for LASM


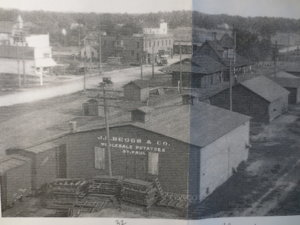
Today I spent some time repairing one of the buildings for my Wyoming module. The roof was severely damaged by water and needed to be replaced. The building itself is styrene, which was unaffected.

I also took this opportunity to make a couple alterations on the original structure.

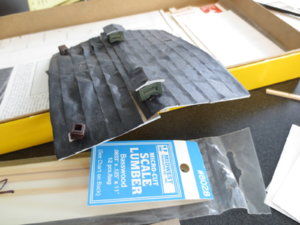
This is what the roof looked like after getting rained on:
IMG_1279.JPG

I WAS never satisfied with the roofing material, which was made from newsprint. I rebuilt the cupolas also, however was able to salvage the roof section, while replacing the rolled roofing material to match the stuff I am using for the whole building.
IMG_1280.JPG

Here I am fitting the cardboard for the new roof. In the background you can see both the newsprint rolled roofing and the rolled roofing made from paper towels, which I am going to use instead.

the material is sprayed with flat black then cut in scale 3' wide strips.

Here is the finished product. I painted a white wash on the doors so they show up better. I painted the cupolas white instead of green, also might paint the cupola trim black :

IMG_1281.JPG


The other little house was damaged as well, the walls got bent in and I straightened it by glueing some scale 12 x 12 lumber inside. Easy fix!

I usually don't like reworking a building, however was forced to in this case. It turned out good because the new roofing material was superior and also gave me the chance to work on the doors.

This module will be displayed at the Pine County Historical Society "Rutabaga Days" train show in Askov, MN on Aug 23 and 24.

I will also have the Gronigen module there.

more later, Dave
 
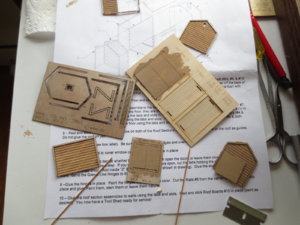
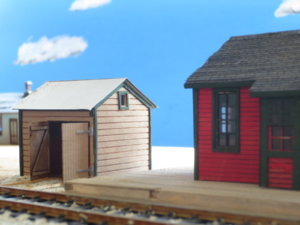
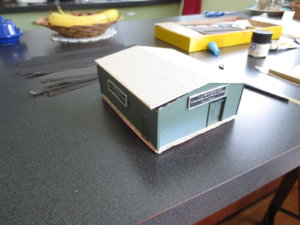
The next little building for the Groningen module was sweet! This Northern Pacific tool shed came as a laser kit and aside from waiting for paint to dry went together in a couple hours:

IMG_1286.JPG

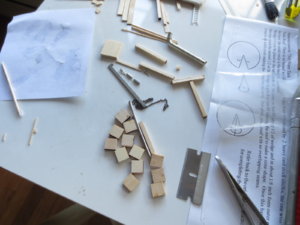
here are some of the pieces removed with the simple 1 page instructions

IMG_1287.JPG

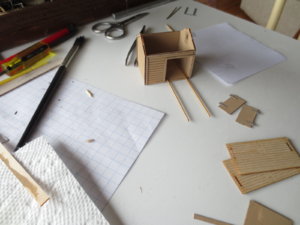
here you can see the walls on and track in place. I elected to glue the doors open

IMG_1288.JPG

I used some corrugated roofing, however the shingle like the depot were included.

Next is completion of the water tank I originally started a year ago for the Wyoming module but it went into storage when we moved last.

THANKS for looking! Dave
 
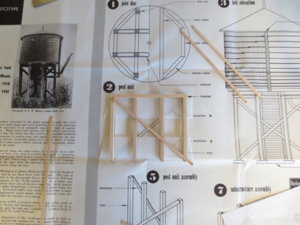
THANKS Sherrel! Here is the next project, a 50,000 gallon water tank. I started working on this back in August of 2017 and opened the small box it was stored in and was pleased to find it in good condition.

I got as far as glueing the sides on and running all the threads and glueing on all the tighteners.

Originally it was going on the Wyoming module, however it much better matches the Groningen scene and that is where it will go.IMG_1291.JPG

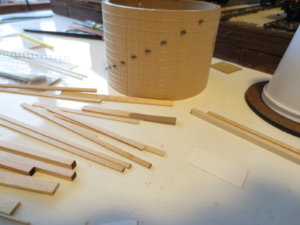
Here I am laying out the legs. I taped them to the template for glueing

This shows all the little details that were included:

IMG_1296.JPG

This is how far I got 2 years ago, basically the tank part is ready:

IMG_1292.JPG

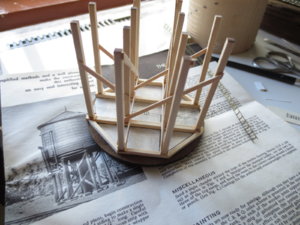
Here the legs are attached. I glued the template right to the base of the tank to get the spacing right. The directions suggested measuring everything.

IMG_1294.JPG

This is what it looks like prior to adding details and painting:

IMG_1295.JPG


THANKS for looking! Dave
 
Looks very similar to a Frisco tower in a town about 30 miles away...

large


This one is in Beaumont, KS. A lovely wide spot in the road of less than 100 people....I've been wanting to attempt a stick built recreation of it for a long time.


Right about that, Patrick! The kit says it was located in Illinois circa 1918 demolished in 1931, on the CB&Q

Thanks for commenting!
 
Great looking build there, DAVE!

Patrick - I have seen a lot of pic of the Beaumont tank, but none as sharp and clear as the one you posted.
Thanks for doing that ... Frisco fan in case you had not noticed!
 
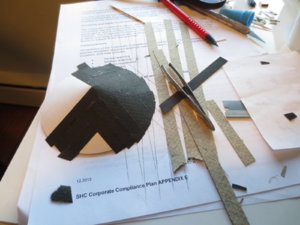
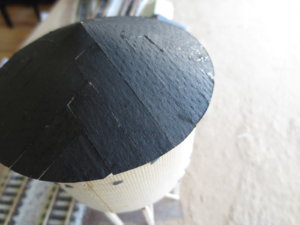
THANks guys for checking out the photos. Here I completed the roof section. They included some sandpaper which was supposed to be cut into strips and glued on in a herringbone fashion.

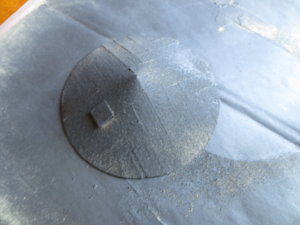
I elected to use the same tarpaper material as in the Potato warehouse, which is paper towels sprayed flat black. In this case, I added a light coat of dry clay (fine dirt) to get some texture:

Here I am laying out the roofing:

IMG_1297.JPG

Here is the initial phase complete prior to adding the texture:

IMG_1298.JPG

Here are two shots after first light spray with flat black, then sifted dried clay, then lightly sprayed again:

IMG_1300.JPG

IMG_1302.JPG

I think I will sprinkle some white chalk on to get the seams to stand out a little, otherwise will be finishing the rest of the tank, adding spout and details, touching up

THANKS for looking... Dave
 
Here is some of my weekend progress, first added some detail to the tool shed:


added some distress to the galvanized, also painted the hinges and added the wood between the rails

(the piece of lint is possibly the beginning of a giant spider web?

IMG_1303.JPG


then worked some on the water spout:

IMG_1305.JPG

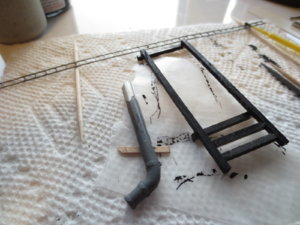
the hard part is going to glue this together, plus those tiny pullys;

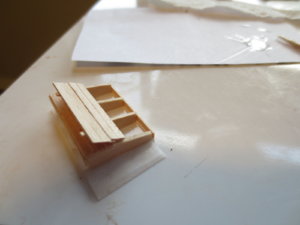
Also made the small coal bin by the water tank:

IMG_1304.JPG

it goes next to the pump house

IMG_1306.JPG

THANKS for looking!
 
Great looking build there, DAVE!

Patrick - I have seen a lot of pic of the Beaumont tank, but none as sharp and clear as the one you posted.
Thanks for doing that ... Frisco fan in case you had not noticed!

You'd think that living in a former Frisco served town that I'd have modeled that one instead of the GN. There is still a cast concrete bridge over an abandoned stretch highway nearby that says Frisco. I been meaning to get pictures, but finding the time...

Sorry for the off topic Dave. Now back to his thread.
 
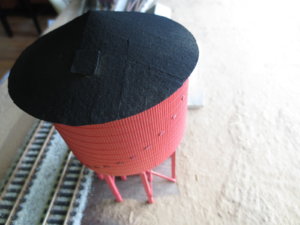
THANKS guys for commenting! Here are the follow up photos of the tank, in the first one a major section had to be redone. Wonder if anyone can identify it!

IMG_1307.JPG

a couple shots of the tank where it goes, need a photo in better light still:

IMG_1310.JPG

IMG_1311.JPG


I couldn't find my scale coal so had to make some out of ballast!

THANKS for viewing! Dave
 
Dave: I was going to ask where you got the kit for the water tower. While it was based on the CB&Q it would stand that because the GN, NP and CB&Q were all owned by the same corporate structure, that it might be pretty common between the 3. At least it looks a lot like the Frisco tower I posted in the thread.
 
Thanks again for the comments! Patrick, the kit is made by Alexander Scale Models and I bought it on ebay.

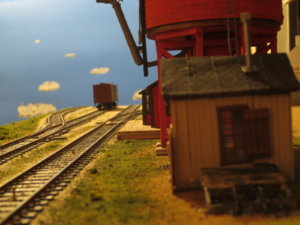
IF you notice on my top (thumbnail) photo I originally put the tank on UPSIDE DOWN! The straps are wider at the bottom and they should have been wide spacing on top and narrow spacing down. Luckily I caught it before glueing on the spout and top,

it was still a pain in the but getting it apart but "all's well that ends well."
 
Dave,

Just wanted to let you know that your slow, but methodical progress, building or rehabbing one model at a time, has inspired me regarding what I'm trying to do, on my model railroad, over your last 20 or so pages. I've been in this hobby for a long time, and have what I consider a huge amount of space, compared to some of my previous layouts. Only problem is that I've found that more space, for me, means I have bigger ambitions, instead of better ambitions, and not enough time any more for any kind of modeling.

As a result, I'm thinking about going back to simpler times, when I had a lot less money, but more time, and less frustration, and focusing more of detailing a number of my existing models, instead of going for the 'gross effect of 'more is better." At this point, I can start to see a light at the other end of the tunnel that my wife and I are not probably going to be in our current house for another 10 years, so time to start downsizing, and making an effort to finish some really nice models, so that when the time comes, when I do finally get to the point of having an operational layout, again, it will be smaller, from what I can tell, but far more detailed.

thanks for posting your progress. Look forward to further accounts of your progress.
Carl
 
Carl, Thanks for the comment! Good to hear those warm words. Here is a little more progress on my section house, all the windows are in but I will back up a little so its all in one place:

IMG_1316.JPG

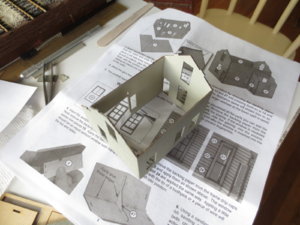
Here is a shot of the instructions with the 4 main walls in

IMG_1320.JPG

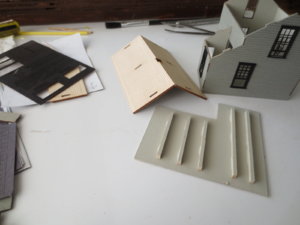
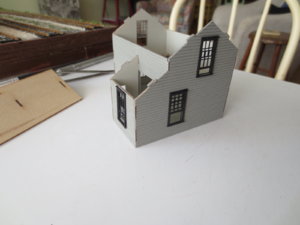
Here all the walls are on and the windows are in place, also the underside of the floor that will be for the second story

IMG_1319.JPG

This is pretty much where it is today. The roof can be set in, I think I need to do the trim first. Have to consult with directions. Should get the roof on and shingles today if all goes well get it on the module and ground cover in.

There are a couple of switch stands to install but pretty much done with this for now. Will be assembling some old trucks maybe put one or two on the scene. Also, want to have a fence and some cattle somewhere, eventually need a signal tower also.

THANKS to all who are viewing, Dave
 
I spent hours on the module over the weekend, first of all completed the section house, added tons of vegetation, also took some photos:

IMG_1321.JPG

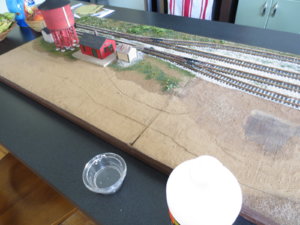
Here is the outline of work to do

IMG_1323.JPG

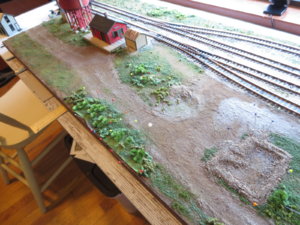
Here is some of the completed ground cover work

IMG_1324.JPG

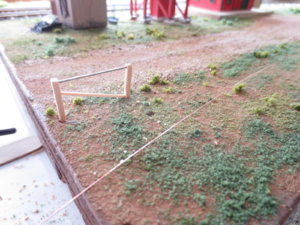
The beginnings of the barbed wire fence

IMG_1334.JPG

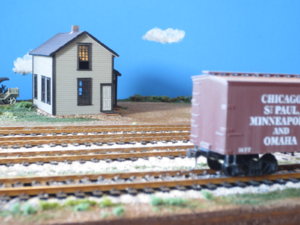
Finally a shot of the completed section house.


Notice no trees? The entire area burned in the Great Hinckley fire of 1894. The era modeled is 1910-1930's so not much grown in.

more later, THANKS for viewing, Dave


Back
Top