Making a transition track


NYC_George

Well-Known Member
I started my layout 22 years ago when code 100 was in big use. Now that I use nothing but code 83 I found the need for some code 100 to code 83 transitions tracks. They run about $12.00 so I decided to make my own. It only takes about 10 minutes to create one so below are some photos to show you how.

You'll need a small gauge solid copper rod, a paint stirring stick, a few clamps, solder, and small file.
1. Clamp the code 100 and code 83 track to the paint stick with the top of the rail facing the stick.
2. Cut a small piece of rod about the same length as a rail joiner then place it on the 2 rails.
3. Solder the the tracks and rod together.
4. Turn the track over and file down any excess solder that may found it's way to the bottom of the rails.
5. Make a tie that fits snuggly under the code 83 track.
It's done.

code100_to_83_02.jpg
code100_to_83_03.jpg
code100_to_83_04.jpg
code100_to_83_05.jpg
 
Easiest and cheapest way to transition between track codes:

Squish half of a rail joiner with pliers. Attach the un-squished end onto the code 100 rail. lay the code 83 rail on top, make sure the rail heads end up level. Solder the joint.
 
it may be a bit easier to use 83 to 100 joiners ...at least they are not 12.00, lol

I've tried those in the past. Not a solid enough join for me and plus their a pain to get the rail tops aligned correctly.
It only took about 10 minutes to make these and their a solid join because you clamp both rail tops to the wood that keeps everything in alignment.
I guess everyone has their own methods though.
George
 
More than one way to skin a cat. I use regular joiners and solder the joint. Then, using splayed needle-nosed pliers, force the joint true. Takes a few seconds, and I'm gonna solder the joint anyway. Ballast does the rest.
 
George, I like that your starting with the running surface of the rails lined up, that's one surface, how about the gage face, any concern there?
 
George, I like that your starting with the running surface of the rails lined up, that's one surface, how about the gage face, any concern there?

I made 2 Jerry and it just seemed to line up perfectly. I did look at it and I didn't see any problem with the gage.
George
 
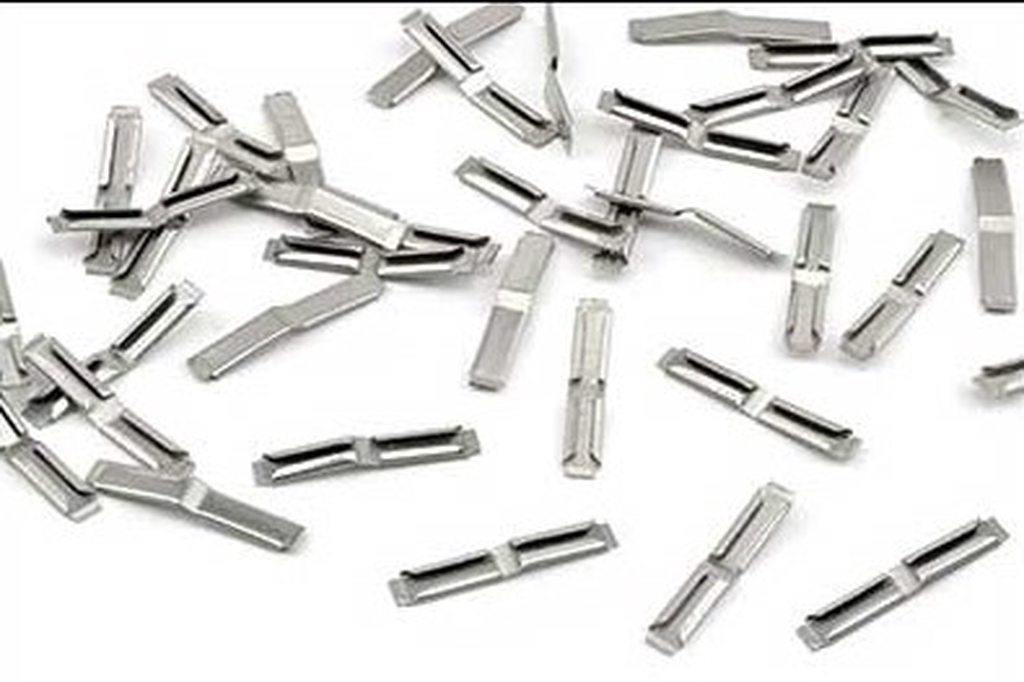
That looks like an aweful lot of trouble when simple transition rail joiners will do the trick. After I bought some Atlas, I make my own now out of standard rail joiners.

These are the Atlas in the photo but I cut a slot out of the top of my standard joiners using a Dremel to get the same thing only cheaper.

3gij1I9h.jpg
 
I've tried those in the past. Not a solid enough join for me and plus their a pain to get the rail tops aligned correctly.
It only took about 10 minutes to make these and their a solid join because you clamp both rail tops to the wood that keeps everything in alignment.
I guess everyone has their own methods though.
George

If you solder them, they are plenty solid. Sure, there are many ways, but I find the transitions joiners fast and easy. Just make sure you align the top surface and inside surface flush and the solder in place. Snicker snack.


Back
Top