You are using an out of date browser. It may not display this or other websites correctly.
You should upgrade or use an alternative browser.
You should upgrade or use an alternative browser.
How to Shorten Turntable Bridge?
- Thread starter beiland
- Start date
It has been suggested that i just build a new shorter one, and I might just do that after i take a look at the considerable lumber supply I bought from an estate sale a few years ago.
I am also going to consider shortened it by a set number of ties,...perhaps 3/4" on either end.
I am also going to consider shortened it by a set number of ties,...perhaps 3/4" on either end.
I'm not going to have to shortened that turntable after all ! I've been doing some shifting around, and found that if I move my saw mill a bit closer to the pond (about 3/4"), and change the center of rotation, I'll be able to use it as it is. Working on refining that toady.


Last edited:
certainly had to spend a LOT of time trying to locate the exact new center for that longer turntable bridge,...and get the straight-thru track correct. Then I needed to create a pit for it,.... WHILE maintaining that exact center.
I wanted a 4" diameter pit within the outer pit to house the rotation casting,...that meant a 4" dia hole all the way thru that plywood deck structure. But before I cut that hole, how do I maintain the overall center? What I did was first attach the backing plate I was going to need for the bearing structure, then drill the very small centering hole thru both the main deck and the backing plate.
Now I could remove the backing plate while I drilled the 4" hole, then reinstall the backing plate for the bridge bearing to sit on. I also had to make a shim plate (circular plastic) to raise the whole turntable bridge up to match the incoming tracks to it.
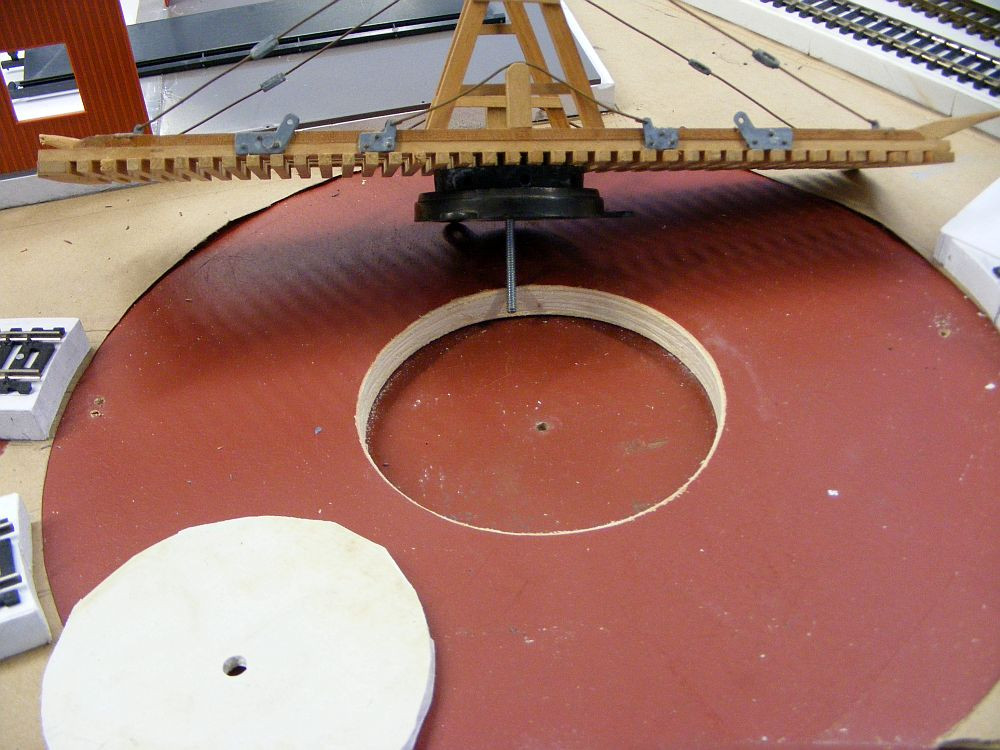
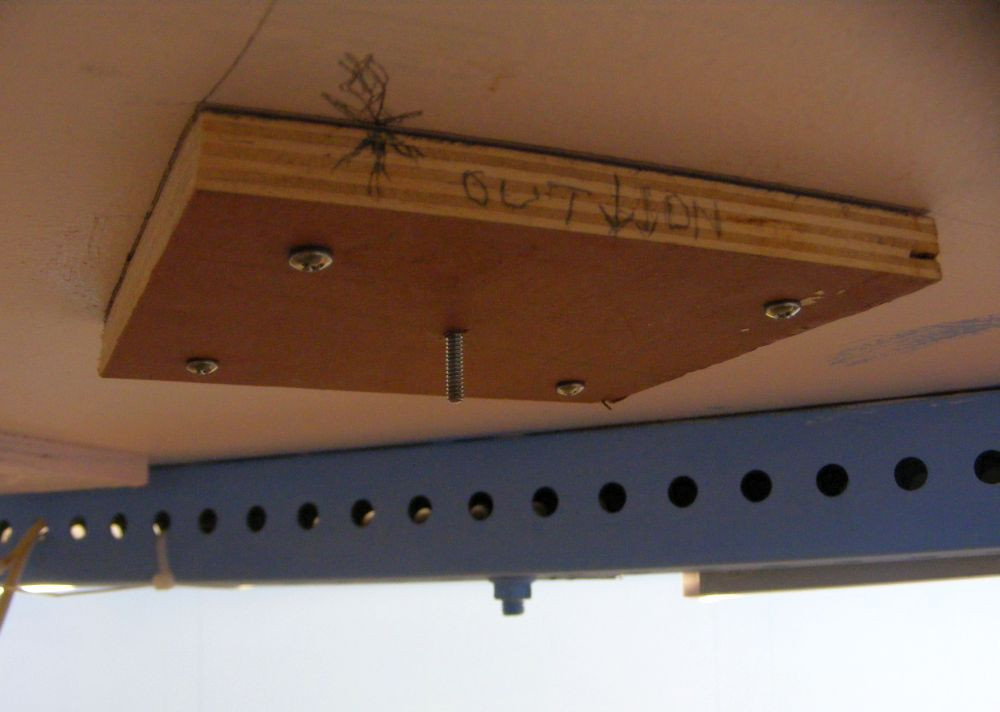
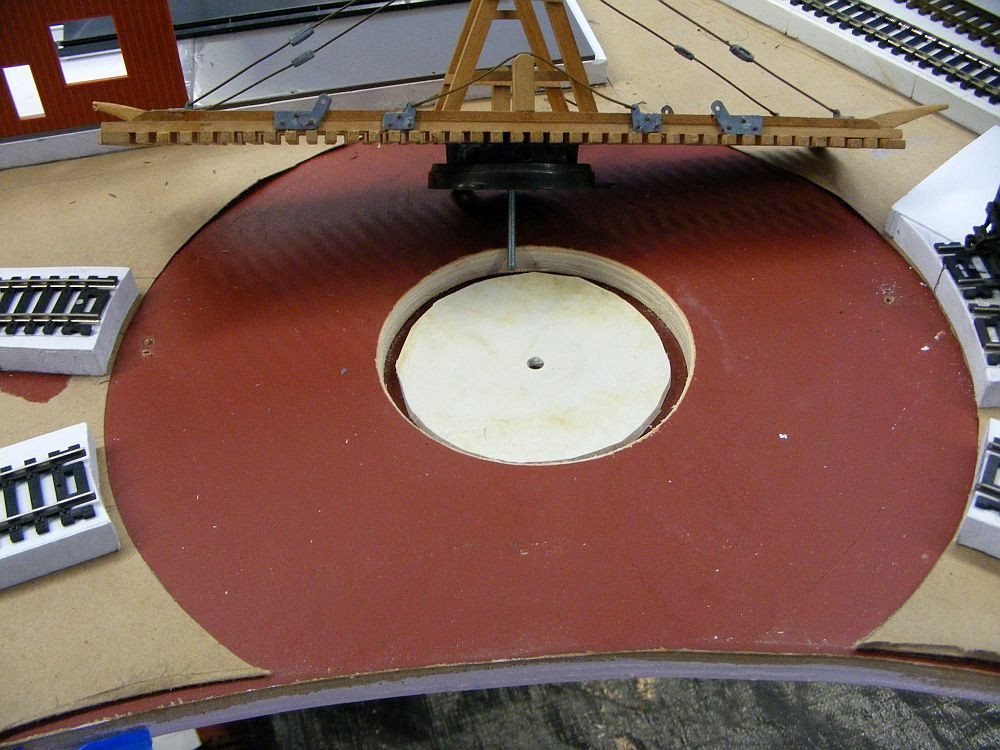
That long centering pin was for 2 reasons;
1) tend to keep the turntable bridge level without the use of a ring rail at the outer edge,
2) make the whole assembly removalable very easy
I even found room to add a little siding for one of my small steam switchers I'm really fond of,..

I wanted a 4" diameter pit within the outer pit to house the rotation casting,...that meant a 4" dia hole all the way thru that plywood deck structure. But before I cut that hole, how do I maintain the overall center? What I did was first attach the backing plate I was going to need for the bearing structure, then drill the very small centering hole thru both the main deck and the backing plate.
Now I could remove the backing plate while I drilled the 4" hole, then reinstall the backing plate for the bridge bearing to sit on. I also had to make a shim plate (circular plastic) to raise the whole turntable bridge up to match the incoming tracks to it.


That long centering pin was for 2 reasons;
1) tend to keep the turntable bridge level without the use of a ring rail at the outer edge,
2) make the whole assembly removalable very easy
I even found room to add a little siding for one of my small steam switchers I'm really fond of,..
Last edited:
So I've done a fair bit of shuffling around, and even got my existing gallows turntable in there without having to shorten it.
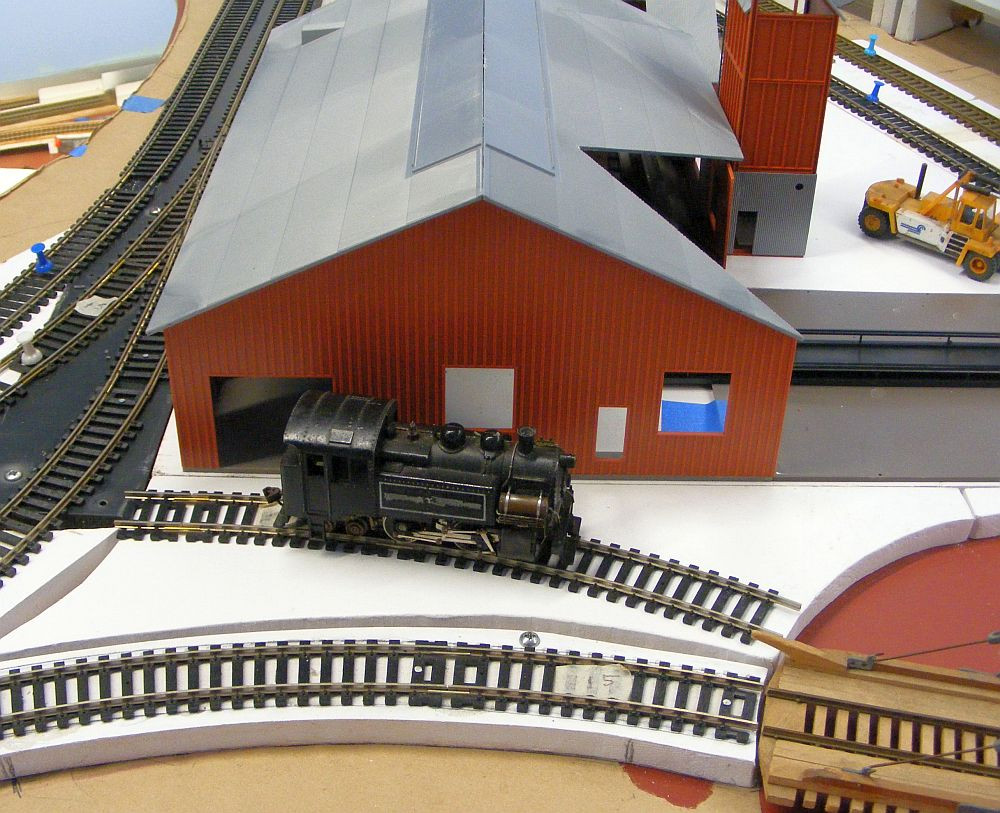
I've even established a new siding track for the turntable. My 'story' for this fairly good size gallows and adjoining storage tracks is my saw mill owner has a particular fascination with logging locos. He has a collection of the different types, and stores a few of them around his saw mill. His latest addition is a siding that adjoins the dbl door access to the mill, and a roll out awning could make this a low-scale maintenance track.
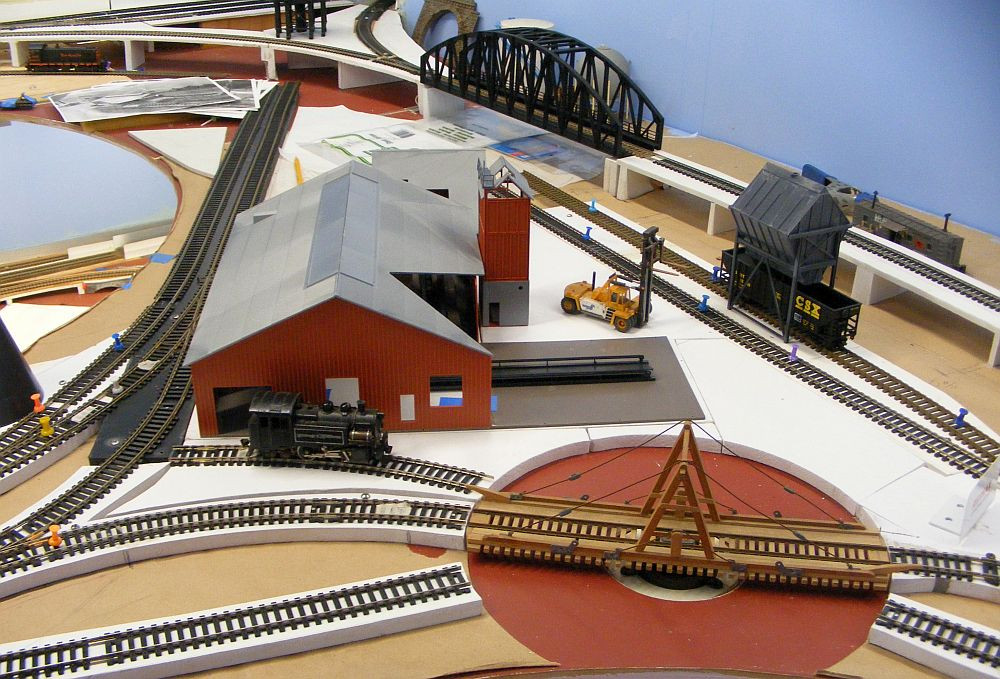
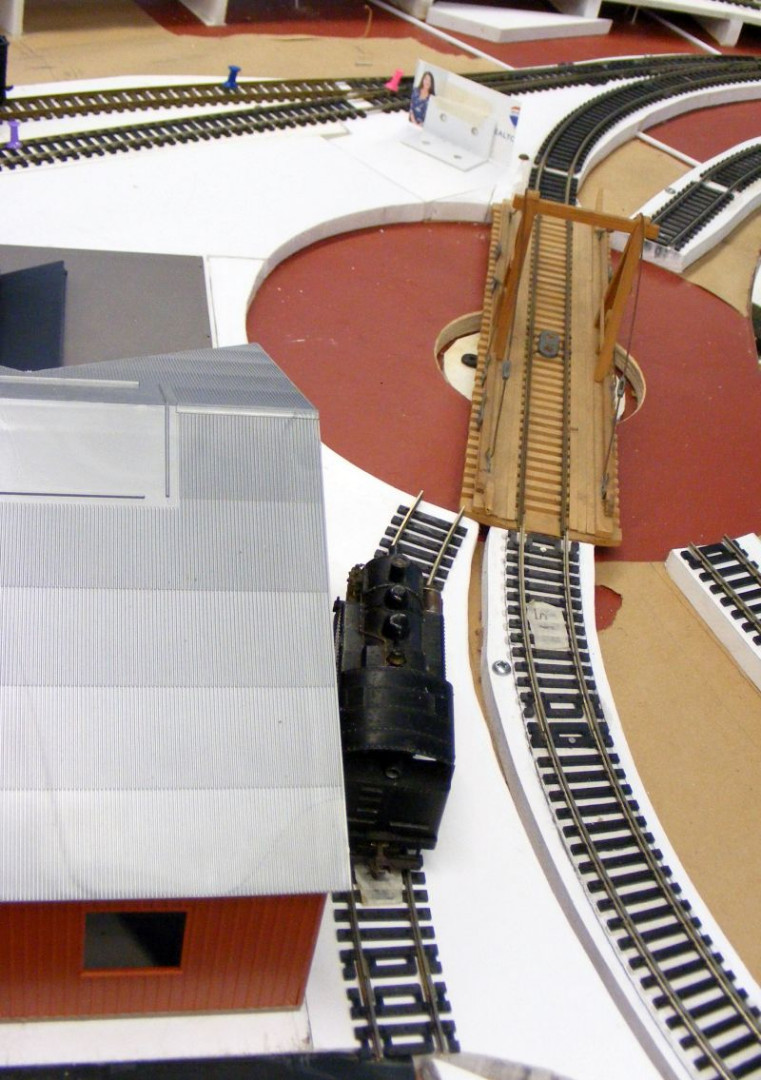
My turntable as offers a straight thru trackage,
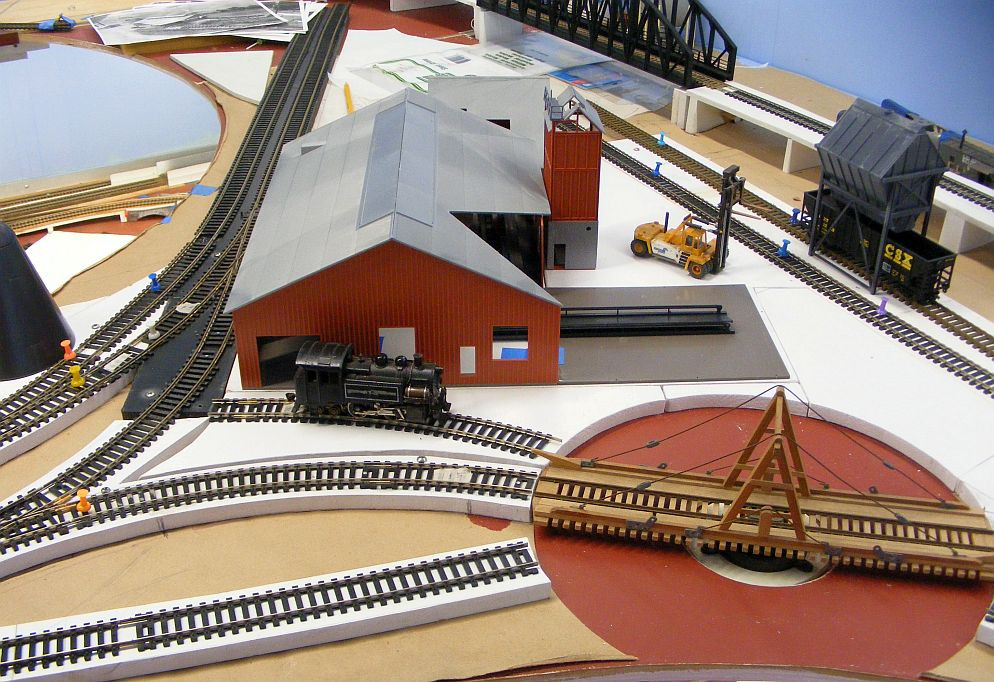
I've also filled in those areas that will be paved over for the forklifts to work loading lumber going over to the finishing structure in the corner, or out to the mainline.
I've even established a new siding track for the turntable. My 'story' for this fairly good size gallows and adjoining storage tracks is my saw mill owner has a particular fascination with logging locos. He has a collection of the different types, and stores a few of them around his saw mill. His latest addition is a siding that adjoins the dbl door access to the mill, and a roll out awning could make this a low-scale maintenance track.


My turntable as offers a straight thru trackage,

I've also filled in those areas that will be paved over for the forklifts to work loading lumber going over to the finishing structure in the corner, or out to the mainline.


