Creating realistic looking rock faces?


Here is a great technique. You wouldn't necessarily have to use their pigments. Thinned down craft paint does essentially the same thing. The technique is more what I'm guiding you towards. It comes out very well.

Find rock faces you like and figure out the colors. Practice on scrap castings before you go live, but it will come back to you how you did it before.

 
Their stuff in general is way over priced and not that great either. All they are doing is exploiting the hobby. They are the main reasons I refuse to buy anything woodland scenics. Actually, most so called hobby specific stuff has a better "non hobby specific" item that can be used.

You are right about the technique though - get the coloring right and it "should look good" when done. :)
 
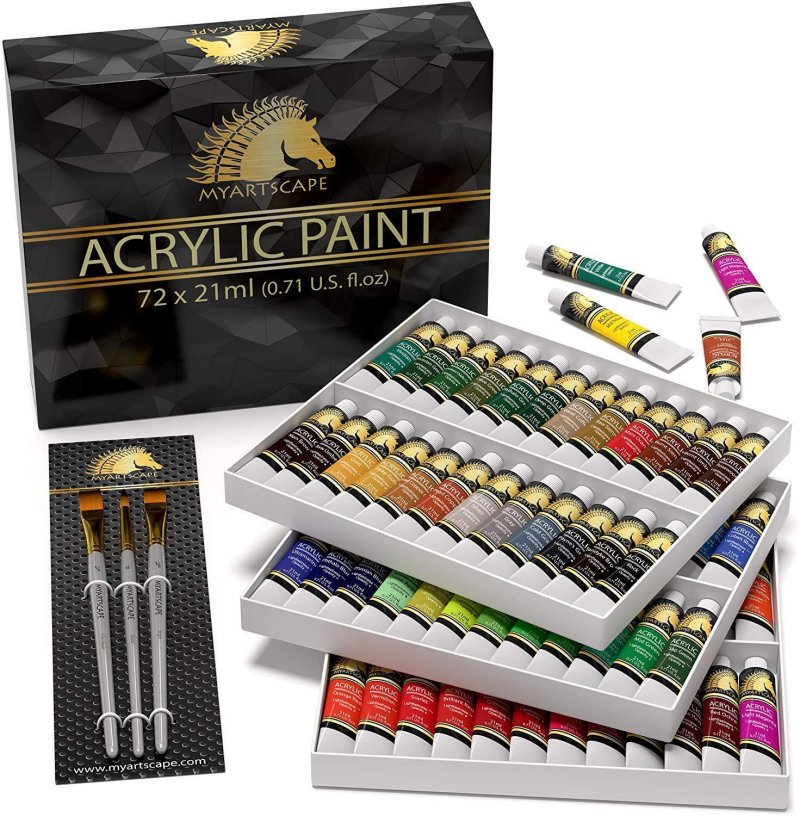
Okay - Amazon says Hi and is going to send me the following:

bUcJPci.jpg


Should be here Saturday .... if the colors I need aren't amongst that lot then I give up ... :)
 
I know how to create the rock face, BUT have forgotten how to "paint/stain them" to achieve a realistic looking rock. So, what do you guys do or how do you paint your rock faces - type of medium, colors etc. :)
For me I swear by the woodland scenic Color system. I would imagine you can do,the same with washes and then a finishes dark wash to bring out the cracks crevices and blend the colors together as well.
 
I usually put on several coats of different colors, one at a time, generally watering down the paints and applying with a paint brush. Follow up with a weak india ink solution.

Brown, tan, yellow are the generic colors should be able to get any result using these, you might need a red too.

Start weak and use several coats to get it where you want it. I think some things are simpler than expected?

Keep in mind your lighting is going to have a big role in how the rocks look. If you want to duplicate a look you have seen on the internet you would need to have the same lighting to honestly compare how you are doing.

Dave
 
@ the OP: Don't stain the rock castings. First paint the entire section of rock with one solid color base--this would be something like a house color you might buy at your local building center (Home Depot, Lowes, Menards, etc), and then work on your detailing over that. Reason: Staining individual castings joined between by fillers of plaster or whatever you use end up looking very mottled and inconsistent.

That said, if you DO try the stain alone method first and it doesn't come out well, you can always just paint over the whole thing and start over again.

As to capturing the flavor of the groups of rocks. India ink (black) is thin, and can be matted back up. But make sure your do that before the drops of ink show up as drips--the pattern of drips--which can't be mopped up once they dry.

However, if they do, and can't be mopped up gracefully, just paint over the whole (smaller) section and try again.

-----------

The other: Dry brushing is your friend. Just a hint of your lightest color (white or near white, in most cases) will pick out the edges of the rocks...and the eye picks them out too. They will be the brightest of the bright daylight effects, and they might carry on across most of your rocks which would face the sun. You won't need or want them on the bottom sides, where rock would be shadowed. So apply in the right spots, but not in the wrong spots. :D
 
I usually put on several coats of different colors, one at a time, generally watering down the paints and applying with a paint brush. Follow up with a weak india ink solution.

Brown, tan, yellow are the generic colors should be able to get any result using these, you might need a red too.

Start weak and use several coats to get it where you want it. I think some things are simpler than expected?

Keep in mind your lighting is going to have a big role in how the rocks look. If you want to duplicate a look you have seen on the internet you would need to have the same lighting to honestly compare how you are doing.

Dave
Yep this is another technique that works well , gotta be careful with that yellow ochre its easily overpowering, I think it’s that overall final wash with black or achohol/India ink that puts the icing on the cake. I’ve found it also extremely important that no matter which product is used for making the castings that letting them dry for at least a week works best.
 
Some Random Thoughts:

I like watching the video.
When casting rocks in the rubber molds or in wadded up aluminum foil add grey latex house paint to the mixture, That way if the rock gets chipped or you drill a hole for a tree trunk there is color, not a bright white spot.
In the video it was interesting the order the colors were applied, I would think Base, Primary then Secondary, instead of the reverse demonstrated.
Never heard of spraying with scenic cement. Is that to seal the colors?
Michael's little 99 cent bottles of matte acrylic have a wide spectrum of colors. Can't find Taupe anymore though.
Here are two photos using Michael's paints thinned to washes. The plaster was cast with gray latex from the OOPS! stack at the local Kelly Moore Paints store.

Granite II.jpg
granite.jpg
 
Re: my previous post #16


John Nehrich, of NEB&W fame (the RPI club that was often seen in RMC magazine in the 80's and 90's) is the first place I remember hearing about base coat painting, and not staining individual plaster rock castings. For the life of me, I can't remember what they were doing then at the La Mesa club in San Diego (I know we discussed it though), but I'm sure they faced similar issues.

Beginning @ 23:40 in the video ^^^ and continuing on for just over one minute.


Back
Top