Building the Pinnacle Creek Mining & Timber Co. RR


A small layout can only 'tell' so much. Usually one or two things. What would you do with $300 loco?
If it was mine, I would make sure that it was in good working order, maintained and then displayed on that small layout. My guess therefore is that it is a display type layout illustrating the locomotive's purpose or you are going to be dismantling it to use as part of the sawmill growth cutting system?
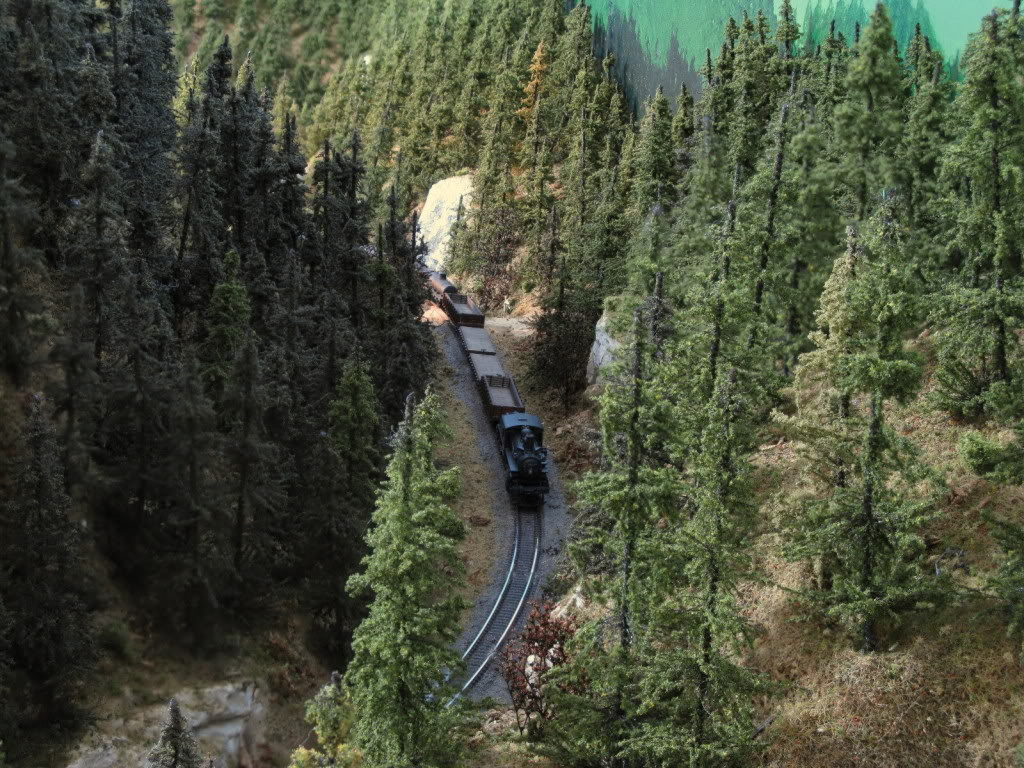
 
No correct guesses on the fate of the loco so time to move on: Conifer Trees. I love to make trees. It givess me a special attachment to the layout. Same with my scenery, but trees sort of stand out more. Remember grade 6 when you learn conifer trees don't lose their leaves? Well here is how I make mine for this layout. I start by collecting some ground cover (green), and if I want a pine or fir, or cedar type of trees some static grass for the needles. see photo.
IMG_1605.JPG
 
No correct guesses on the fate of the loco so time to move on: Conifer Trees. I love to make trees. It givess me a special attachment to the layout. Same with my scenery, but trees sort of stand out more. Remember grade 6 when you learn conifer trees don't lose their leaves? Well here is how I make mine for this layout. I start by collecting some ground cover (green), and if I want a pine or fir, or cedar type of trees some static grass for the needles. see photo.View attachment 150539
There is never ever too many trees.
 
Welcome Lynnb.

I find that buying half inch by half inch balsa wood is best for tree trunks. It is easily carved and shaped. I like Woodland Scenics blades to be perfect for carving. After a trunk or two you get the hang of it and you become an expert. I've made well over 4000 conifers in my career. Somewhere back in this site is a a photo of a couple of thousand of them on one of my layouts.
IMG_1597.JPG
 
After using your saw to round, (take the edges of your carving off the trunk), make the bark by holding the saw perpendicular to the balsa and scoring it from about 3/4 of the way from the bottom to the top. Careful at the top balsa is strong but not that strong. I then flip end for end and scribe the lower 1/4 of the trunk. If this is not clear, maybe this photo will help. Drilling the holes for limbs is done when you finish the above. Most conifers will have right angle holes depending on type. This layout will model cedars so I angle the holes down slightly. After all this comes the paint shop. A dremel tool is NOT needed for this. Any drill will do.
IMG_1568.JPG
 
Last edited:
After all the trunk making we arrive at the fun part, painting. Instead of brush painting I spread some burn umber , or any color you want, on my hand and while you will need to wash your hands when done this way of painting is much quicker. Now you can drill those holes. I like drilling after painting because sometimes the holes might fill in. Not usually though.
IMG_1599.JPG
 
Last edited:
The branches are supple plastic. I used to use caspia and naturally I can't find it anymore. Caspia is more realistic, but I'm old now and don't really GAS. I like these better, simpler, decorate nicely, and are not messy. Your Michael's may have this in store currently I would check now if interested in good HO or larger trees. I say 'may have,' this is winter/spring delivery from china. If they don't have it now then get there next February to start looking. Interestingly I just may three more trees today!
 
Hello from your model railroading Juror#2 in a criminal trial. Got chosen today and hopefully be done by this weekend. Probably not. I was there over 8 house, missed my nap, and no lunch. I'm tired. But, the show must go on. If and when you get this type of branch and leaf material you simply pluck the branches of the bunch like feathers from a chicken. I'm just guessing here! I find a bunch will have obvious longer branches and I put them off to the side for the lower tree branches. Most of these plucks will be mid-sized pieces and there will be some short ones for near the top. You will have to cut the smallest pieces for the top of your trees. Here's a pluck pic.
IMG_1603.JPG


Back
Top