Benchwork done. Now what??


ScottoT

Member
I know it's a stupid question, but....what comes next.

Now that I have the benchwork complete I have to lay track, wire it, get scenery started all that stuff. This is my first build. Until now I have only had an oval EZ-track to run trains on. So I have never faced moving on from the "build it" part.

I have my track plan that I will be printing out so that everything "fits" according to how it us supposed to on the track plan designer. But is the next step laying the track? or do I paint the foam (green or brown) or? or? or??

What have you found is the best "next step" as you have built your layouts.
 
Last edited:
Scott,

Oh boy, this is going to bring a multitude of suggestions and most likely they will all be okay :)

I try to work from the "ground up" so what I would do would be to paint the foam next, if that is what you need to do. Why? Because there will be nothing else on the bench work that you need to worry about when painting it, simple as that.

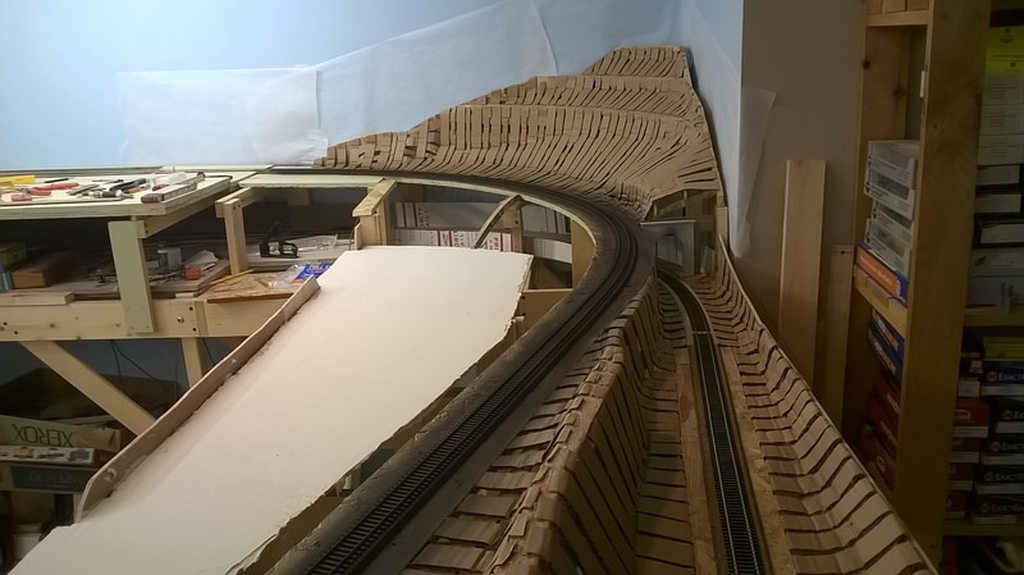
Once the foam is painted (green, brown, grey, blue, pink or whatever color you choose as it will probably be covered in scenery at some point) I'd then "loose lay" my track in accordance with the plan and "trace it out". Next, I'd lay my "Road Bed" (cork or foam) using the traced track plan as your guide. If using cork road bed, use a little weight or pins to help hold it in place while it dried. If using foam, pin it in place as weight "might collapse" the foam and indent or deform it.

Once the road bed has dried lay your actual track on the road bed and "mark" where your "drop feeders" will be going. Once that is done, drill the holes for your drop feeders and roll out your "Main Bus Wiring" beneath the layout. Don't fasten that in place until you have your drop feeders through the bench work though. Not fastening the Main Bus Wire gives you flexibility when attaching the drop feeders and just makes that a little easier to do.

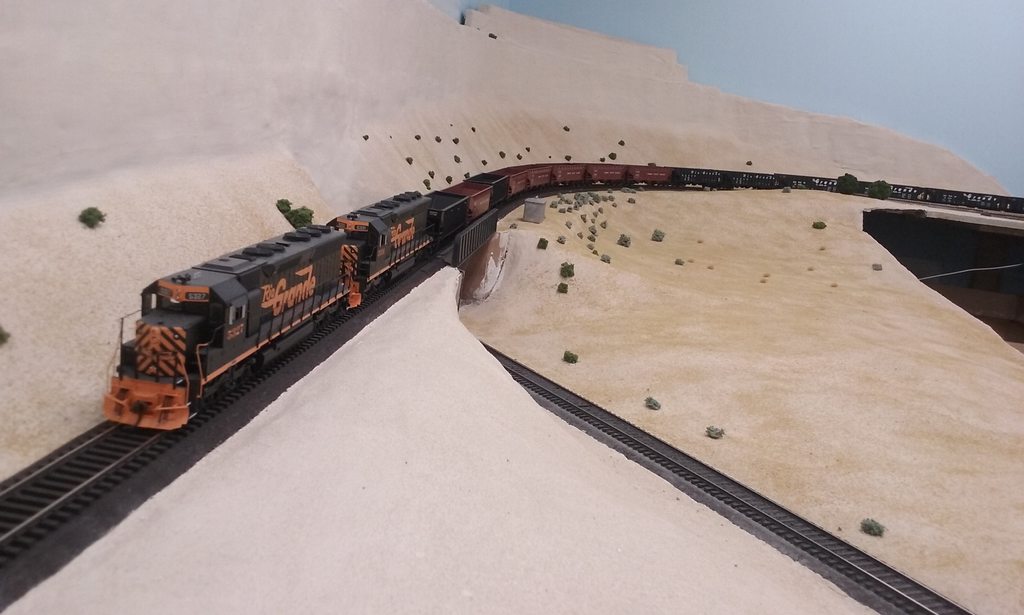
Next I'd connect my drop feeders to the track then to the Main Bus Wire starting with the first feeder closets to the Power Supply. Connect the first feeder then "Run a Train"! Do that for the purpose of ensuring your connections are solid and power from the feeder is getting to your track. If all is good, do the next feeder and so on.

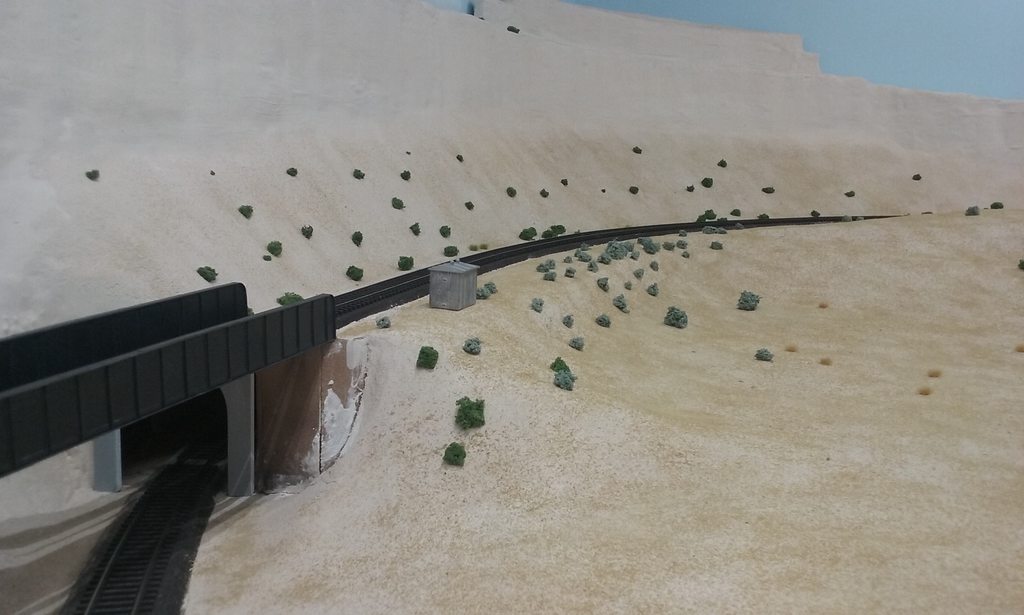
Next would come the best part of a layout build - the scenery. Depending on the size of the layout, try doing your scenery, be it ground cover, hills, rivers, roads, etc from the back of the layout to the front. Doing it that way lessens the chance of messing something up between you and what you are doing :)

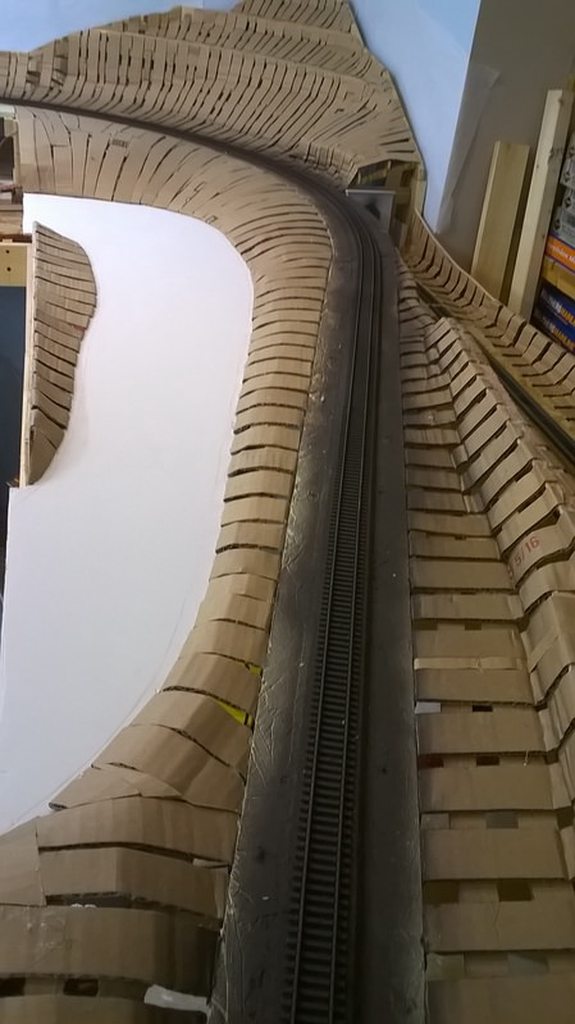
One last thing, that I forgot to mention above re the track. Not sure if you intend to solder your track joins or not BUT if you aren't going to that I would recommend soldering ANY joins that occur on a curve and would do that as I l;aid the track.

Whelp, that's a pretty basic outline of what I do and, as said, I'm sure others will make other suggestions. Hope this helps a bit and although it may sound complex or time consuming, it is the end result that counts with the most important thing being the time taken to do your track work and wiring for obvious reasons.

No matter how you approach the from now to when ever, have fun doing it because watching it all come together is fun and very motivating :)
 
Tony,
I always look forward to your comments and for your assistance, suggestions and critiques. This forum is full of YEARS of experience that when asked will help me eliminate "rookie" mistakes, and help keep my frustration and discouragement levels manageable. Personally I'd rather ask a question and get suggestions than be frustrated that I made a mistake that could have been avoided simply by asking the question.
 
Tony pretty much summed up the way that I proceed, except that I move forward a section at a time with the benchwork and track. . His advice regarding starting with the drop feeders closest to the power source and working from there, and testing after each one is connected, will save many hours of trouble-shooting later if you get one wrong.

Willie
 
Not sure why you would paint the foam if you're going to cover it with scenery later. Even if you are going to paint the foam, test your paint on a small section of it first to be sure the paint doesn't consume the foam board.
 
I have my track plan that I will be printing out so that everything "fits" according to how it us supposed to on the track plan designer. But is the next step laying the track? or do I paint the foam (green or brown) or? or? or??
I presume that you have put a layer of foam over everything and are going to lay the track on that. Are you going to use roadbed or put the track directly on the foam? In my opinion painting the foam at this point would only server to prevent having a pink prairie until one gets around to doing scenery work. I usually do all track work and wiring before beginning on scenery. On the other hand, if you are laying the track directly onto the foam, the paint can serve as the adhesive. I recently did that in an inter-modal yard and for a mine on my employeer's office layout.
 
I presume that you have put a layer of foam over everything and are going to lay the track on that. Are you going to use roadbed or put the track directly on the foam? In my opinion painting the foam at this point would only server to prevent having a pink prairie until one gets around to doing scenery work. I usually do all track work and wiring before beginning on scenery. On the other hand, if you are laying the track directly onto the foam, the paint can serve as the adhesive. I recently did that in an inter-modal yard and for a mine on my employeer's office layout.

I will be using cork roadbed. But knowing that the paint can serve as an adhesive is something I had never considered before. Cool idea for reference.
 
The paint will also help "seal" the foam as well. That's the main reason I paint mine and don't get overly concerned about the color. Can't recall if you mentioned a paint brand but I have always used "Krylon" paint (rattle can variety) which is foam and plastic safe - it wont "eat anything" you don't want eaten; although, it does stink a bit :(
 
Oh, I was just reminded. Many foam products have a protective plastic coating film over the surface. Be certain to remove that before doing anything else. I am struggling with some modular units I got from a friend where he did not take that off. So as the plastic unseals from the foam, so does the track.
 
I too paint the foam before proceeding. I watch the clearance rack at Lowe's for mis-tint paint. Found a $45/gal Valspar tinted in an earth brown. I now have an excellent latex paint, in a color that will work anywhere and enough product for a lifetime.......for $9. Even used some of it to "dye" sawdust I ground up in a coffee grinder to be used as loose dirt. I find the paint gives a little more strength to the foam as I will inevitably drop some tool or object onto the foam leaving a dent. The paint helps protect it. Finally, when using pins, inserting trees, etc, the foam will give you one shot before the hole stretches out and won't hold as tightly. With paint in place, it keeps the hole size better allowing for movement and changes without leaving bigger holes in the foam.
 
I know it's a stupid question, but....what comes next.

What have you found is the best "next step" as you have built your layouts.

Bench work first (left side open desert, right side staging yard on Homasote)
7FBzkab.jpg


Then subroadbed on risers:

tWHUeCIh.jpg


Instead of foam I used cardboard strips (free!) and hot glue:

fOezYg8h.jpg


Then plaster cloth over the cardboard strips (you can get it way cheaper on Amazon - Activa brand). I had some Woodland Scenics plaster cloth as well but the Activa will cost you less than half as much

EzXQwtvh.jpg


VY4TLTqh.jpg


Here further down at the opposite end I've slathered on a layer of Plaster and smoothed it out with a little water sprayed on. You need to wet the plaster cloth as well because it acts like a sponge and sucks all the water out of the plaster.
UjKFU5uh.jpg


Here I've gone over the plaster with a coat of sand colored paint (for my desert theme) and the added a layer of sanded grout (many colors from Home Depot) to give texture.
K4tJdoeh.jpg


Finally I added ground foam and sage brush for vegatation. If you are going eastern or midwestern, you would need more grass, tree's and other appropriate ground cover.

B0atHGQh.jpg

8r9nQW6h.jpg


I had to move so I wasn't able to finish this layout but it was good practice.

BTW, here is a river scene in stages as well. I used Luann wood for a river bottom and covered it with drywall mud sanded smooth.
dLUXCQnh.jpg


After the cardboard strips were added to create river banks, I painted the river bottom using darker shades where it would give the illusion of depth:
ckmNBtHh.jpg

xVtPNIEh.jpg

RN3his7h.jpg

And then put in a layer of gloss Mod Podge for "water"
iJ5ABgqh.jpg

kCWRurnh.jpg
 
Last edited:
As fall comes...so does my mind turn to Model rail. so I just saw this thread and like yr work. Only thing i would do to make life easier wold be before putting anything on top would be to drill holes in wood stringers to run buss wire. then run the wire so you only heve drop wire the rail contacts. I know by back likes that!
 
That looks (looked) fantastic! I hope when you say "had to move" it was for good reasons.

We lived in an area that was, I hate to say it, a bit slummy and getting worse every year. Once my daughter was finished with college and that financial burden lifted, my wife said that's it, time get out so we got the town home ready and layout came down and sold and moved about 30 miles west out into the sticks. We lived in that town home where the layout was built, as many do, as a stepping stone until we could afford better.

Home we are in now is stand alone bank owned and had good bones, built in 2005 but neglected. Kitchen was in sad shape and upgrades took better part of this year along with a few other remediations; it took longer because we were doing everything good quality but keep costs downl. Have recently demolished the shower stall in master bath to repair water damage to subfloor and new bigger shower and new slightly smaller jetted tub to be in after 2.5 k spent.

Meanwhile the unfinished basement, ahem, slowly is moving toward finishing for a 12.5 x 34' layout which will incorporate the bones of the layout that was torn down.

Basenent framing was already done by previous owner. I've put in wall outlets and basement bathroom plumbing. Wife found 900 sqft of used suspended ceiing last weekend we now have. We have 40 sheets of drywall ready and found an installer. I need to do a few things, then pull permit and move forward. Hoping to get it layout ready this winter.
 
Last edited:


Back
Top