Well, I'm at it again. My light build and 250T darrick is on hold waiting on parts, so on to the next.
I bought 3 Athearn Alco PA-1 locomotives and 2 PA B units so I can make a A-B-B-A with a reserve A unit. All are powered.
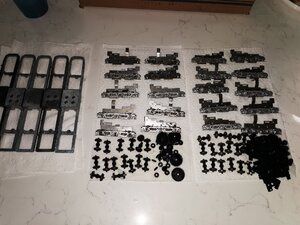
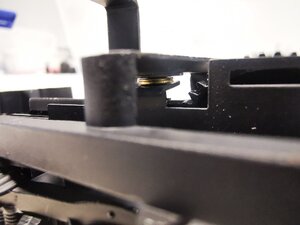
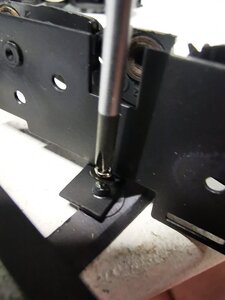
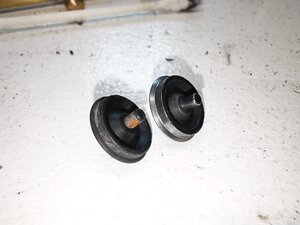
I started the project by disassembling all the parts and starting on the frames. I deburred the frame castings, rounded off edges and sand blasted with F100. I did the same with the trucks and each wheel - without hitting spindles.
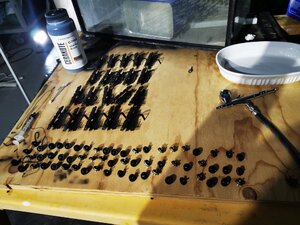
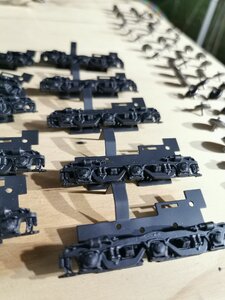
Well, its a lot of work, but enjoyable. I decided to use cerakote Glacier Black for the frames, trucks, and wheel inner and outer surfaces and slick coat on all the metal on metal parts. I'm not relying on the frame for electrical conduction. I'm adding wires.
I haven't worked on the shells yet, but that's coming. Right now I bought a few new motors to try since the originals are of terribly design and loud as a real locomotive. I got a double ended faulhaber and a Maxon. I also found a fat pancake motor I can double stack in each unit if that works better than the prior two motors (1 motor per truck for a total of 8 motors driving the 4 unit train). Power draw is very low on all motors, so I'm not too worried about power draw on analog or when I got to dcc.
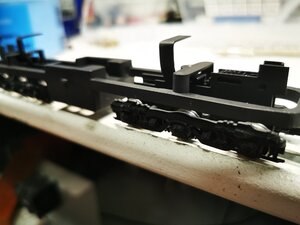
In a few days I'll start truck reassembly in preparation for the motor tryouts and to start on my wiring.
I know these are cheap as snot and not the best detailing, but this is fun and they're already looking so much better. If anyone has suggestions let me know!
I bought 3 Athearn Alco PA-1 locomotives and 2 PA B units so I can make a A-B-B-A with a reserve A unit. All are powered.
I started the project by disassembling all the parts and starting on the frames. I deburred the frame castings, rounded off edges and sand blasted with F100. I did the same with the trucks and each wheel - without hitting spindles.
Well, its a lot of work, but enjoyable. I decided to use cerakote Glacier Black for the frames, trucks, and wheel inner and outer surfaces and slick coat on all the metal on metal parts. I'm not relying on the frame for electrical conduction. I'm adding wires.
I haven't worked on the shells yet, but that's coming. Right now I bought a few new motors to try since the originals are of terribly design and loud as a real locomotive. I got a double ended faulhaber and a Maxon. I also found a fat pancake motor I can double stack in each unit if that works better than the prior two motors (1 motor per truck for a total of 8 motors driving the 4 unit train). Power draw is very low on all motors, so I'm not too worried about power draw on analog or when I got to dcc.
In a few days I'll start truck reassembly in preparation for the motor tryouts and to start on my wiring.
I know these are cheap as snot and not the best detailing, but this is fun and they're already looking so much better. If anyone has suggestions let me know!