'1943, Somewhere in England', N scale Monster Layout


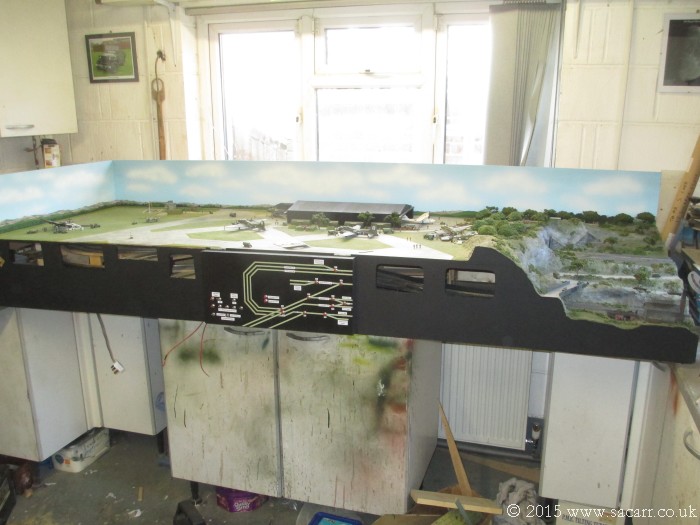
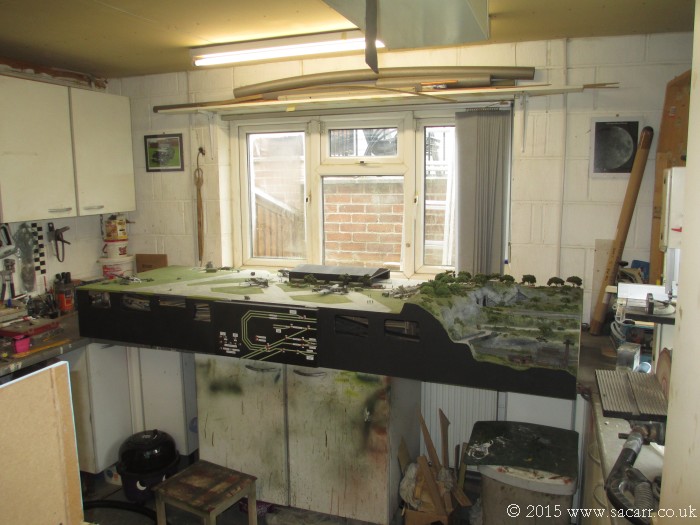
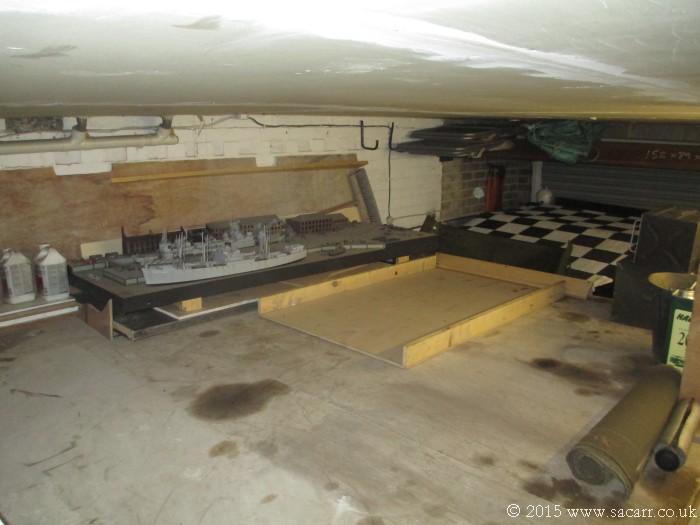
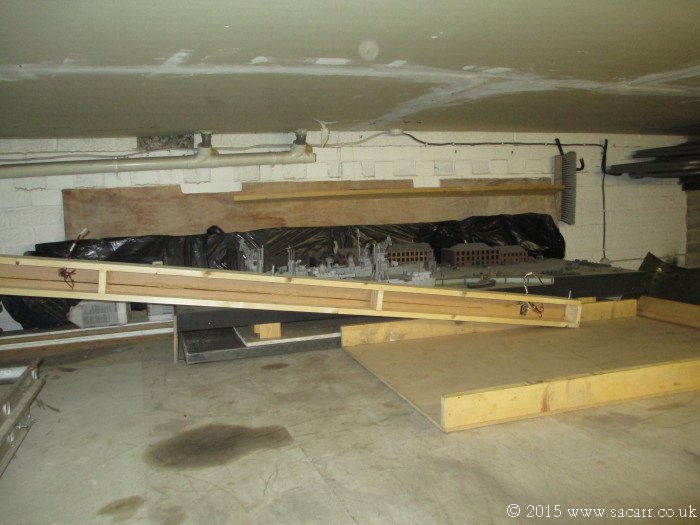
Then along came the Easter school holidays and everything stopped. I was childminding for the first week of the holidays, and we were away in Wales for the second week, so I've only got back to the layout this week. I started with a tidy and clean down of the benches so I could move the airfield. This was disconnected and turned 90 degrees across the end of the workshop.

I would be able to angle this section one way and the other to allow either end to overhang the bench tops to give me access below.

airfield369.jpg


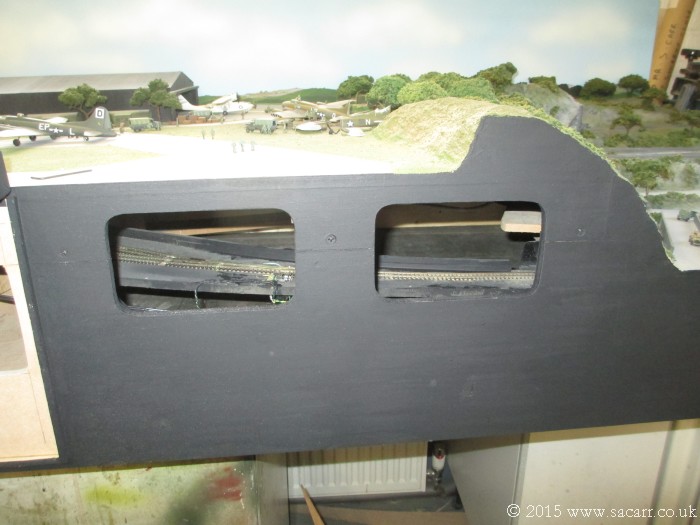
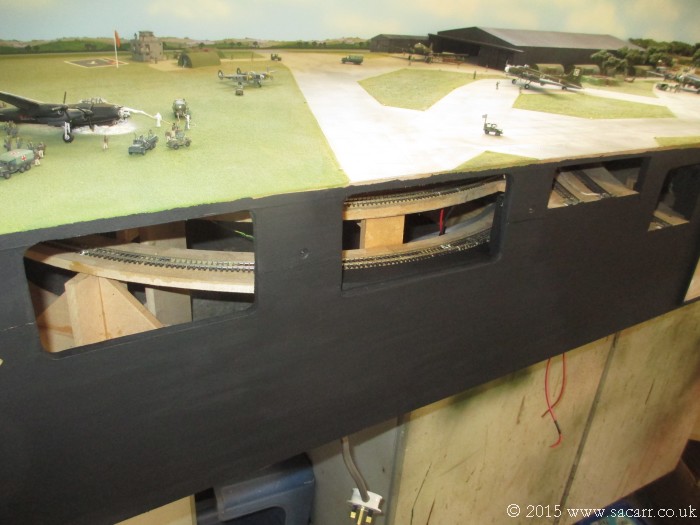
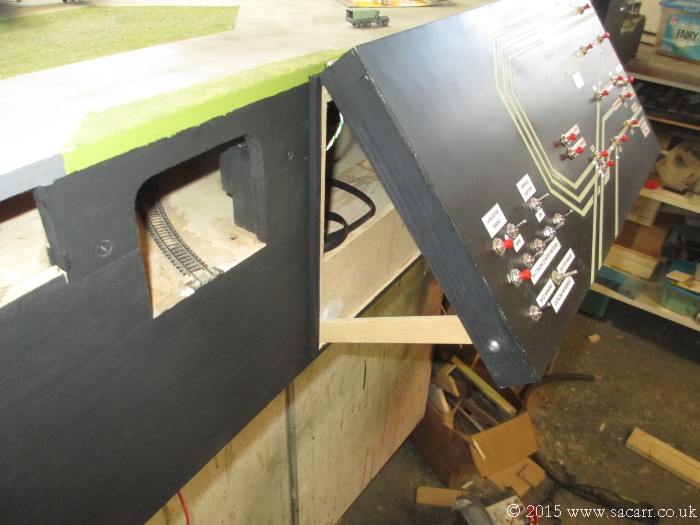
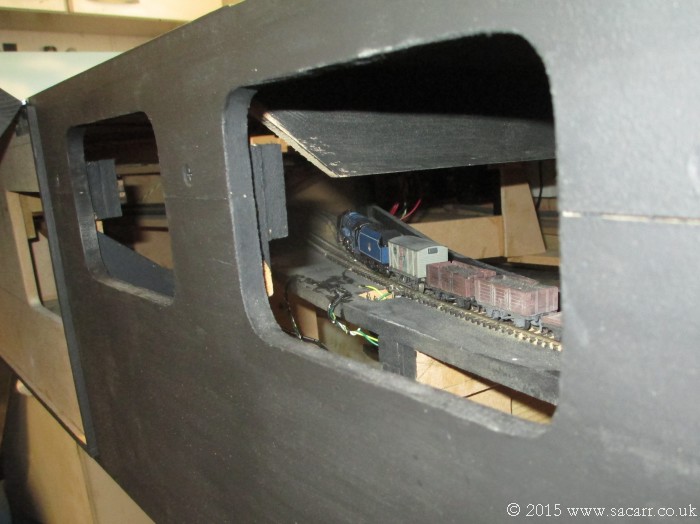
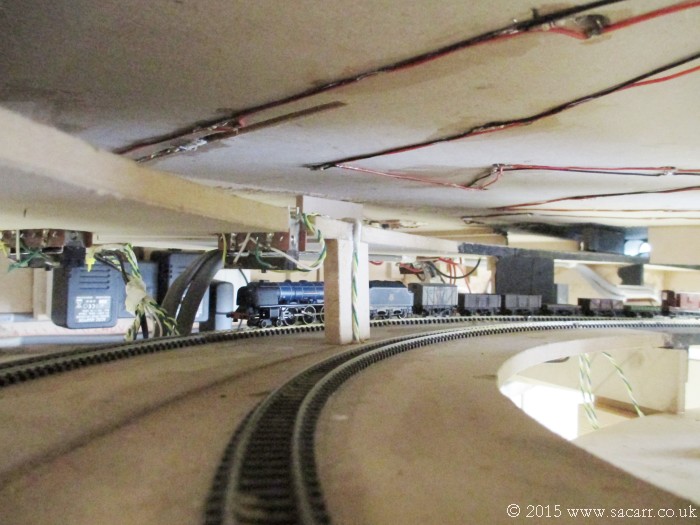
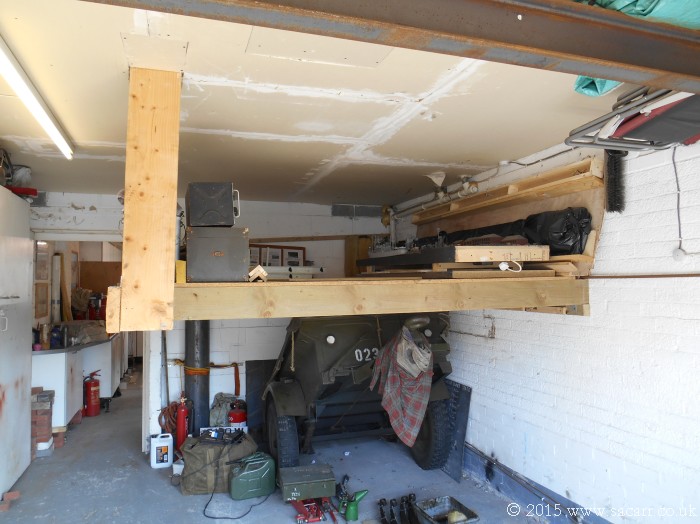
I also decided that some additional openings in the front of the section would allow some more light in and additional access for cleaning and recovering derailments. I started with one behind the control panel.

airfield370.jpg
 
An additional hole was cut near the branch line tunnel entrance.....

airfield371.jpg


.....and one more at the left end where the tracks curve away to the rear of the layout. This area could well have a yard section fastened to the front, but these openings will still be accessible with it in place.

The front fascia was also painted black. The top edge would later be painted green and grey to match the airfield, to help hide the join should the next section be built.

airfield372.jpg
 
Last edited by a moderator:
The control panel folds flat for transport, but now has a support to hold it in the operating position.

airfield373.jpg


With the section away from the window, I had access to the end allowing me to screw on the end back scene. Previously, this was just held with G clamps as I couldn't get the drill to the end to pilot drill the screw holes, or get a screwdriver there to fix it in place. With the section hard up against the window, I think the workshop is just long enough to fit the mine section on ( once built ), allowing a complete run around.

airfield374.jpg
 
With this backscene in place, and the layout turned, I was able to get a better picture of the Lancaster crash scene, without the shadow from the other back scene in the way ( as it was when right next to the window ).

airfield375.jpg


airfield376.jpg
 
Today, with one temporary leg clamped to the layout, it was pulled forwards to give a good overhang past the edge of the bench. This gave good access below to get in and clean the tracks, starting with the lower branch line.

airfield377.jpg


After each track was cleaned with a track rubber to get the ballast paint and glue off, I then began to run a US diesel, pulling a track cleaning car. I use this loco as it has plenty of grunt to pull the car, and with 8 wheel electrical pick up, it is less likely to get stuck due to one patch of dirt.

airfield378.jpg
 
My track cleaning car is a US box car chassis, with a strip of stiff paper forming a loop below the chassis. A small piece of folded tissue keeps the paper pressed on the track while some lead weights keep the car firmly on the rails. Once the layout is up and running at its owners house, I think I would be wise to have some form of track cleaning car running on each line. I know there's some nice small ones that clip onto truck axels, constantly rubbing the rails as the train runs. This would help minimise dirt build up.

airfield379.jpg


Space is tight below the airfield, though you can get your hand in with a rubber. However, running a track cleaning car, or having one on each train will make life so much easier.

airfield380.jpg
 
Here the diesel emerges from the tunnel entrance on the inner main line.

airfield381.jpg


The lower branch line ( left ) and its split off the board ( right ) can be seen below the main line where the diesel is currently running.

airfield382.jpg
 
A 4-6-2 steam loco was also used to test the track work for dirt and potential derailment areas. The tracks were well tested for smooth running before the airfield top went on, but it gave the opportunity to test for recovery access amongst other things. A couple of wooden supports were cut out during this testing, as they proved to be in the way for track cleaning, however with the section fully assembled, they were no longer needed.

airfield383.jpg


airfield384.jpg
 
Finally, a couple of scenic shots on the lower branch line. Thats everything up to date.

Now that the airfield is clean and running, I need to turn it and connect it back to the station section and get both of these running together. This will give around 34 feet of track to run on for each line. Starting from the end of the station section, into the tunnels, around under the airfield, and back along the rear of the layout towards the future mine section. I hope to be starting the mine as soon as I'm happy with the operation of the airfield and station together.

airfield385.jpg


airfield386.jpg
 
A short test run video of the hidden track work with the cleaning car attached.

[video=youtube;G8EcbJO92Mc]https://www.youtube.com/watch?v=G8EcbJO92Mc[/video]
 
Yesterday, I got the airfield re-attached to the station for further testing and replaced the button cell in the Digitrax Command Station with a new one, following the old one failing. I started cleaning the branch line on the station, and began running a train from the Quayside Yard joint all the way under the airfield and back down the rear of the layout.

All was going well as I moved up to the outer main line, checking the main line and the centre passing track through the station. When I got to the inner main line, the loco was hesitating over the frog of the point by the tunnel. This turned out to be the frog power switch, which had become contaminated with the water/PVA mix used to glue down the ballast. So everything was switched off while the switch was removed, cleaned and refitted.

airfield387.jpg


When I switched back on, the loco wouldn't run and the points wouldn't change, either via the control panel or the throttle! Similar to the issue I had before after the command station battery failure.

When that happened, it was down to settings resetting in the throttle menu. Now this time, I wasn't sure what happened. There was a new back up battery in the command station, so what had happened? I didn't have a clue. After some random prodding at settings in the menu, the locos would run, but the points still woudn't change with the control panel or the throttle.

After several hours of going through the throttle menu, changing settings, I got it working again. Did I mention I hate DCC?

So while it was working, and before anything else changed, I went right through the throttle menu, photographing every screen to record its settings! At least this should give me a reference point should it happen again.

airfield388.jpg
 
Another video, all from the front, top side. A 6 minute video of two steamers, one passenger, one goods, testing the tracks and points around the two 8 feet long sections. Everything worked as it should, and with the cleaning and running it's had, things are getting more smooth.

[video=youtube;bb5gNk_u_zU]https://www.youtube.com/watch?v=bb5gNk_u_zU[/video]

I now need to have a clean and re-arrange in the workshop and garage, moving the airfield into storage to leave the work benches clear for the Mine, which is the next section to be built. The Mine will go to the right of the Country Station, completing the loop of the two main lines.

airfield389.jpg
 
No physical progress lately, it's all been cleaning, tidying, moving and sorting. I've moved a number of items from the false floor in my garage into my trailer. This has cleared up some space to store the airfield while the mine is worked on.

The airfield section has been disconnected again, and temporarily moved to the end bench. The station section needs moving over to gave a clear passage through the internal door to the garage, so the airfield can be carried through. To do this, I need to move the trailer to the end of the drive, and then get both Jeeps out of the garage. This will leave the space to carry the airfield through and then lift it up onto the suspended floor.

airfield390.jpg


This shows the suspended floor, which has about 3 feet of crawl height below the ceiling. To the rear of the shot is the Quayside section. The space in front will take the Airfield and Airfield Runaround. The section needs elevating at the right hand end to allow it to clear the Jeep roof.

airfield391.jpg
 
All the backscenes have now been wrapped up in bin bags to keep fingerprints off the sky, and they are standing up in the rear of the picture. At an angle in front of the Quayside is the airfield runaround. The main section of airfield will have to wait until it is both dry outside to get the Jeeps out, and wifey is around to help with the lifting and carrying.

airfield392.jpg
 
It's been a busy month, though not all on the railway. We've had two bank holidays, a trip away with one of the Jeeps, and a number of other tasks which included some cleaning of the workshop. I wasn't able to get the railway moved around in May as my wife has been crazy busy with work, and it was most certainly a two person job. I did spend some more time doing wiring diagrams and proceedure manuals, and a couple of the diagrams are shown here at a small scale. I have no idea just how many metres of wire are hiding under the base boards, but I'm starting to think it's kilometres, not metres!

airfieldwiring1.jpg


airfieldwiring2.jpg
 
So with May gone, and almost a week into June, Lynne finally had the time to help with the moving of the airfield. To move the airfield section out of the way, the car had to be pulled off the drive, the other car and trailer rolled down the drive, and both Jeeps pulled out of the garage.

airfield393.jpg


With the cars, trailer and Jeeps moved, I had access to the false floor in the garage, currently with just the Quayside section up there, some Jeep accessories and a bit of junk. The Quayside section had to come down, as the longer airfield would fit better where the Quayside had been.

airfield394.jpg
 
The airfield section was lifted off the end bench by the window, and lowered onto a trolley on its rear face. It was then carefully wheeled from the workshop through to the garage.

airfield395.jpg


Points were covered to reduce the amount of dust settling on them, but the whole thing will need a good blow down with the airbrush/spray gun before it is delivered.

airfield396.jpg


Back
Top