armyairforce
Well-Known Member
....You have to have the patience of a saint.
and some!!!

....You have to have the patience of a saint.


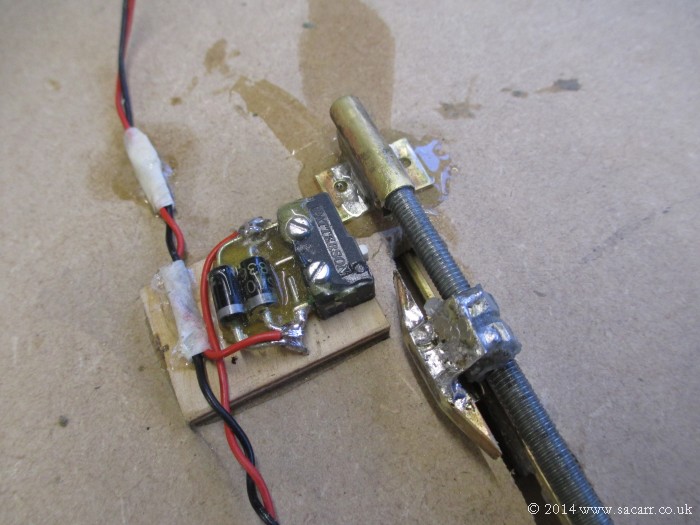
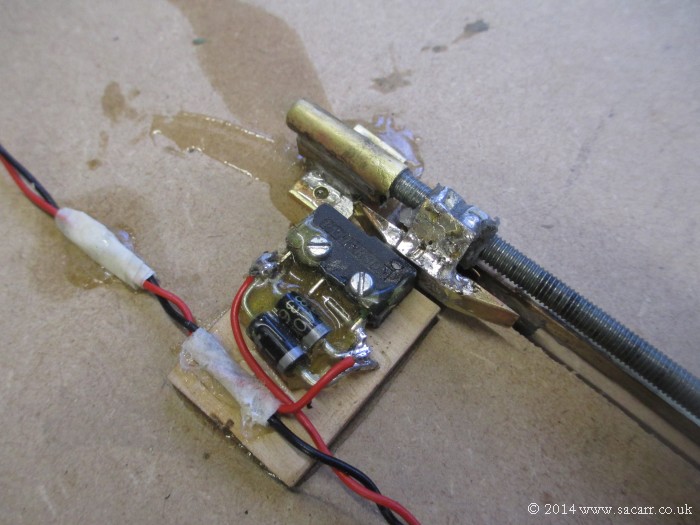


I would never consider micro-controllers and I just can't see how they will save me frustration or money. I don't need anything more technical than a simple switch to stop a motor, and that certainly isn't frustrating. Certainly not cheaper.
