Selector
Well-Known Member
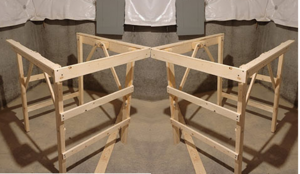
What you are doing will support the foam. If you were to turn the cross-members, which are now on their sides, vertical instead, and mounted like joists, but under the horizontal component of your L-girders, you could eventually remove the foam (if and when you decide to try something different, such as 'cookie cutter' roadbed or 'spline' roadbed) and mount risers, with supporting cleats, to support roadbed. It's just a thought, but I admit that I may be loading you up with more concepts than you'd like at the moment. You could make the changes I am suggesting later simply by backing out screws and turning the cross-braces vertical.
I mention this because I do not use foam unless it is stacked for terrain relief. Even so, I do have roadbed on risers, and I fashion my terrain using hot glue and window screen over which I slather a slurry of plaster of Paris, Portland Cement, fine-ground vermiculite, and some masonry dye powder to make it more 'dirt' like.
In the photo below, I have the window screen scenery between the tracks and rising beyond them, and you can make out the spline roadbed between the two smaller trees in the foreground where I painted it grey to look like a concrete retaining wall.
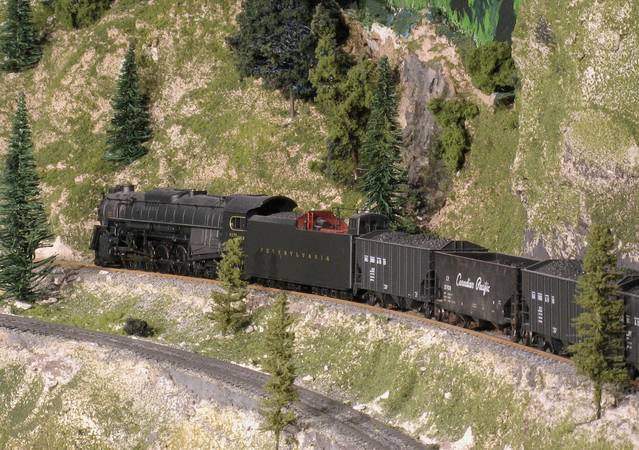
") )
)